Student Sounding Rocket Platform
About
During the summer of 2018, I completed an internship through the Connecticut Space Grant and Discovery Museum in Bridgeport, CT. My main focus was developing a payload system that students can use to launch their own custom electronics and collect data of their choosing. The main flight computer would be in charge of sending all the data back down to the launch site via radio communication, as well as writing a copy of the data to an SD card
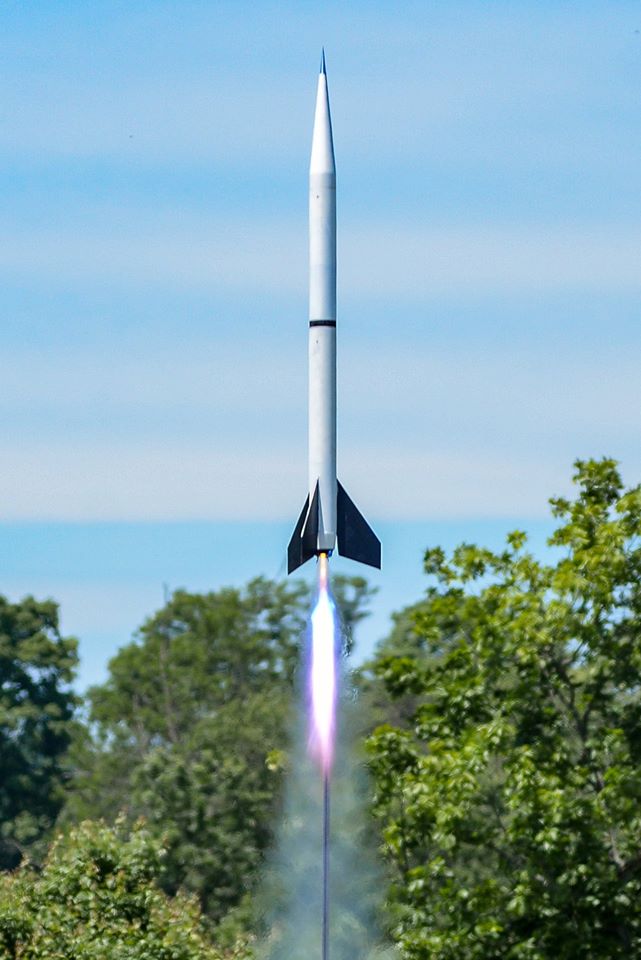
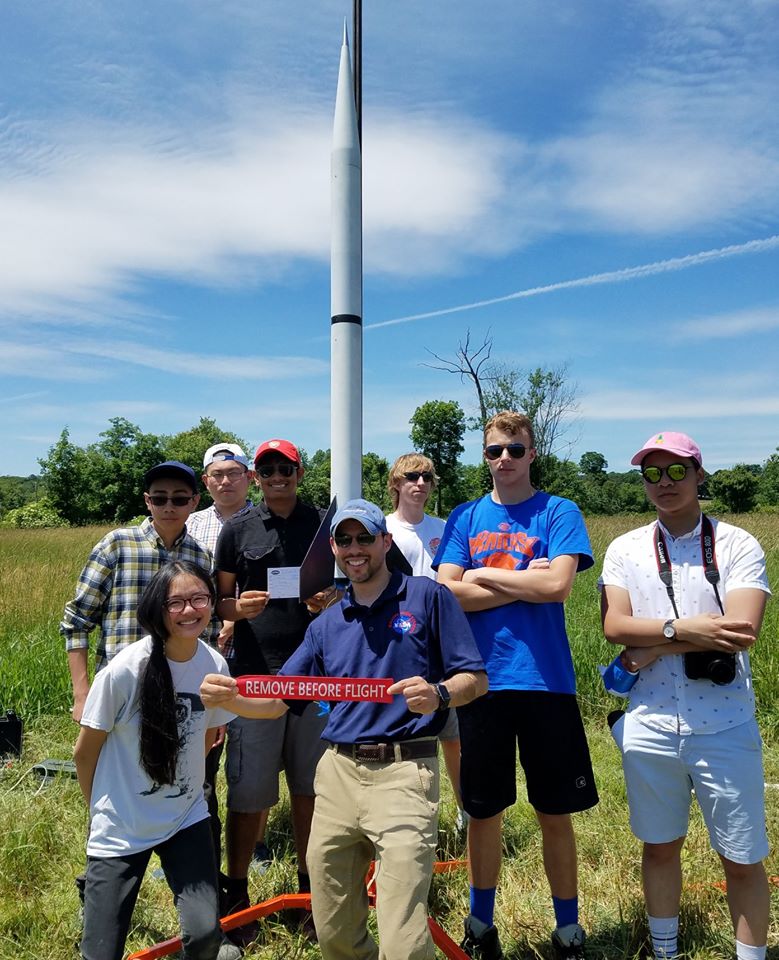
During this internship, I also got my L1 rocketry license with NAR!
Design
The design work of this project largely fall into two main categories: the mechanical structure and the electronics. I designed both aspects ofthe payload concurrently, since they inherently depend on each other.
First, I laid out a general data flow diagram, showing how data from a student’s payload moves from sensor to ground station. Due to simplicity and availability of documentation, we decided that students should use the Arduino Nano as their module computer. It’s a small, commercially available microcontroller board that has the same capabilities of the popular Arduino Uno, but with a smaller footprint. These can easily communicate with a wide variety of sensor breakout boards that can be purchased from vendors like Adafruit or SparkFun. These sensor boards can be selected by students to suit their experimental interest, and often come with Arduino libraries and documentation material that make them accessible to students and museum staff with minimal experience. I decided this over designing circuits from scratch largely with the knowledge that this program should be able to be run by museum staff without my specialized knowledge.
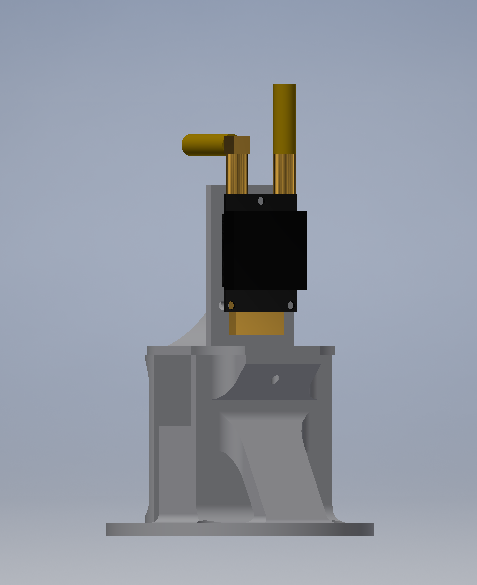
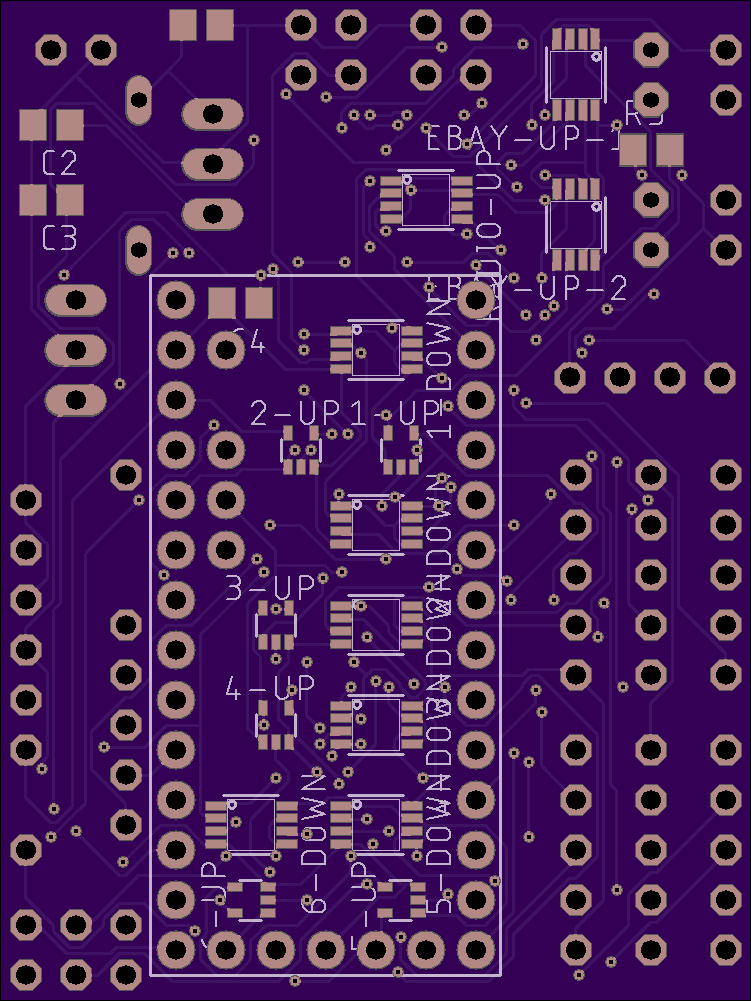
Each of these Arduino Nanos then package up all their data into a standardized format and send it to the main flight computer, a Teensy. This Teensy communicated with each student module through a single UART Serial port, along with a custom “chip select” circuit designed by me. The Teensy also wrote to an SD card through SPI and a GPS and Radio modem through two separate UART ports.
I designed a custom PCB that handled all of these connections, along with the necessary power regulation circuits in order to supply the different voltage levels to operate all of these devices from a 2 or 3 cell lipo battery. The schematic and board were created in Autodesk EAGLE, and was ordered from a small-batch PCB fabrication service called OSH park.
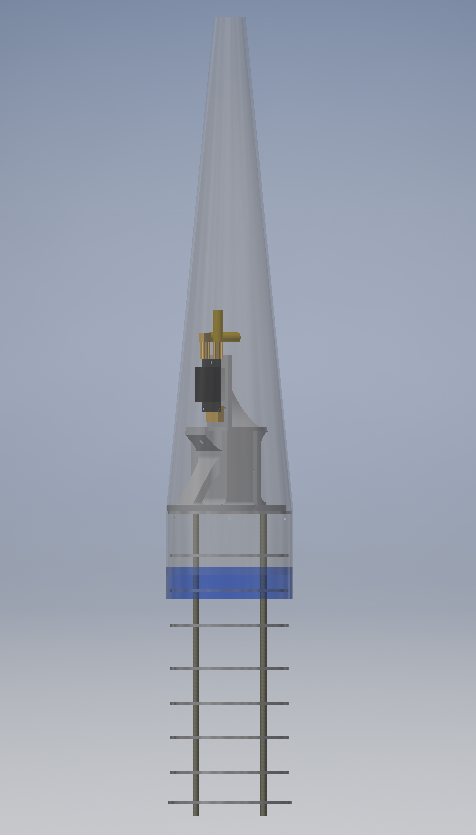
Throughout the electronics design, I had a general idea of the physical structure of the payload: the main flight computer, radio, and battery would be housed in the nose cone of the rocket, and the student modules would slide into a cylindrical “coupler” section immediately below the nose cone. I first sketched my design very generally by hand, and then drew and assembled the various components in Autodesk Inventor.
We decided to purchase several structural parts from the same company that created the original rocket kit, Mad Cow Rocketry, to ensure that our parts would fit with the kit’s nose cone and body tube without issue. Additional structural elements, such as a box to hold the battery and mount electronics to, were to be 3D printed, or were basic hardware components available commercially. Ease of fabrication was a priority in this design: it must be relatively easy to replicate with tools commonly available to an institution such as a museum.
Resources
Media
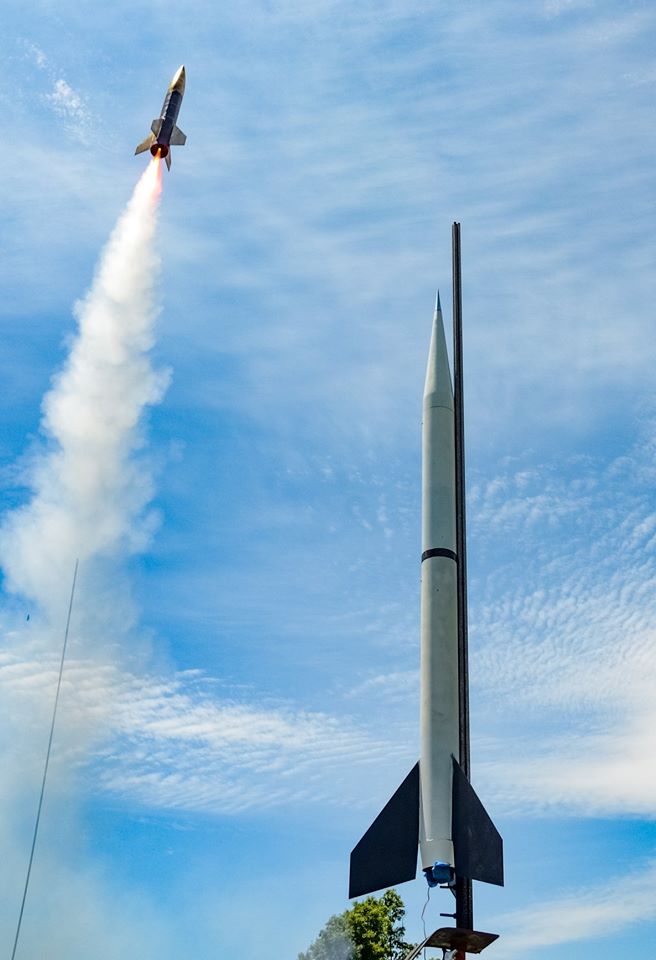
Image Gallery
click to enlarge