Star Wars Sky Map
About
A long time ago (2025) in a galaxy far away (Westmister, CO), two of my friends got married on May the 4th and had a Star Wars themed wedding to celebrate their shared nerddom. As an anniversary gift, I designed them a map of the sky on the night they were married, but with a touch of sci-fi magic.
Design
I used Stellarium to identify which stars were visible on the night of their wedding, based on the location, altitude, and bortle class of their wedding venue. I selected astronomical twilight as an arbitrary point of time to capture in the star map.
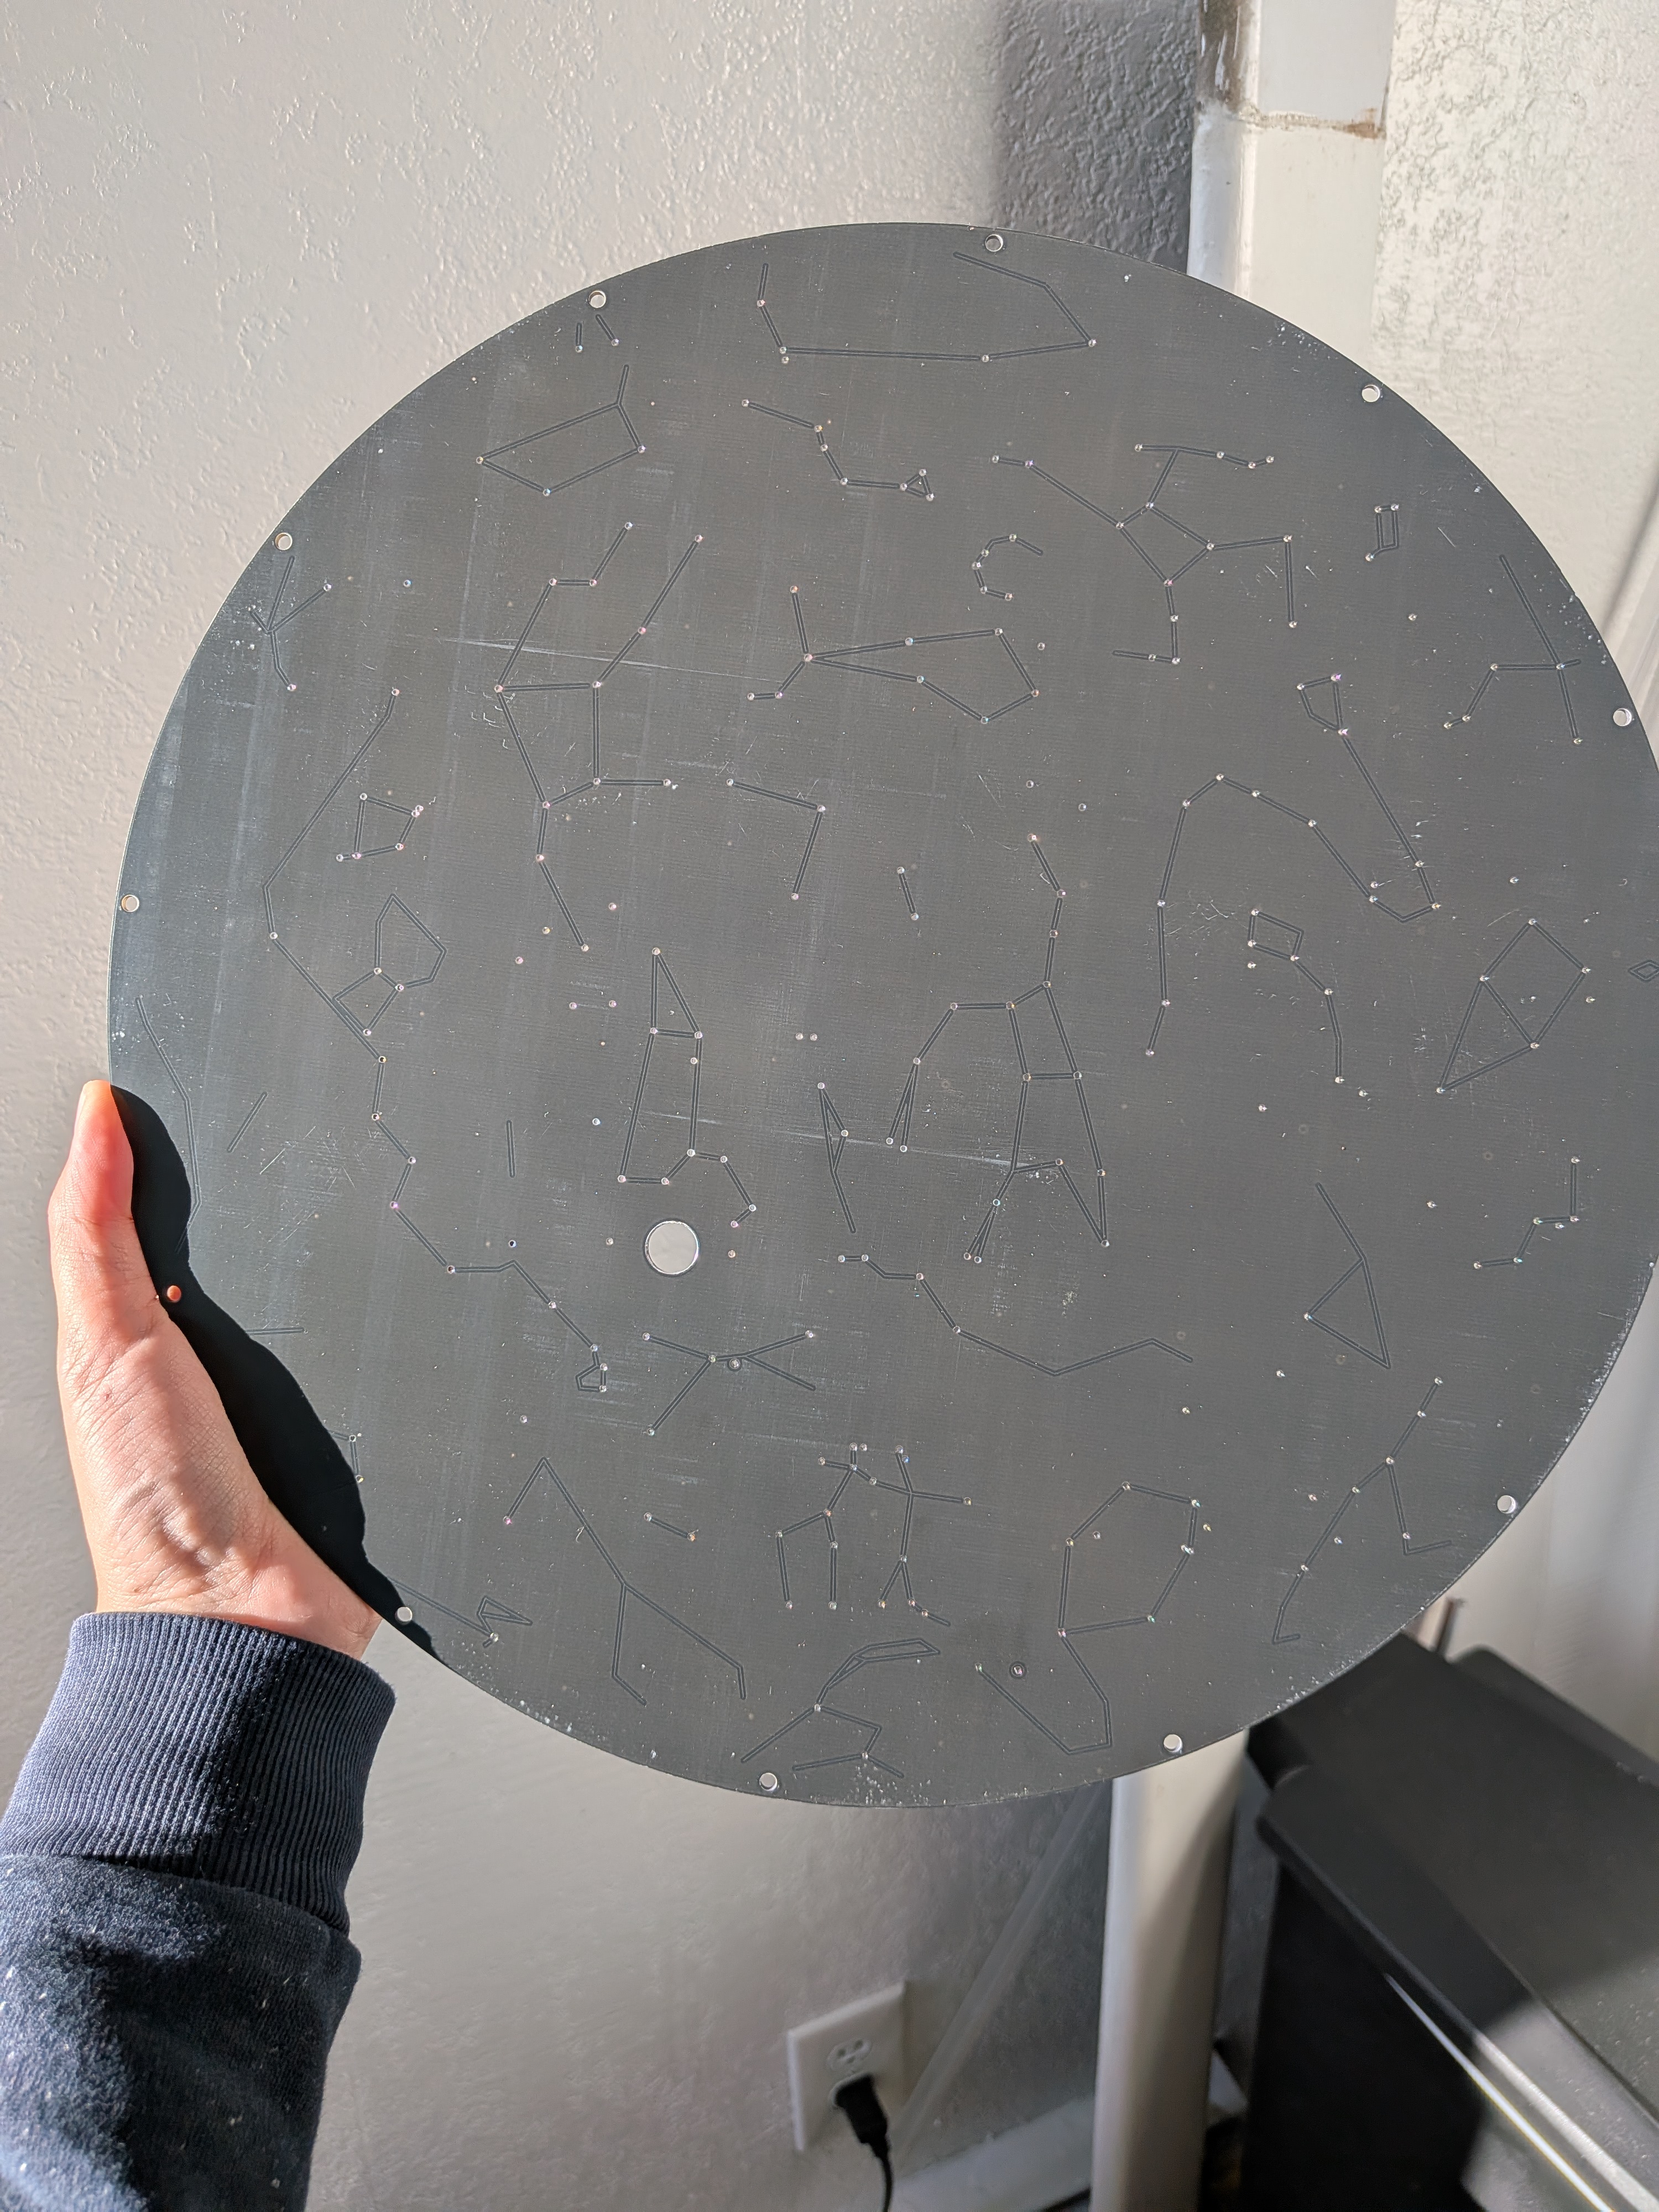
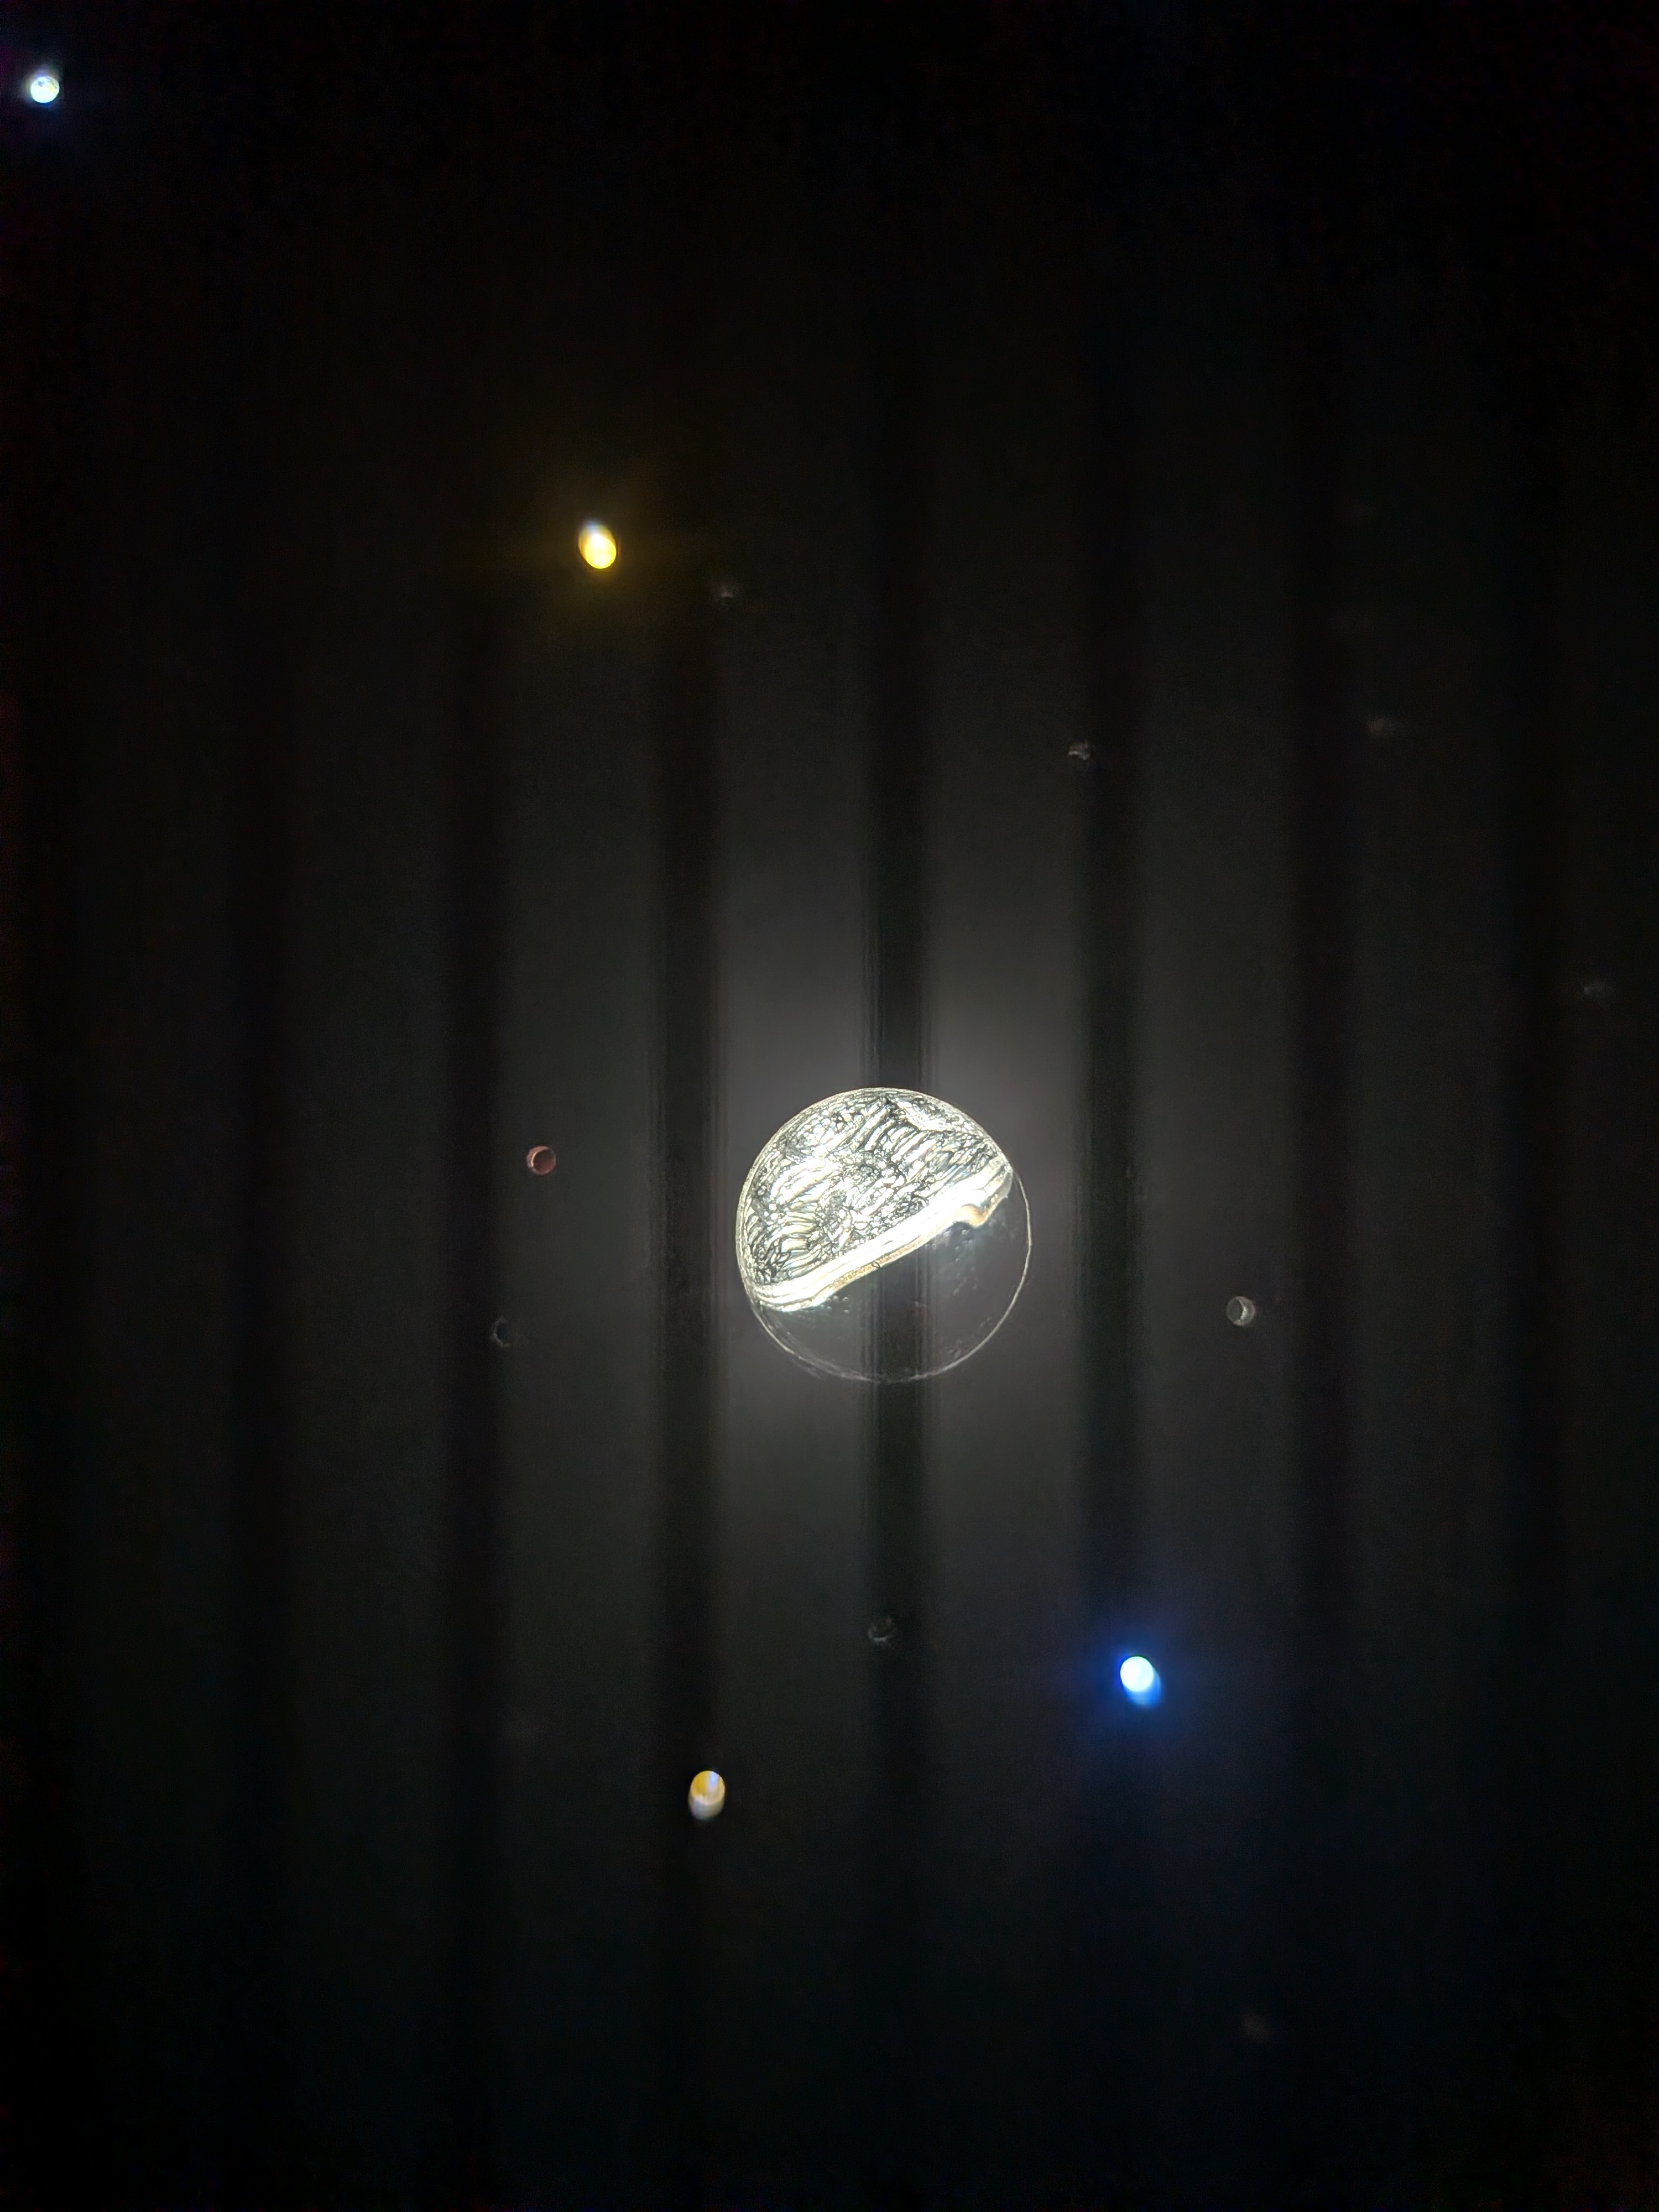
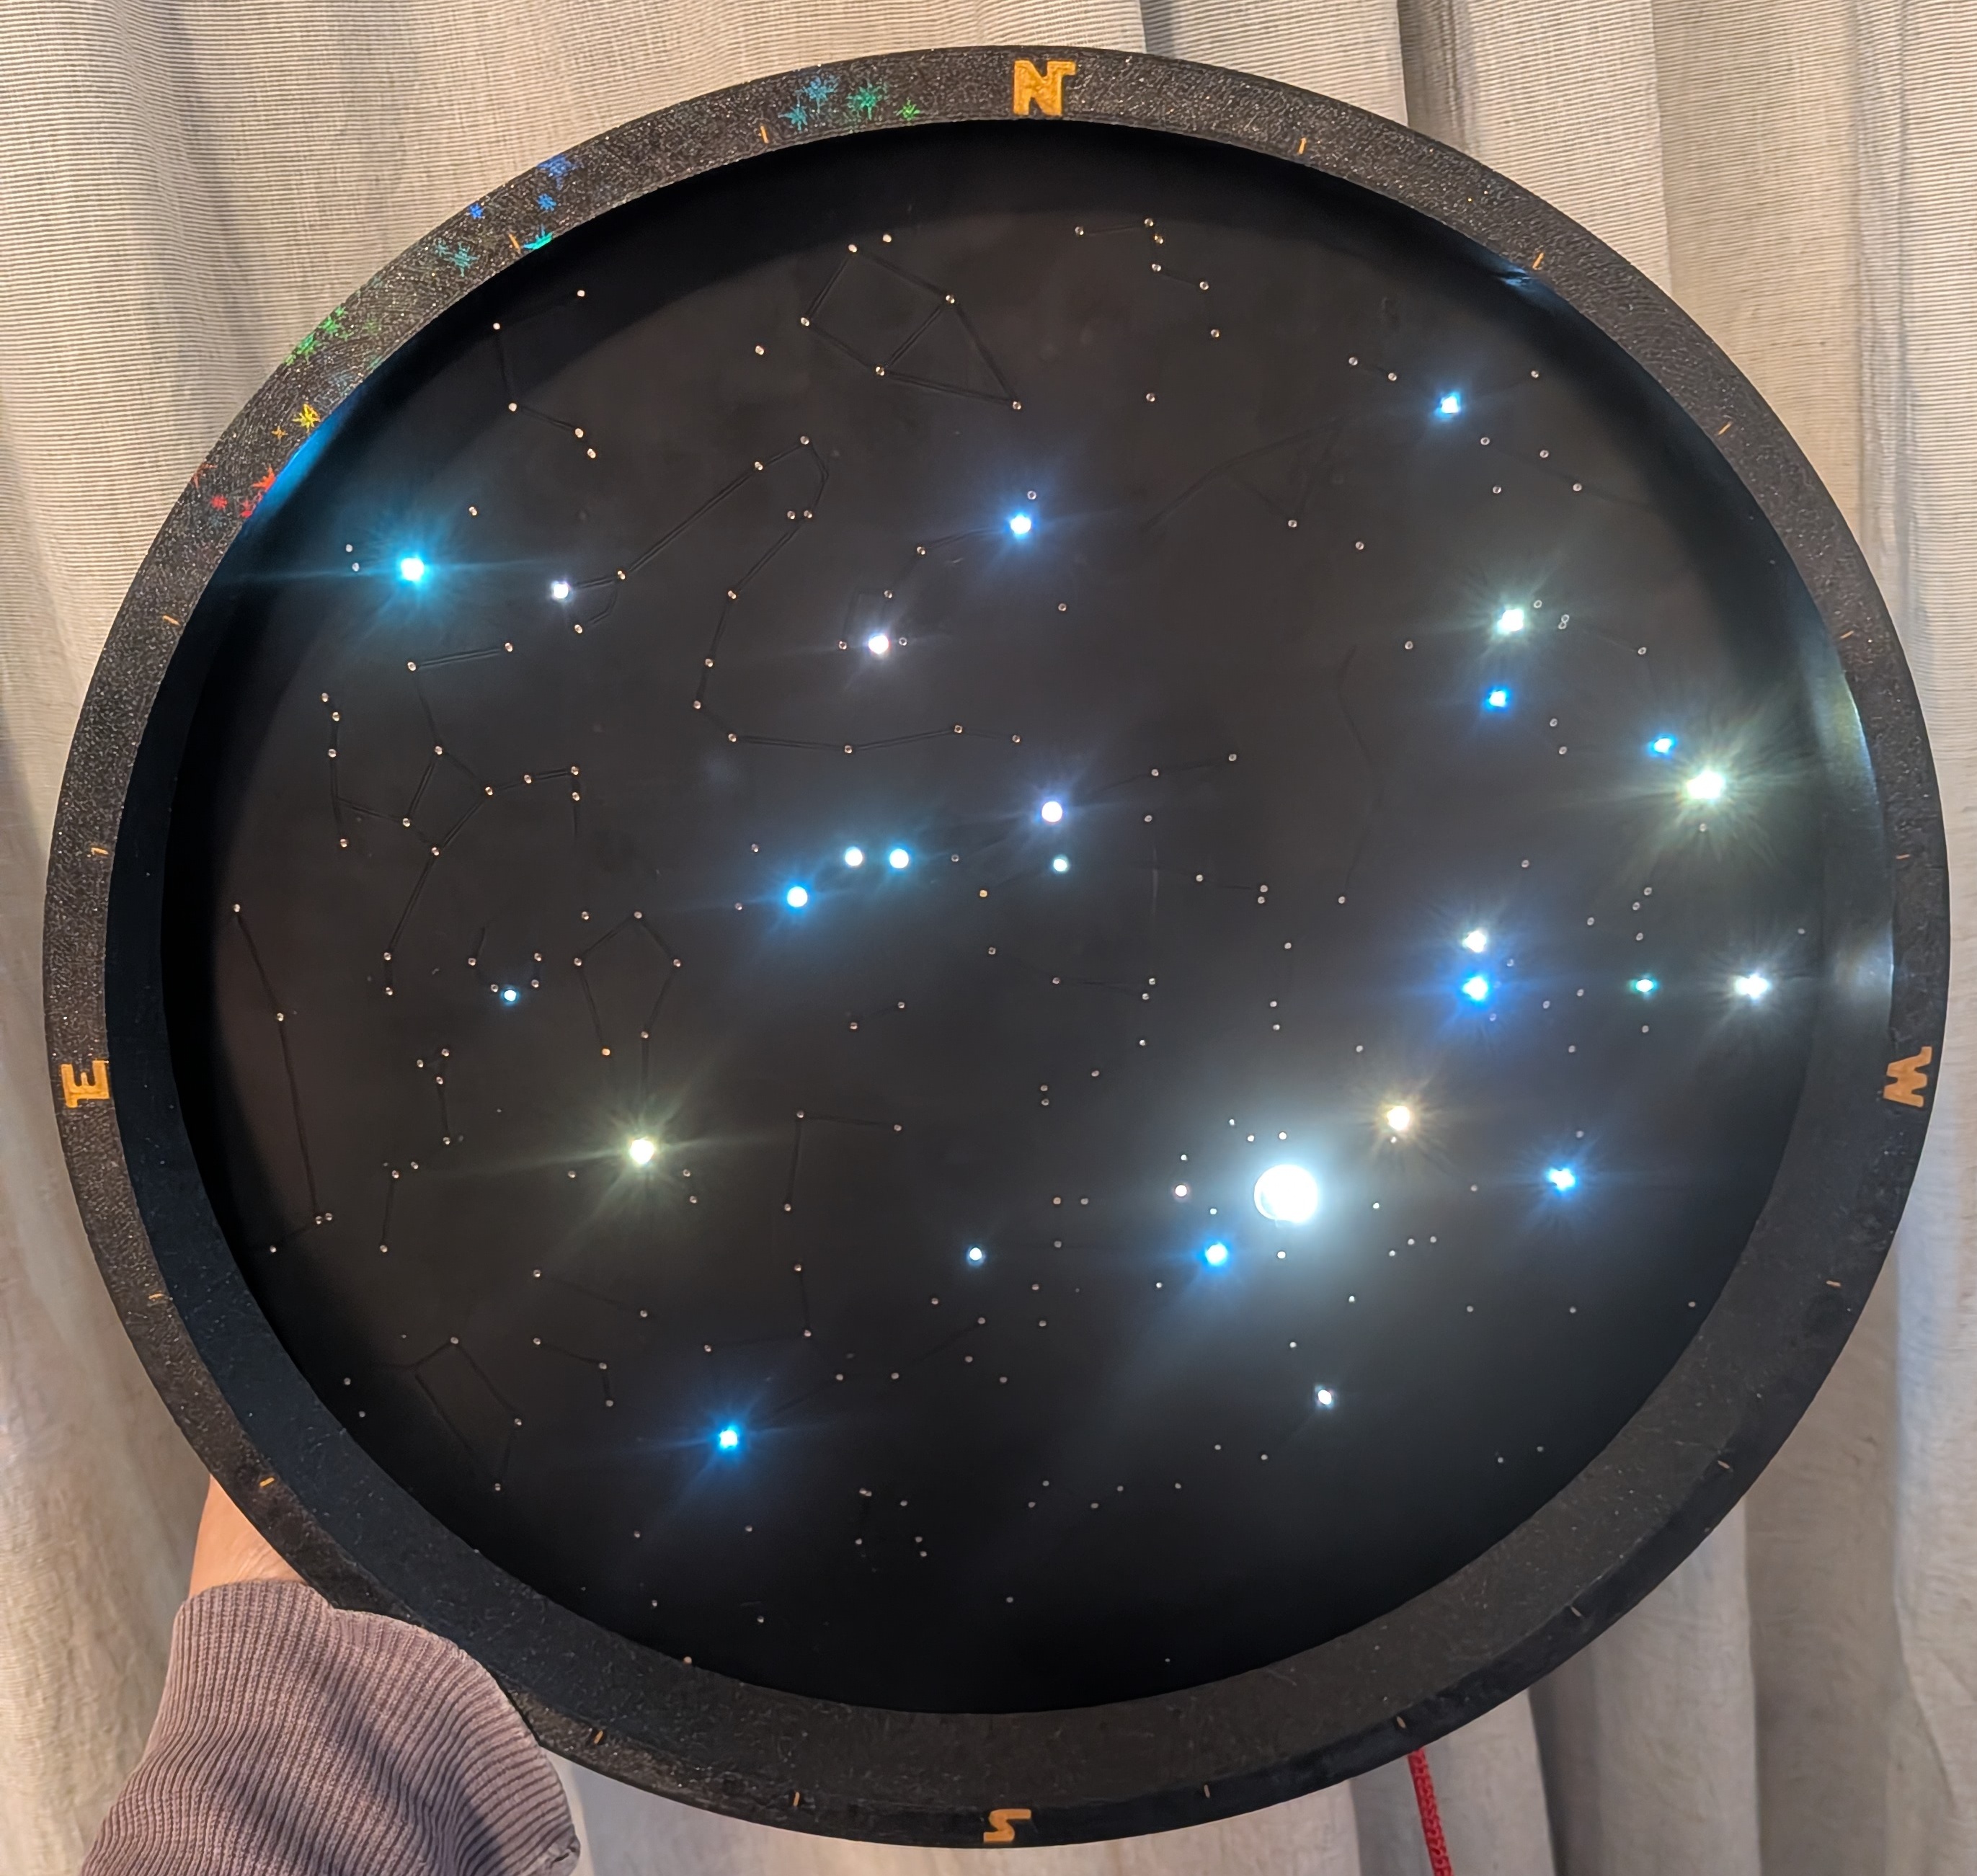
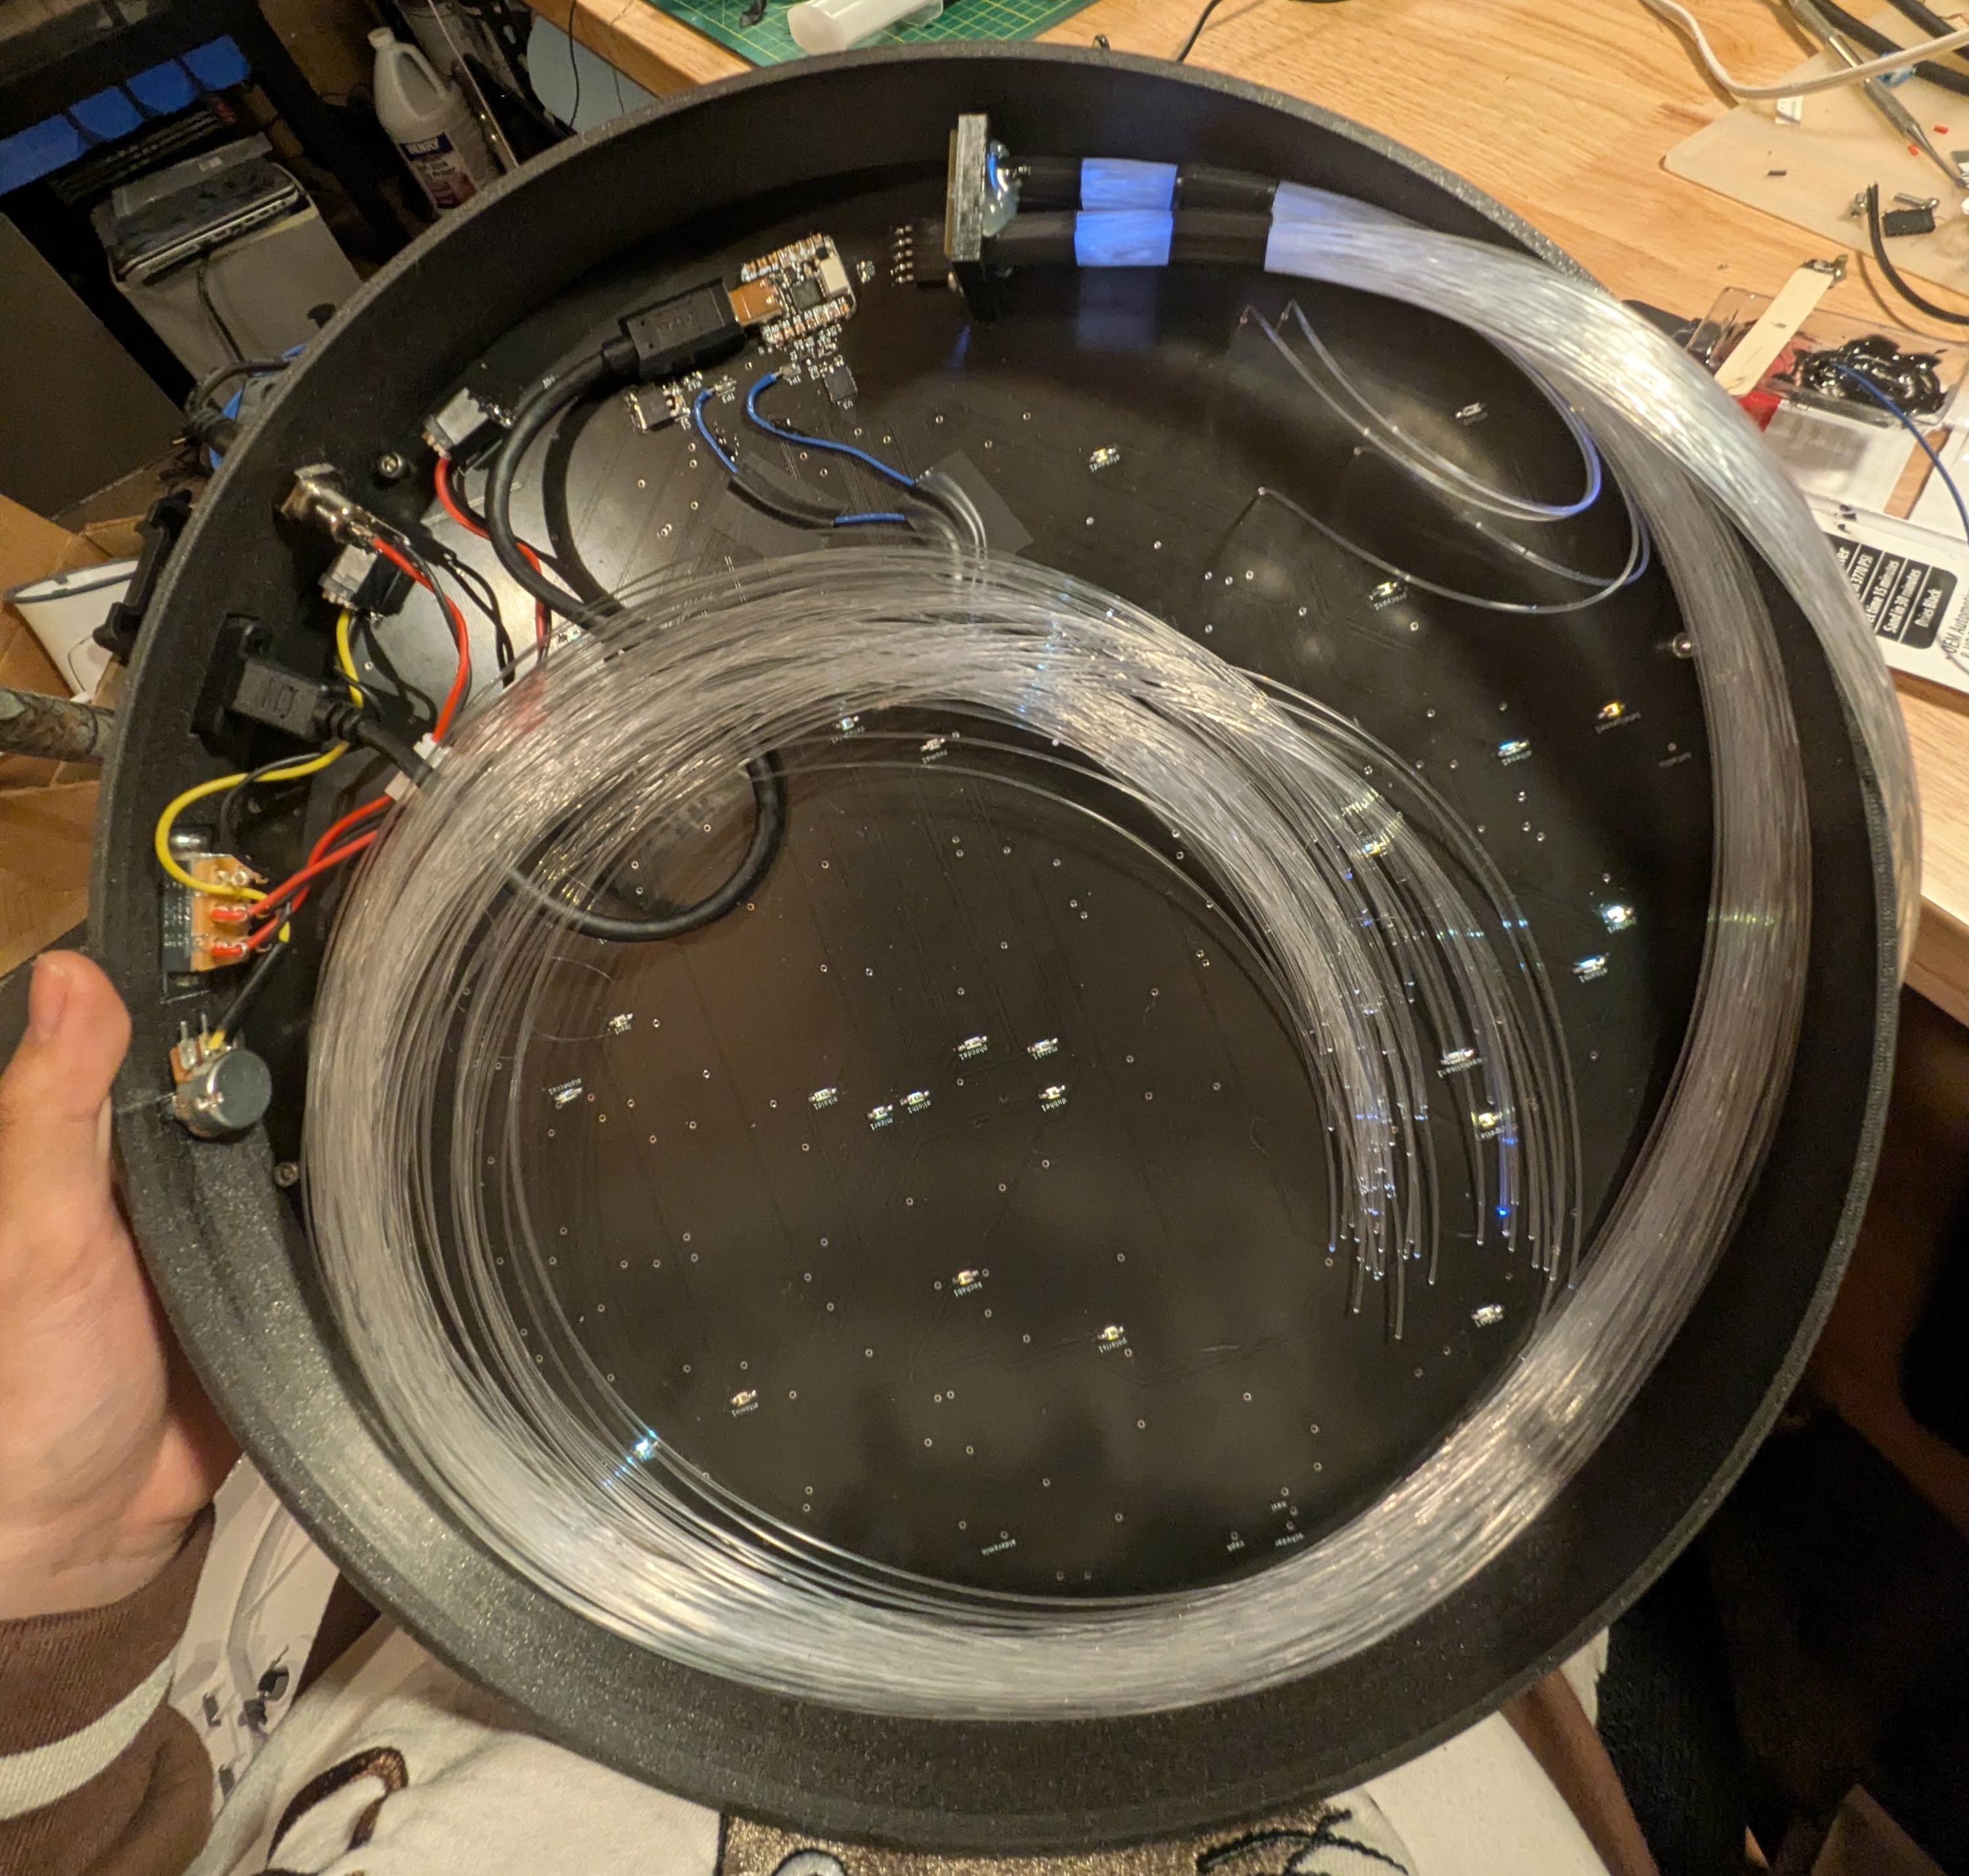
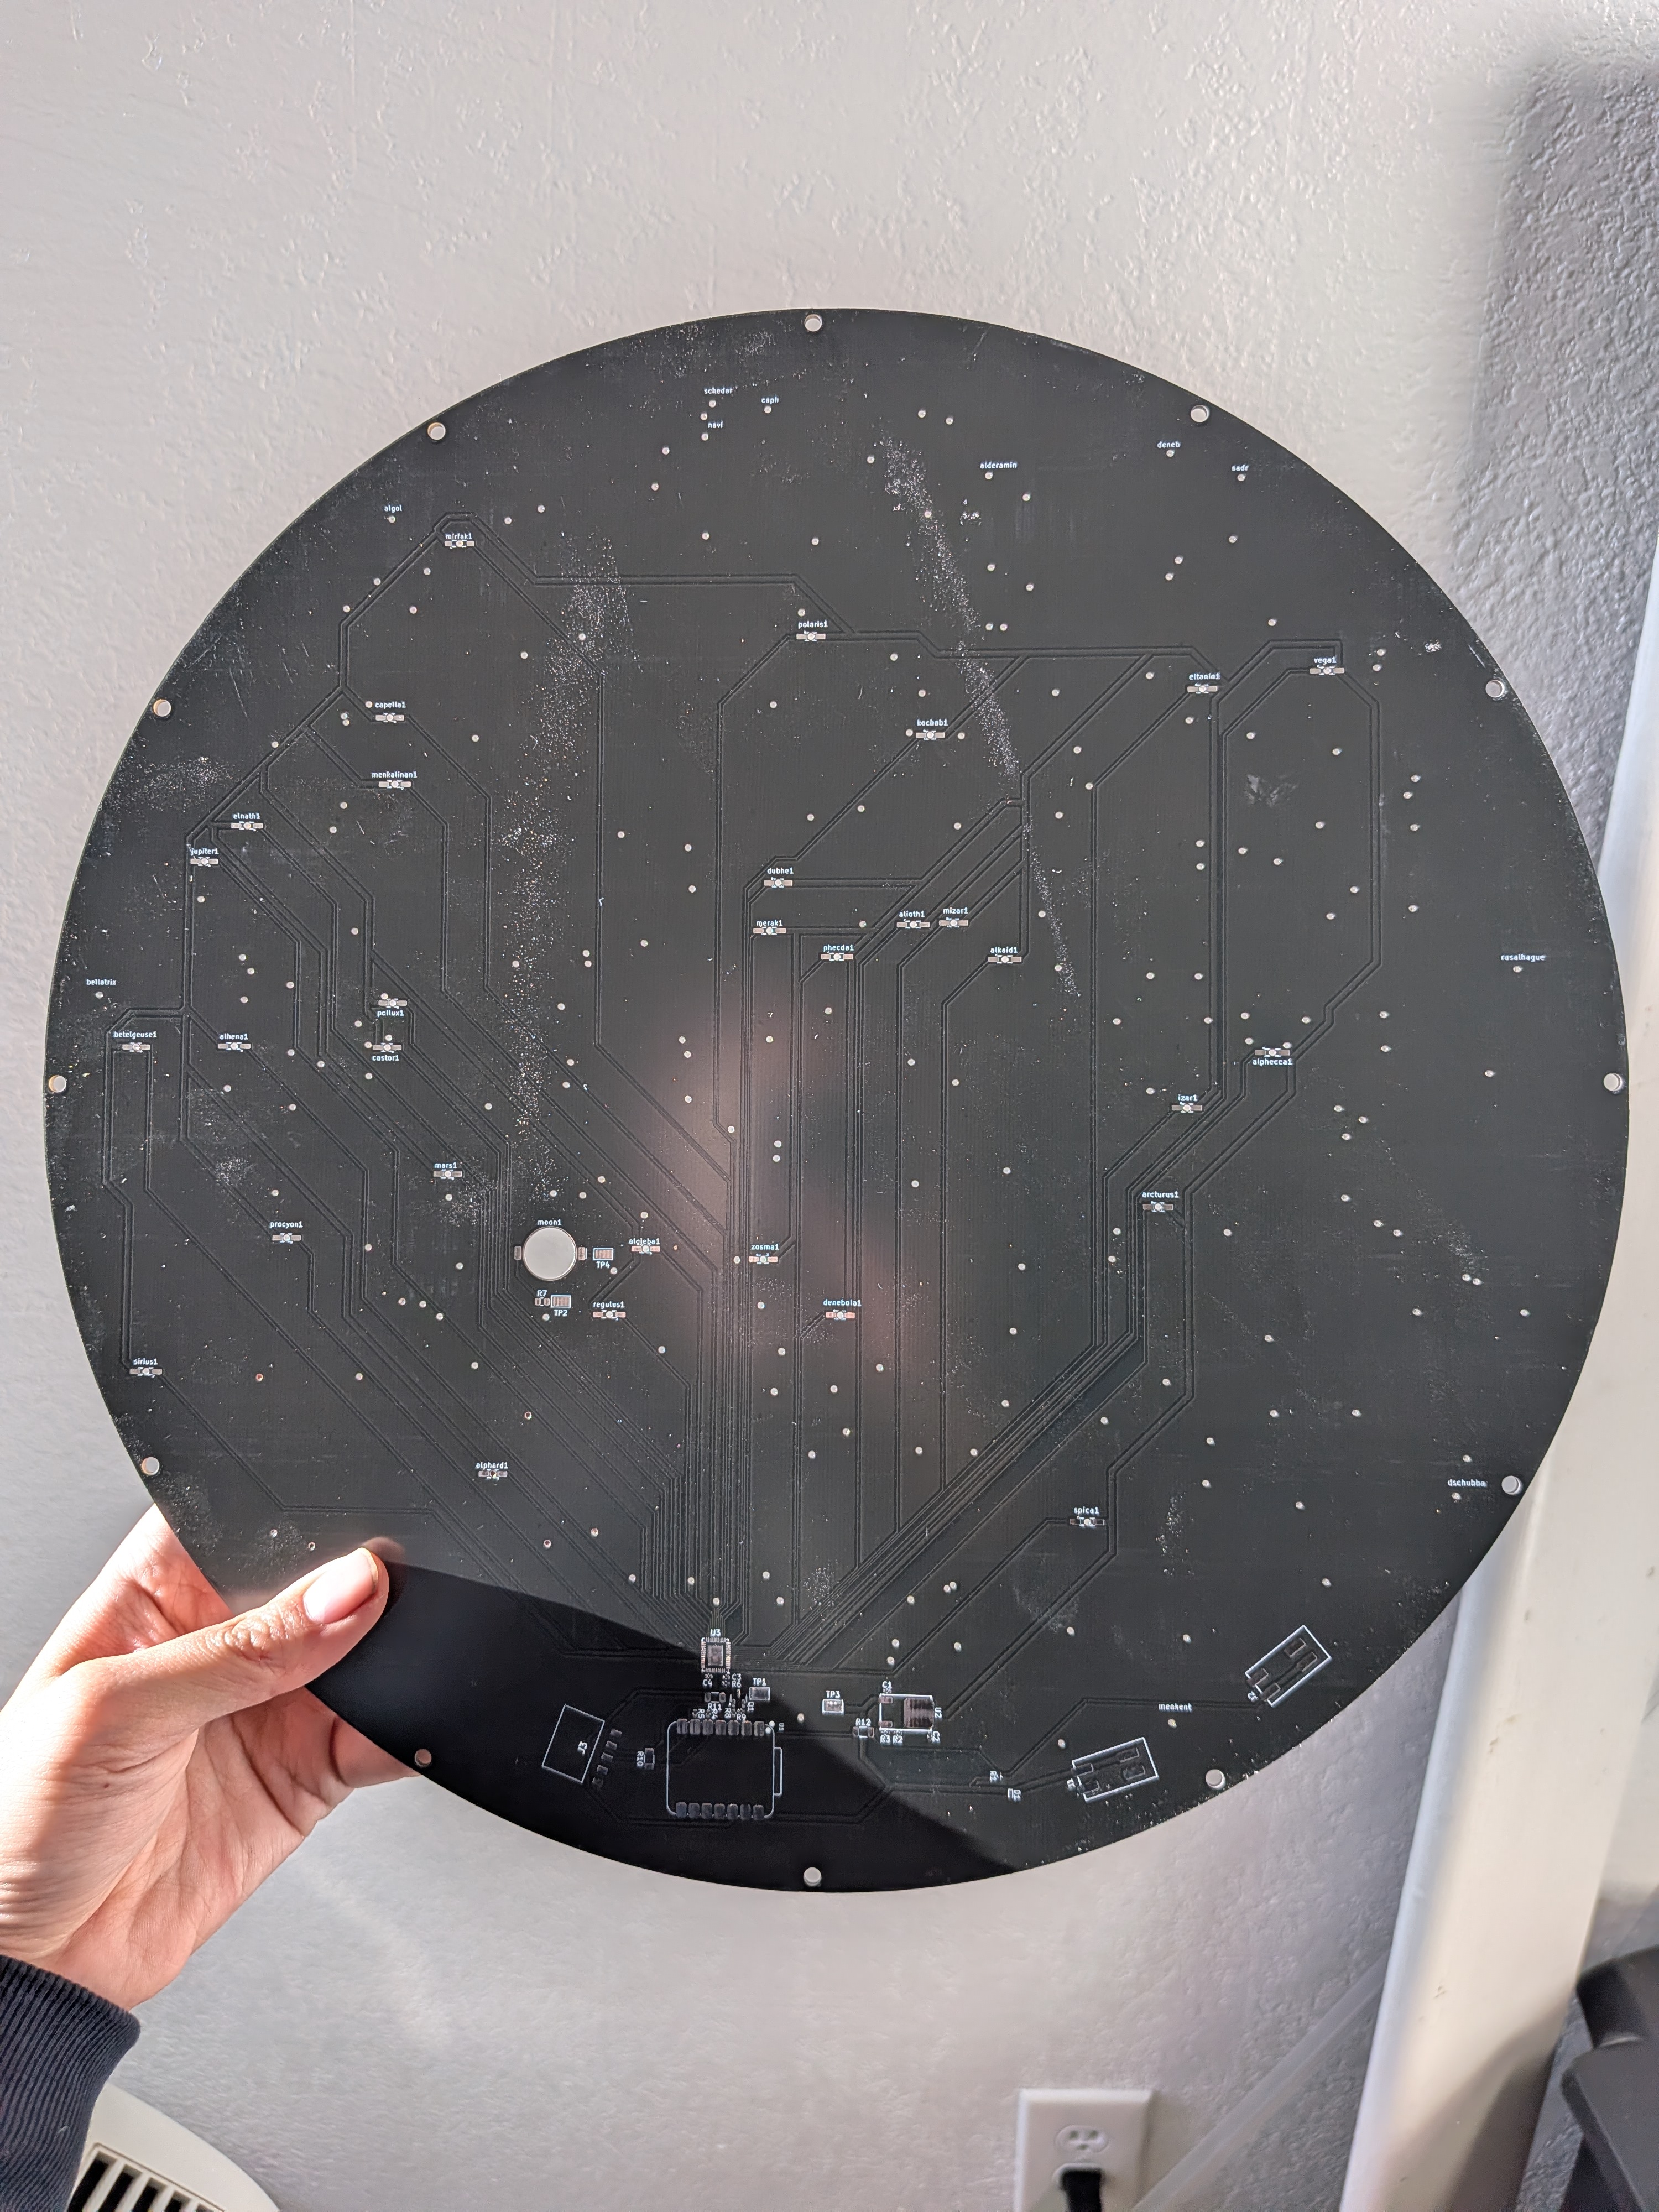
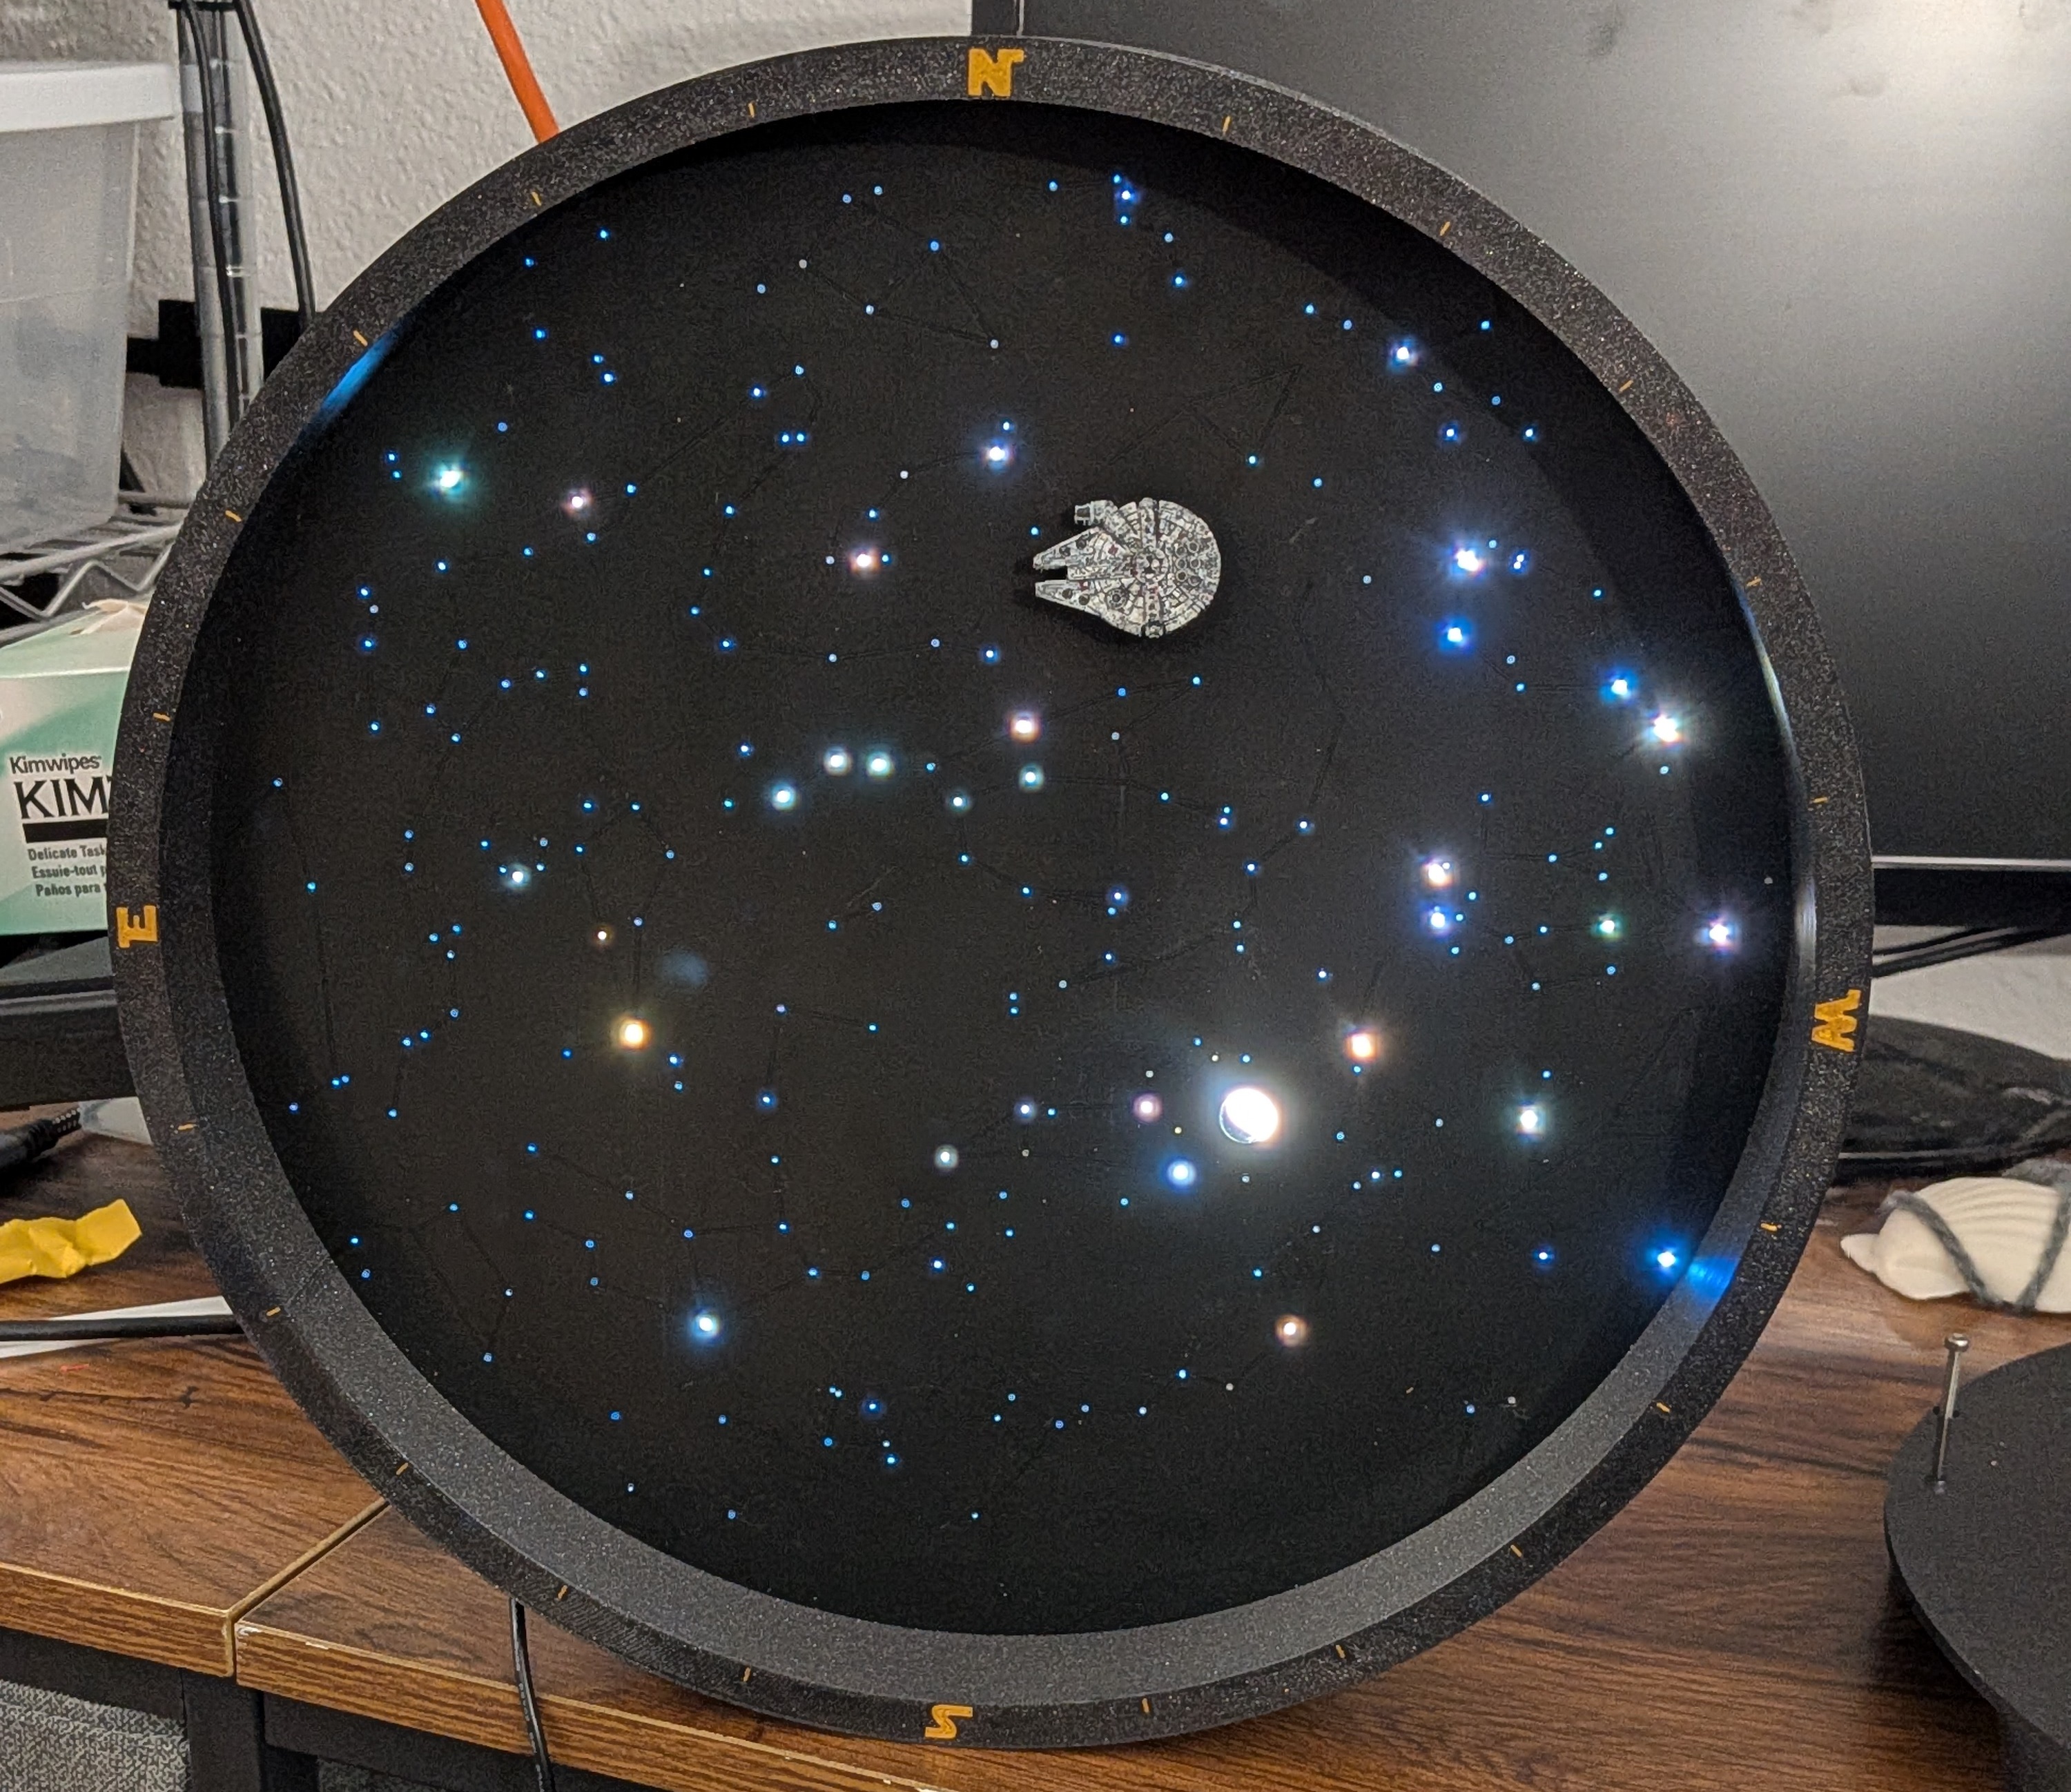
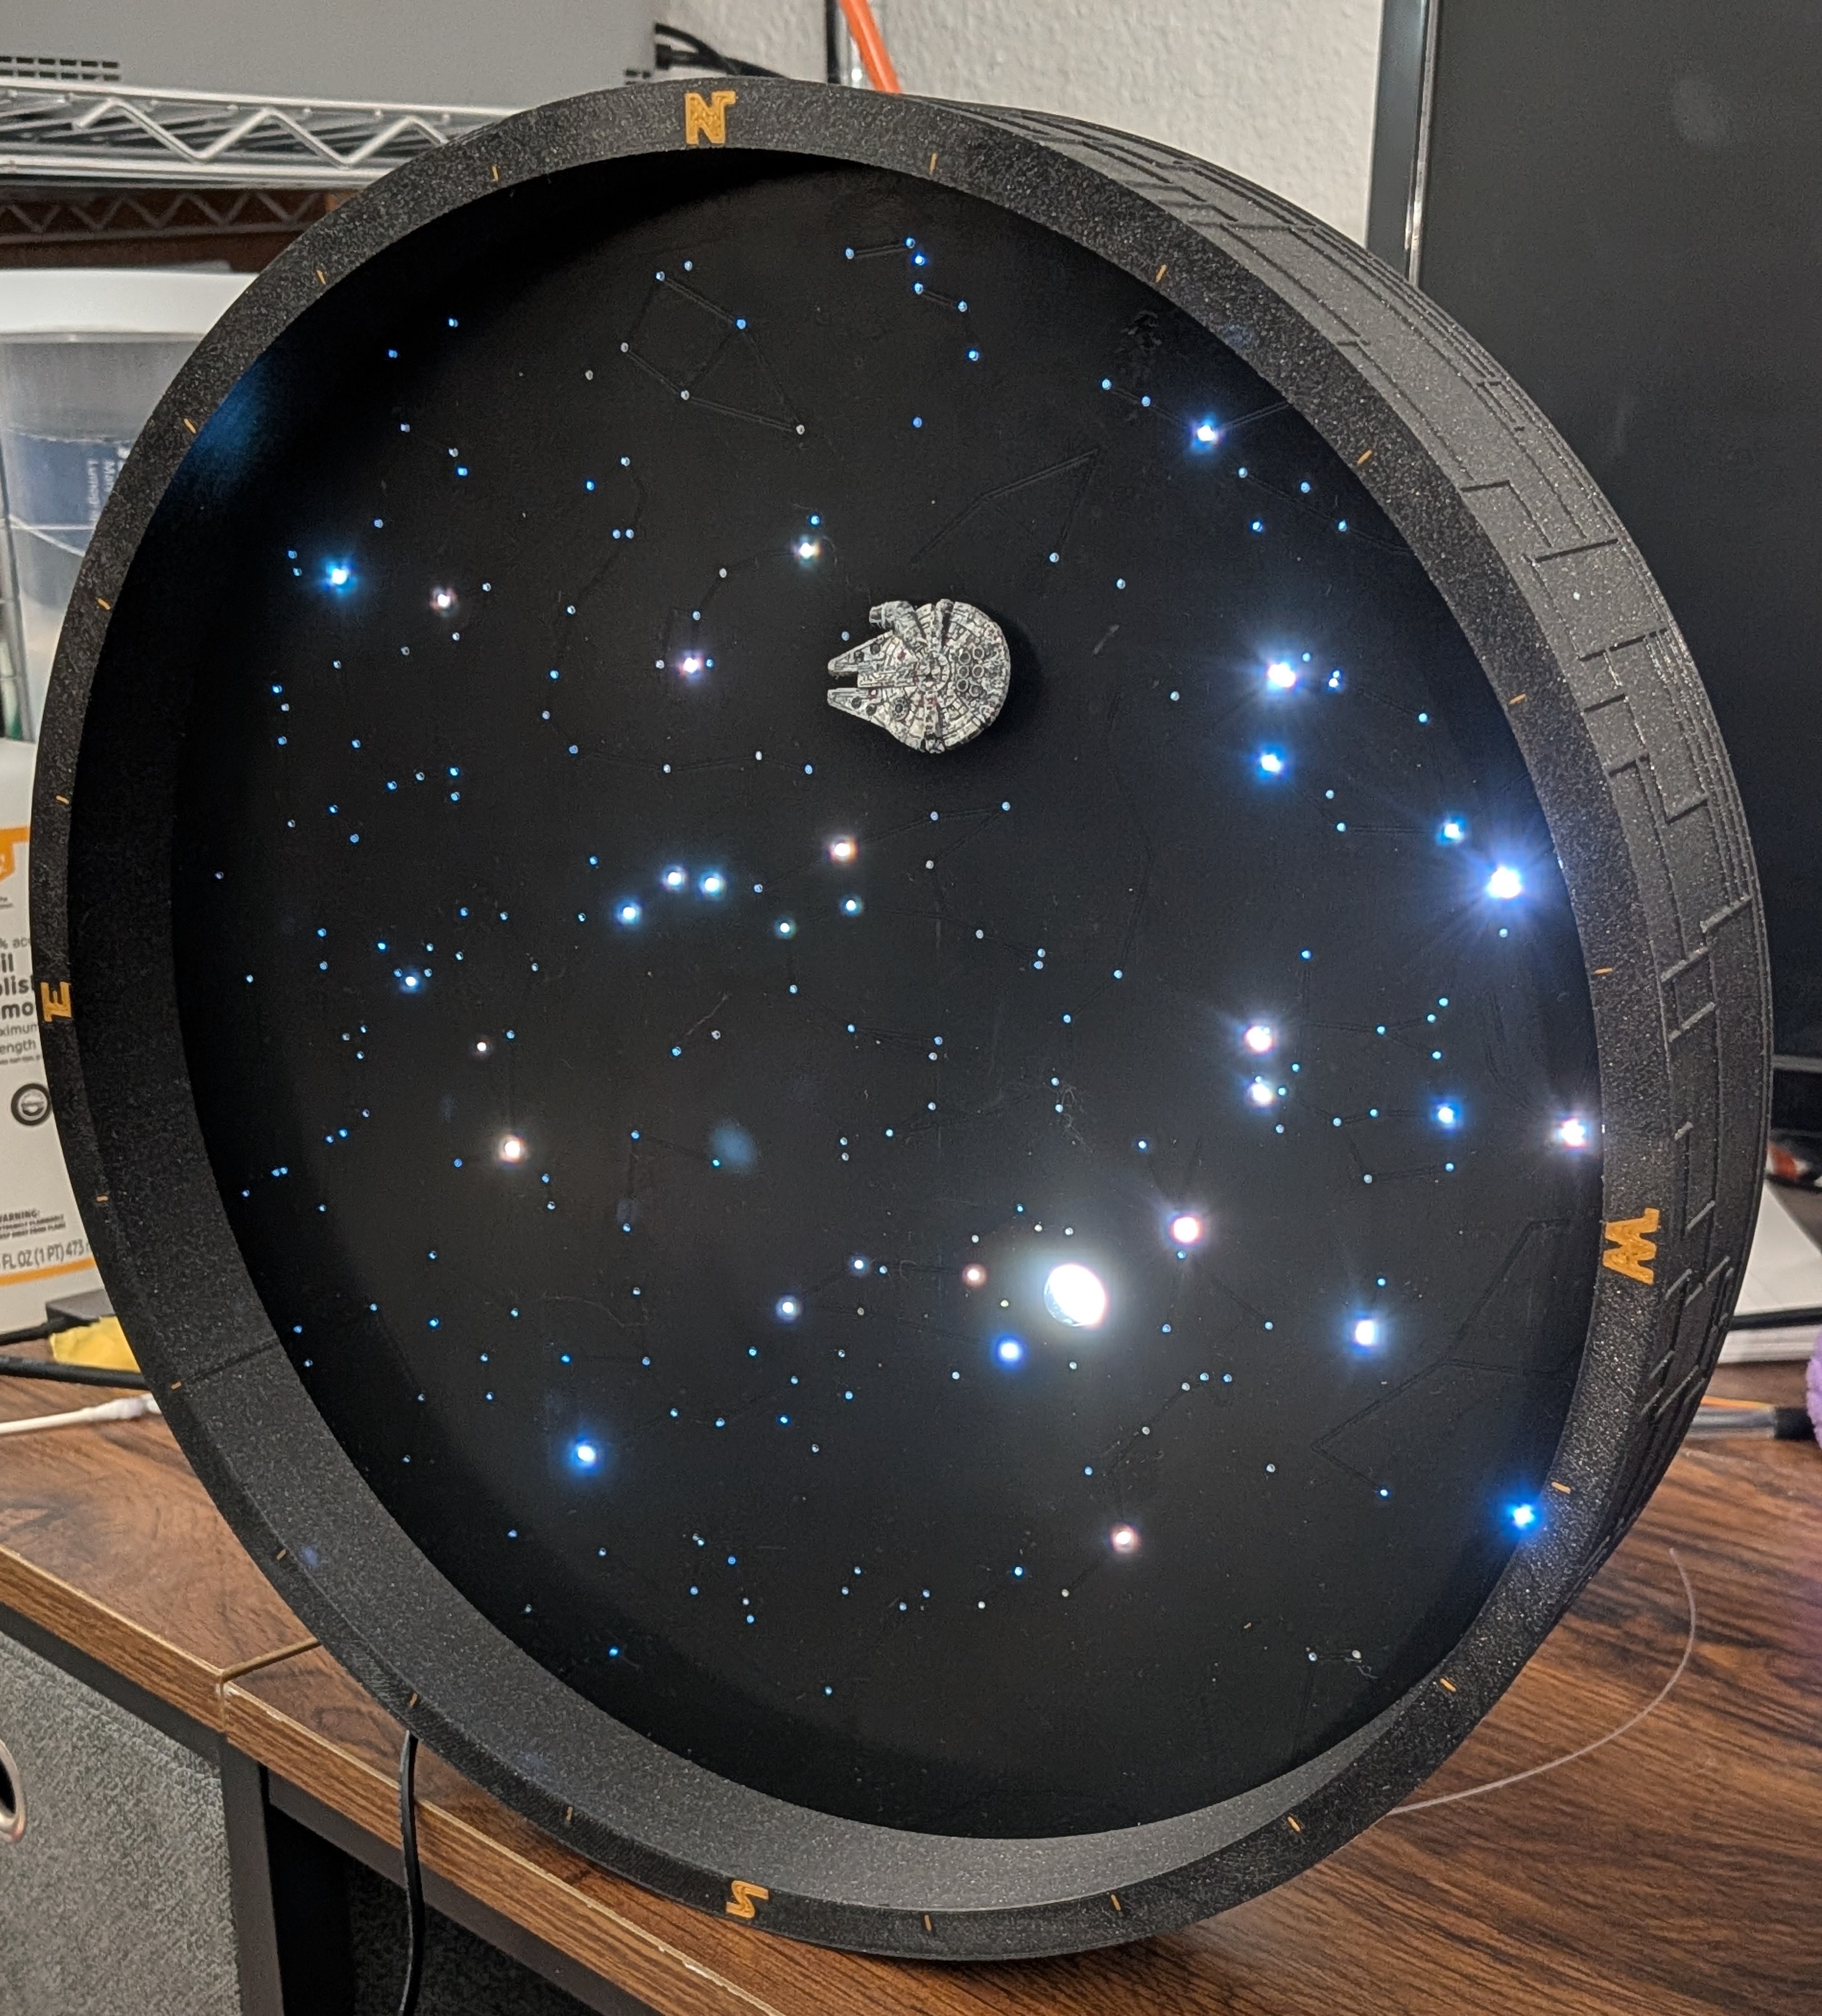
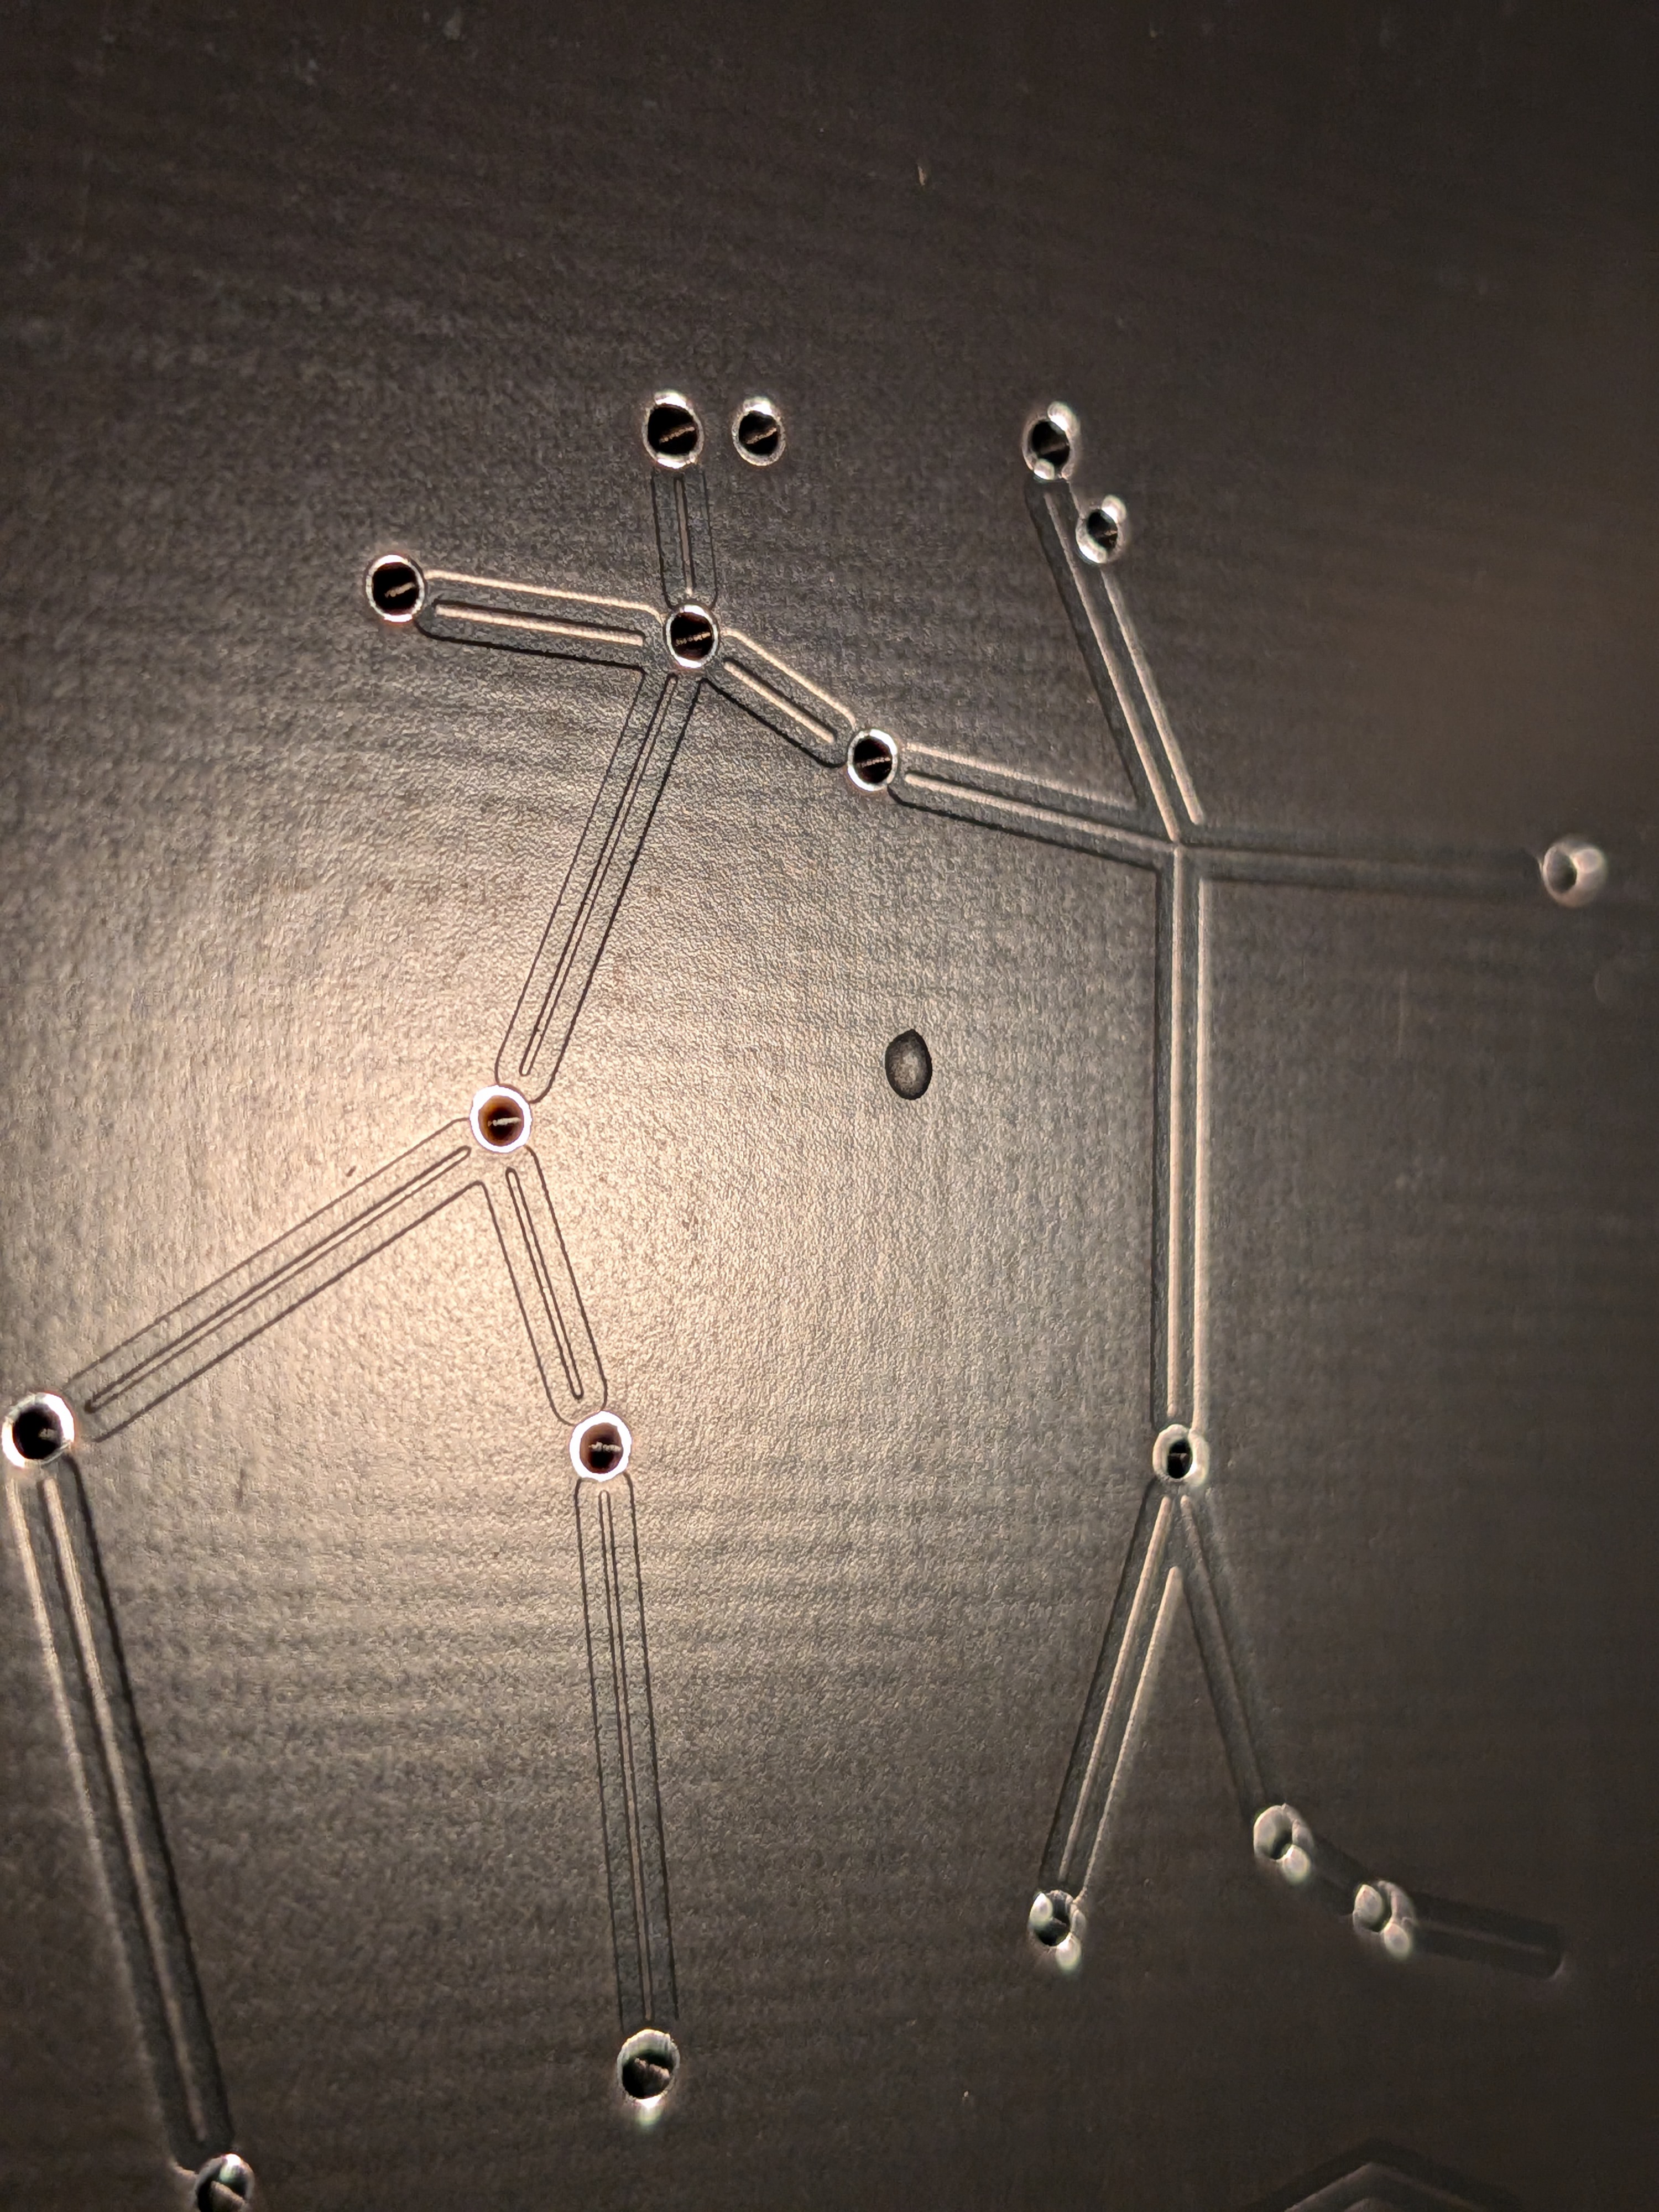
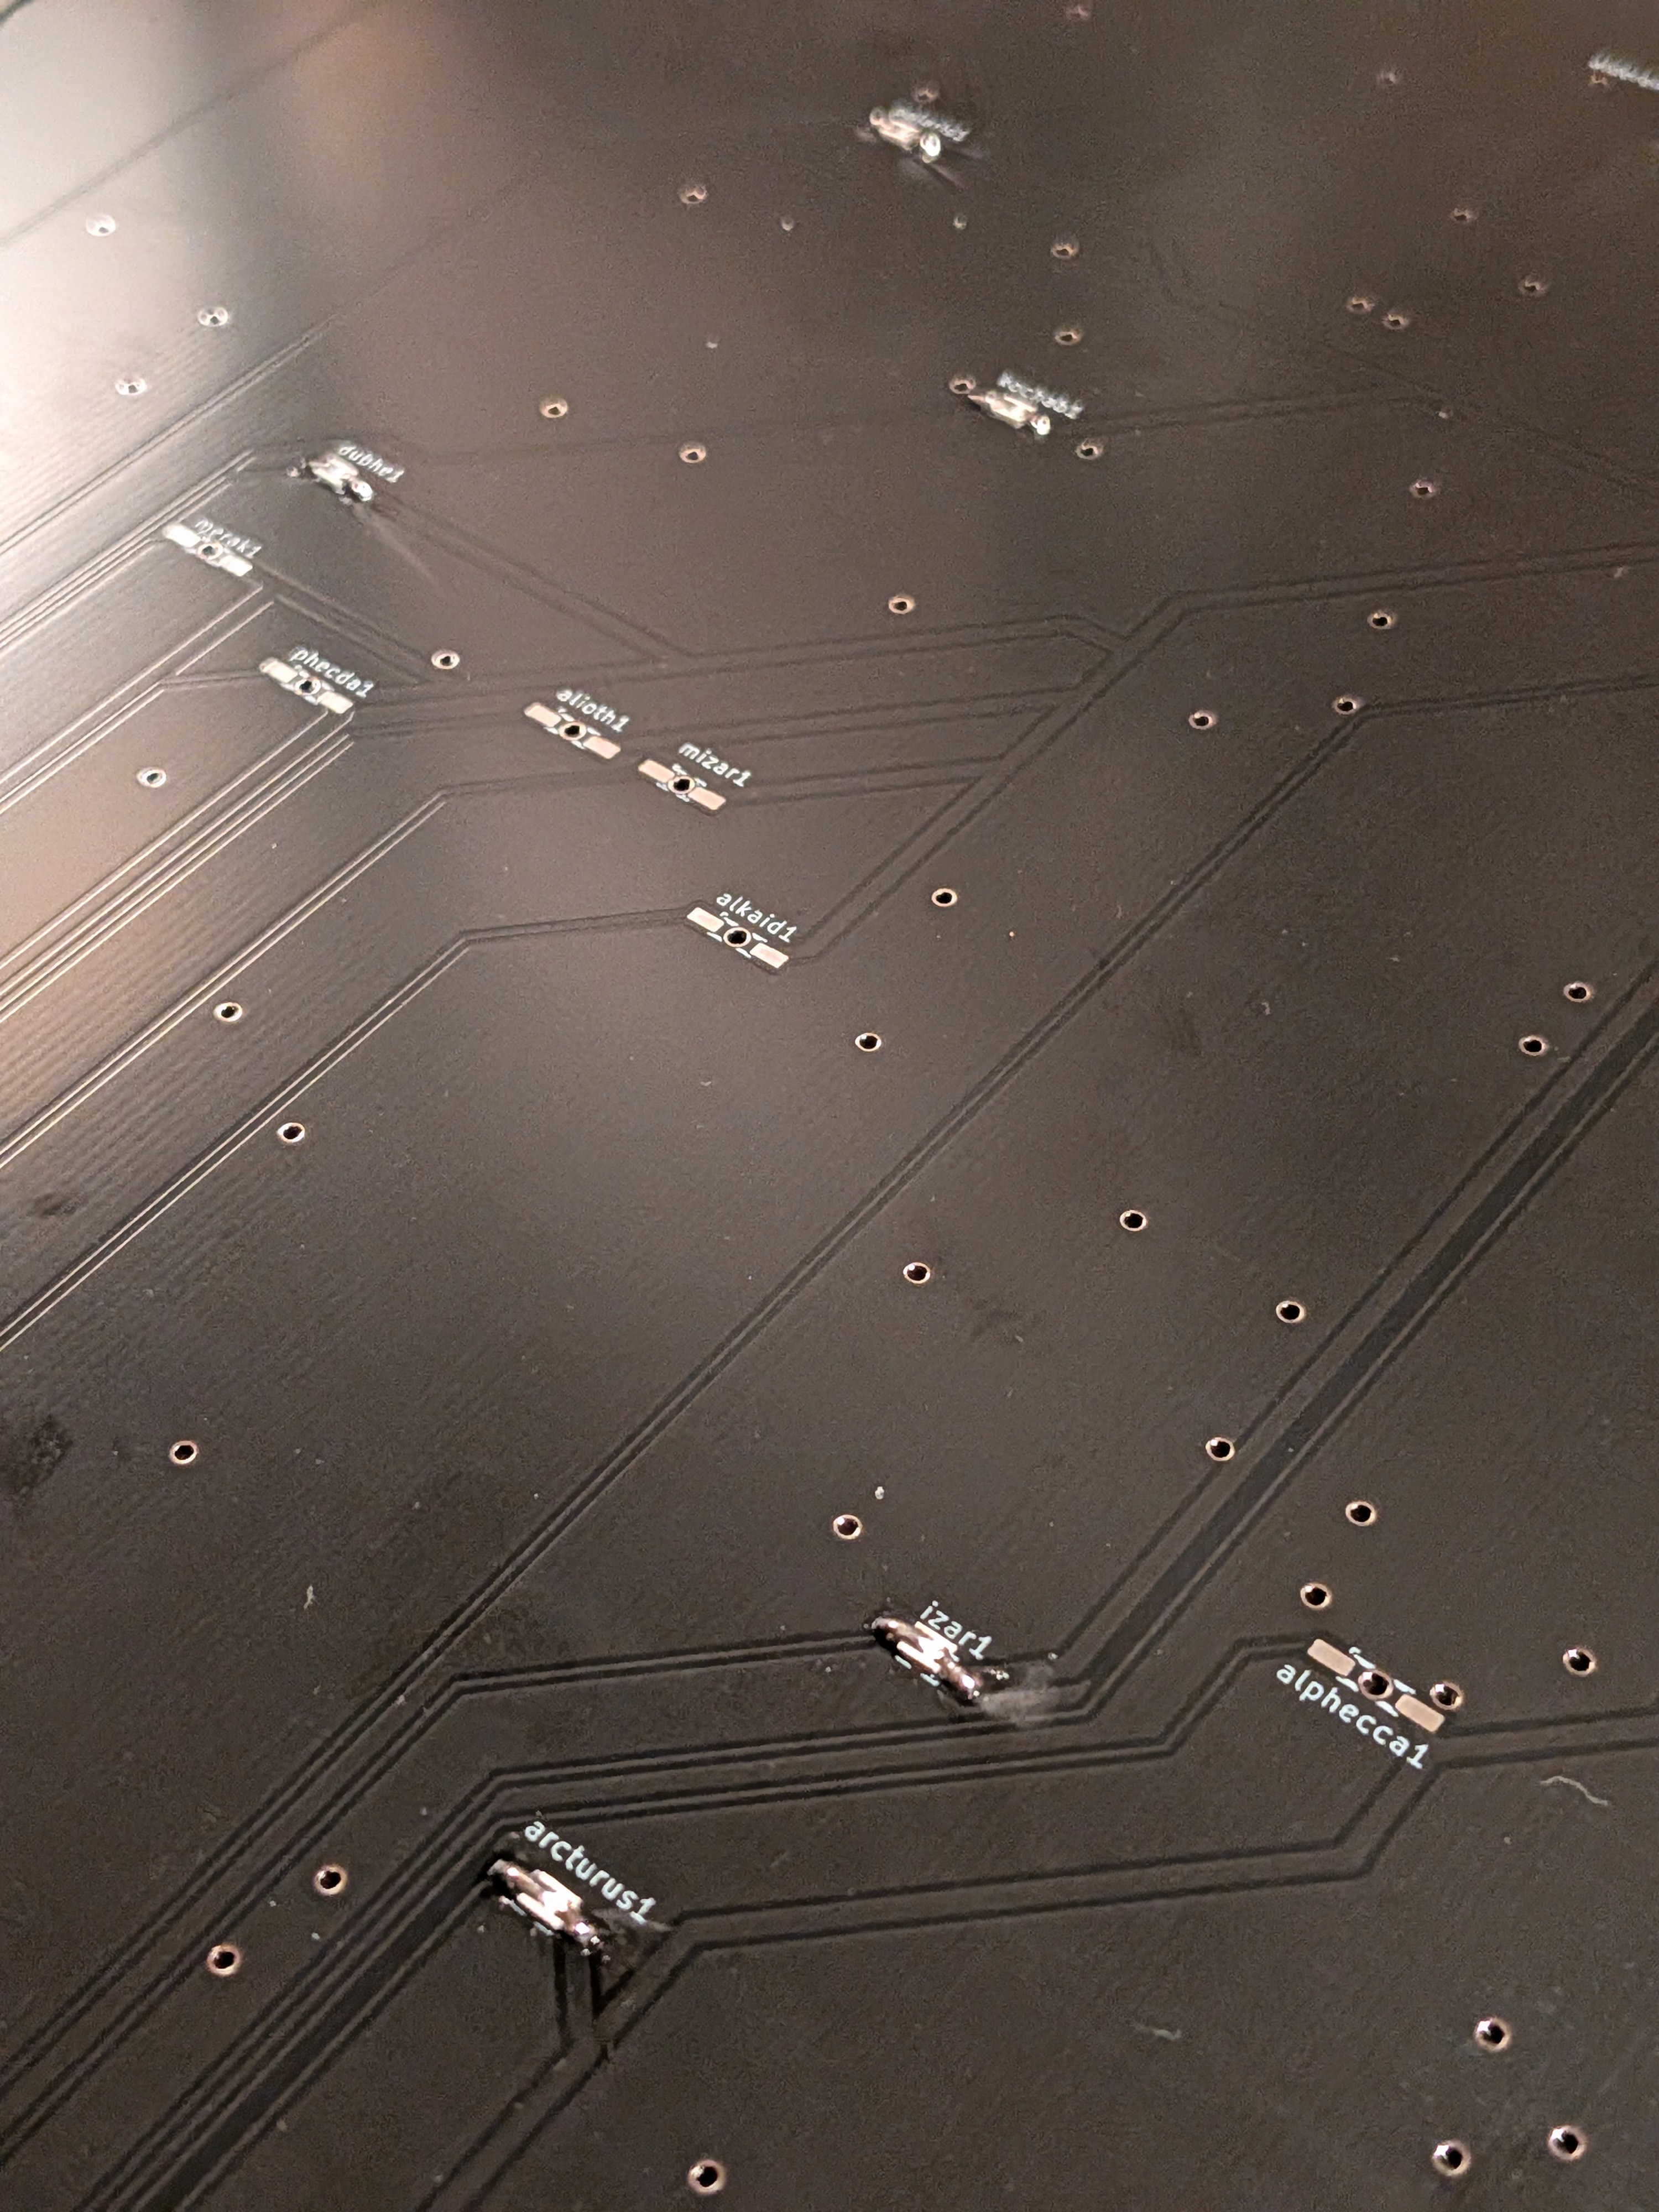
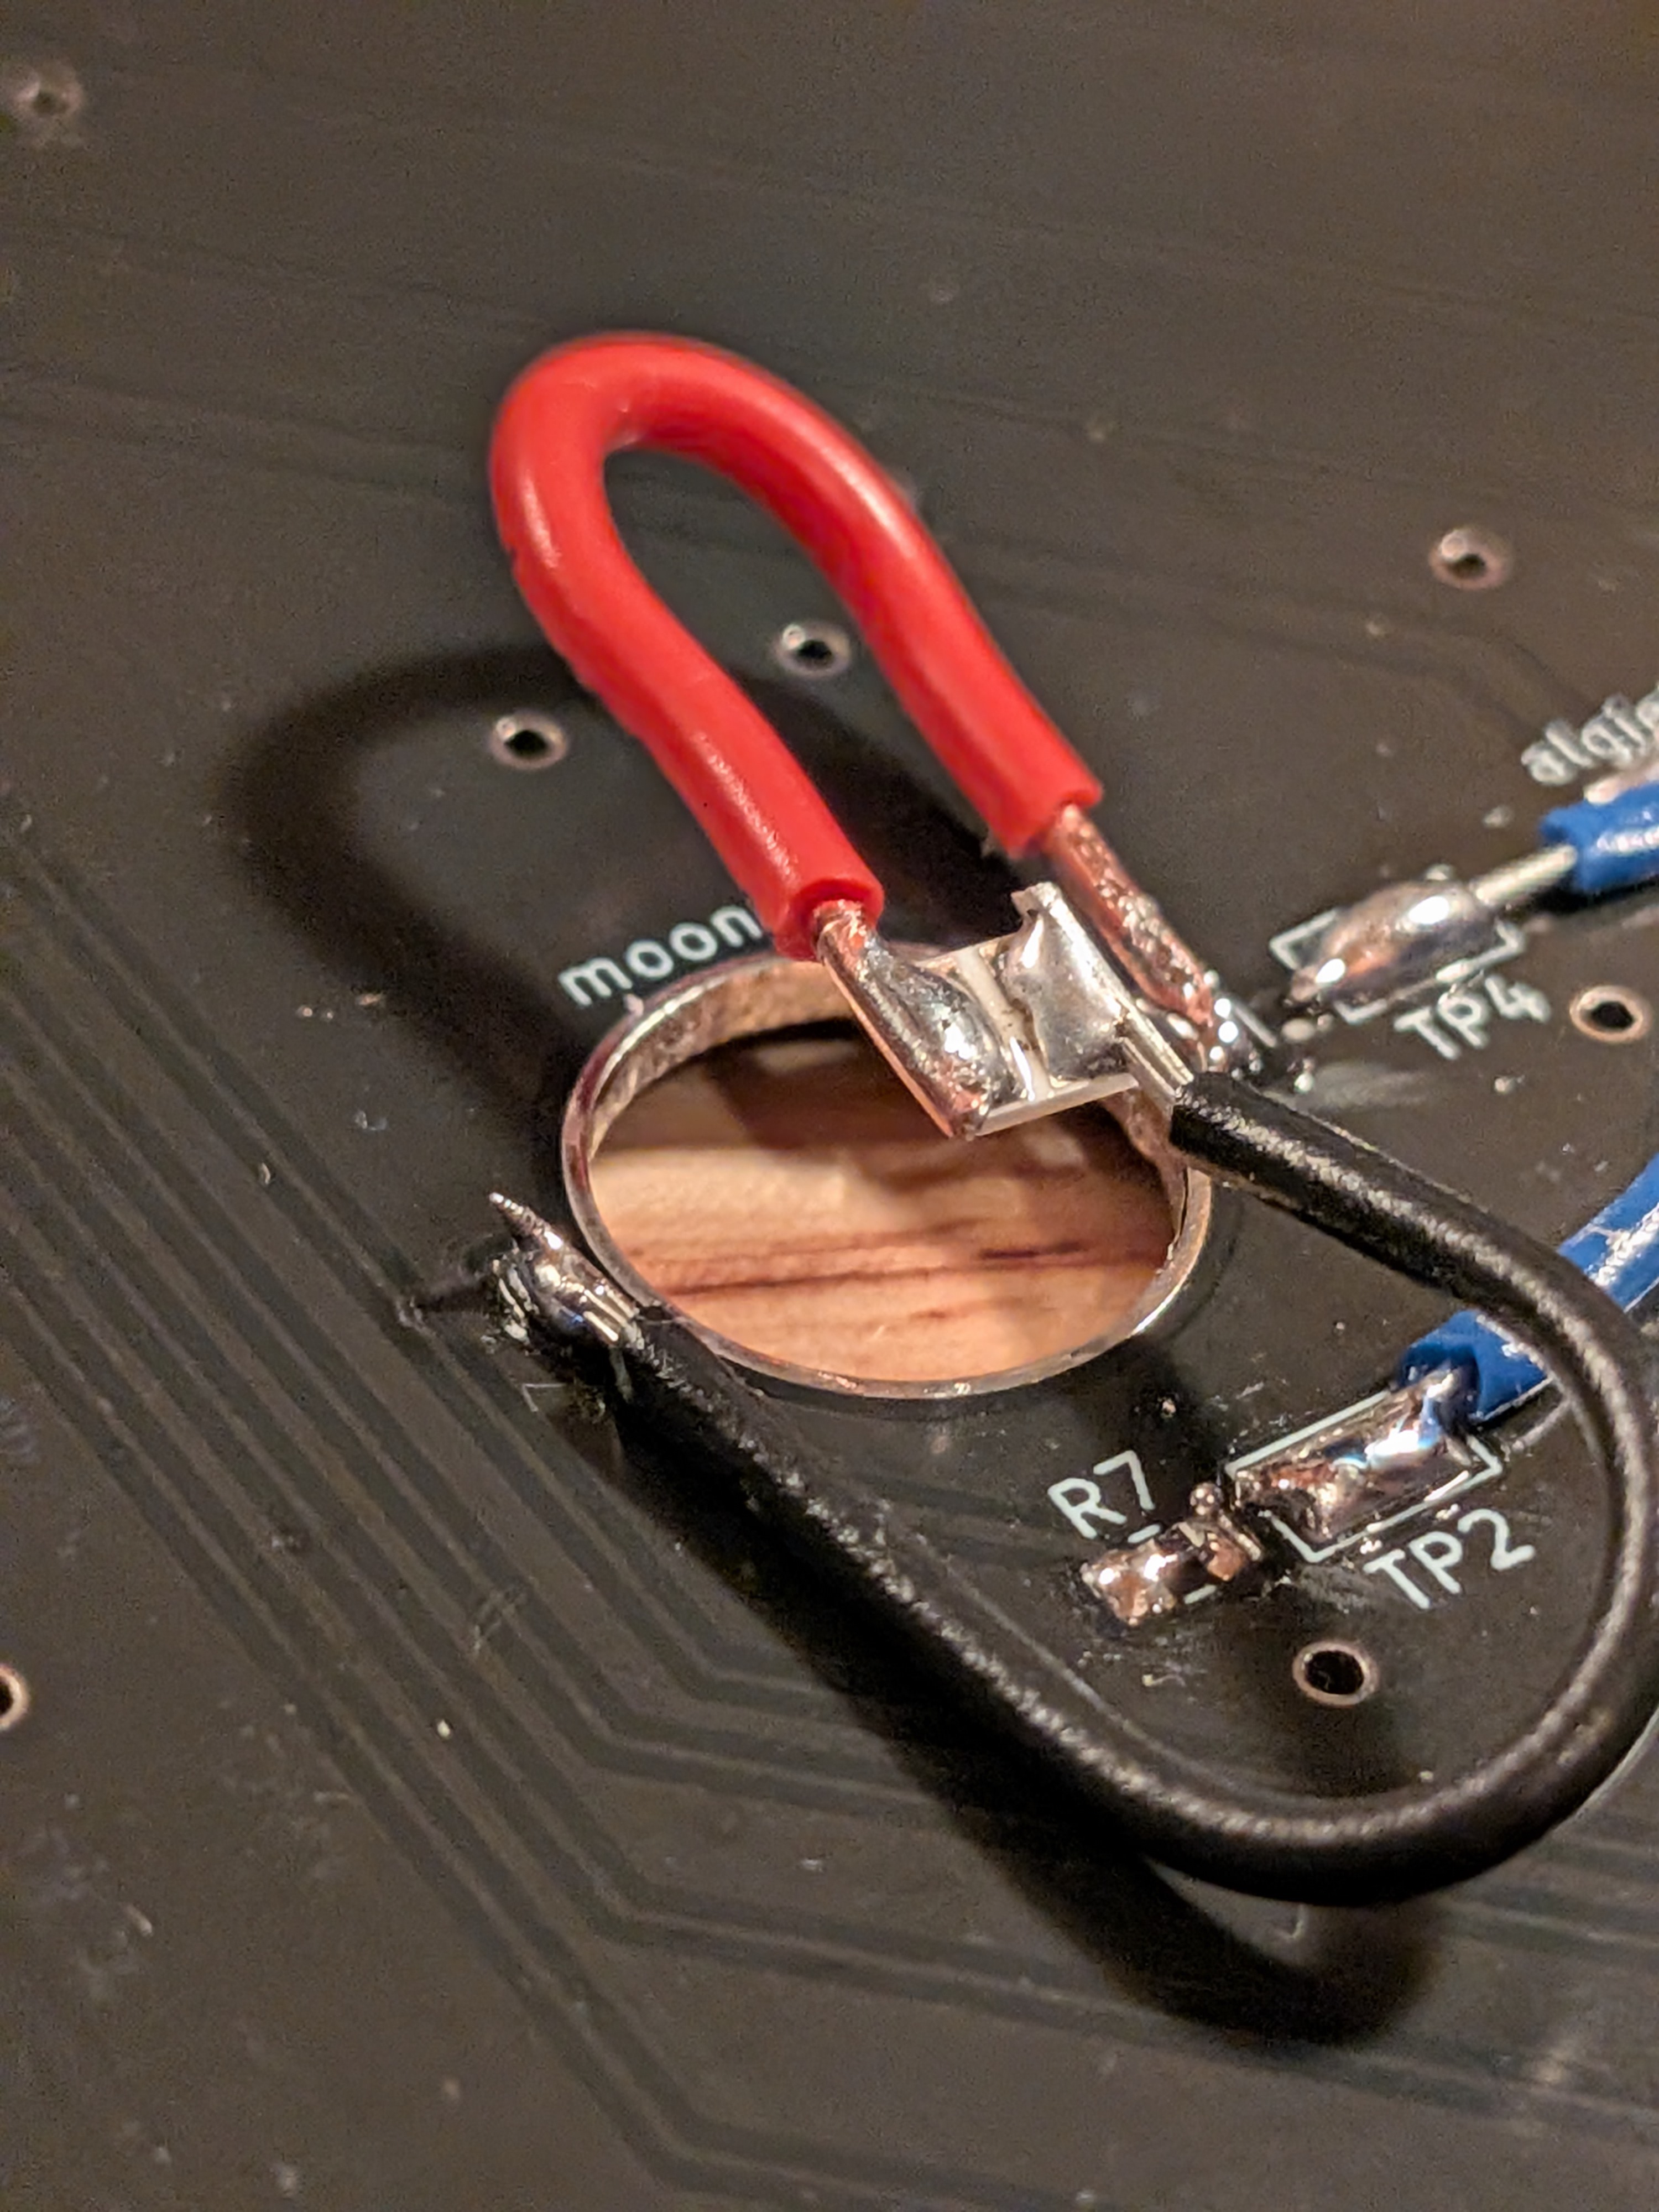
This project is designed around a large circular PCB. The 29 brightest stars and two planets visible that night were represented by LEDs, mounted upside down and shining through holes in the PCB. I binned the stars by color temperature based on available parts, so that their colors would be similar to how they look in real life, and used the LP5036 LED driver to assign brightness based on their apparent brightness in the sky. The dimmer 200 stars that were visible that night were represented as vias on the PCB, through which I glued strands of fiber optics to give them their light. I used the Pimoroni 11x7 LED matrix to light the fiber optic bundles. For the Moon, I 3D-printed a small diffuser with the correct moon phase, using an opaque black filament and a translucent filament. On the display side I glued a glass dome to improve the look. This diffuser was lit up with a bright SMD LED that had to be dead-bugged onto the board with hookup wire, because the moon hole was too large to directly mount the LED. Since this LED required more current than the rest of the stars, I used a MOSFET to drive this LED.
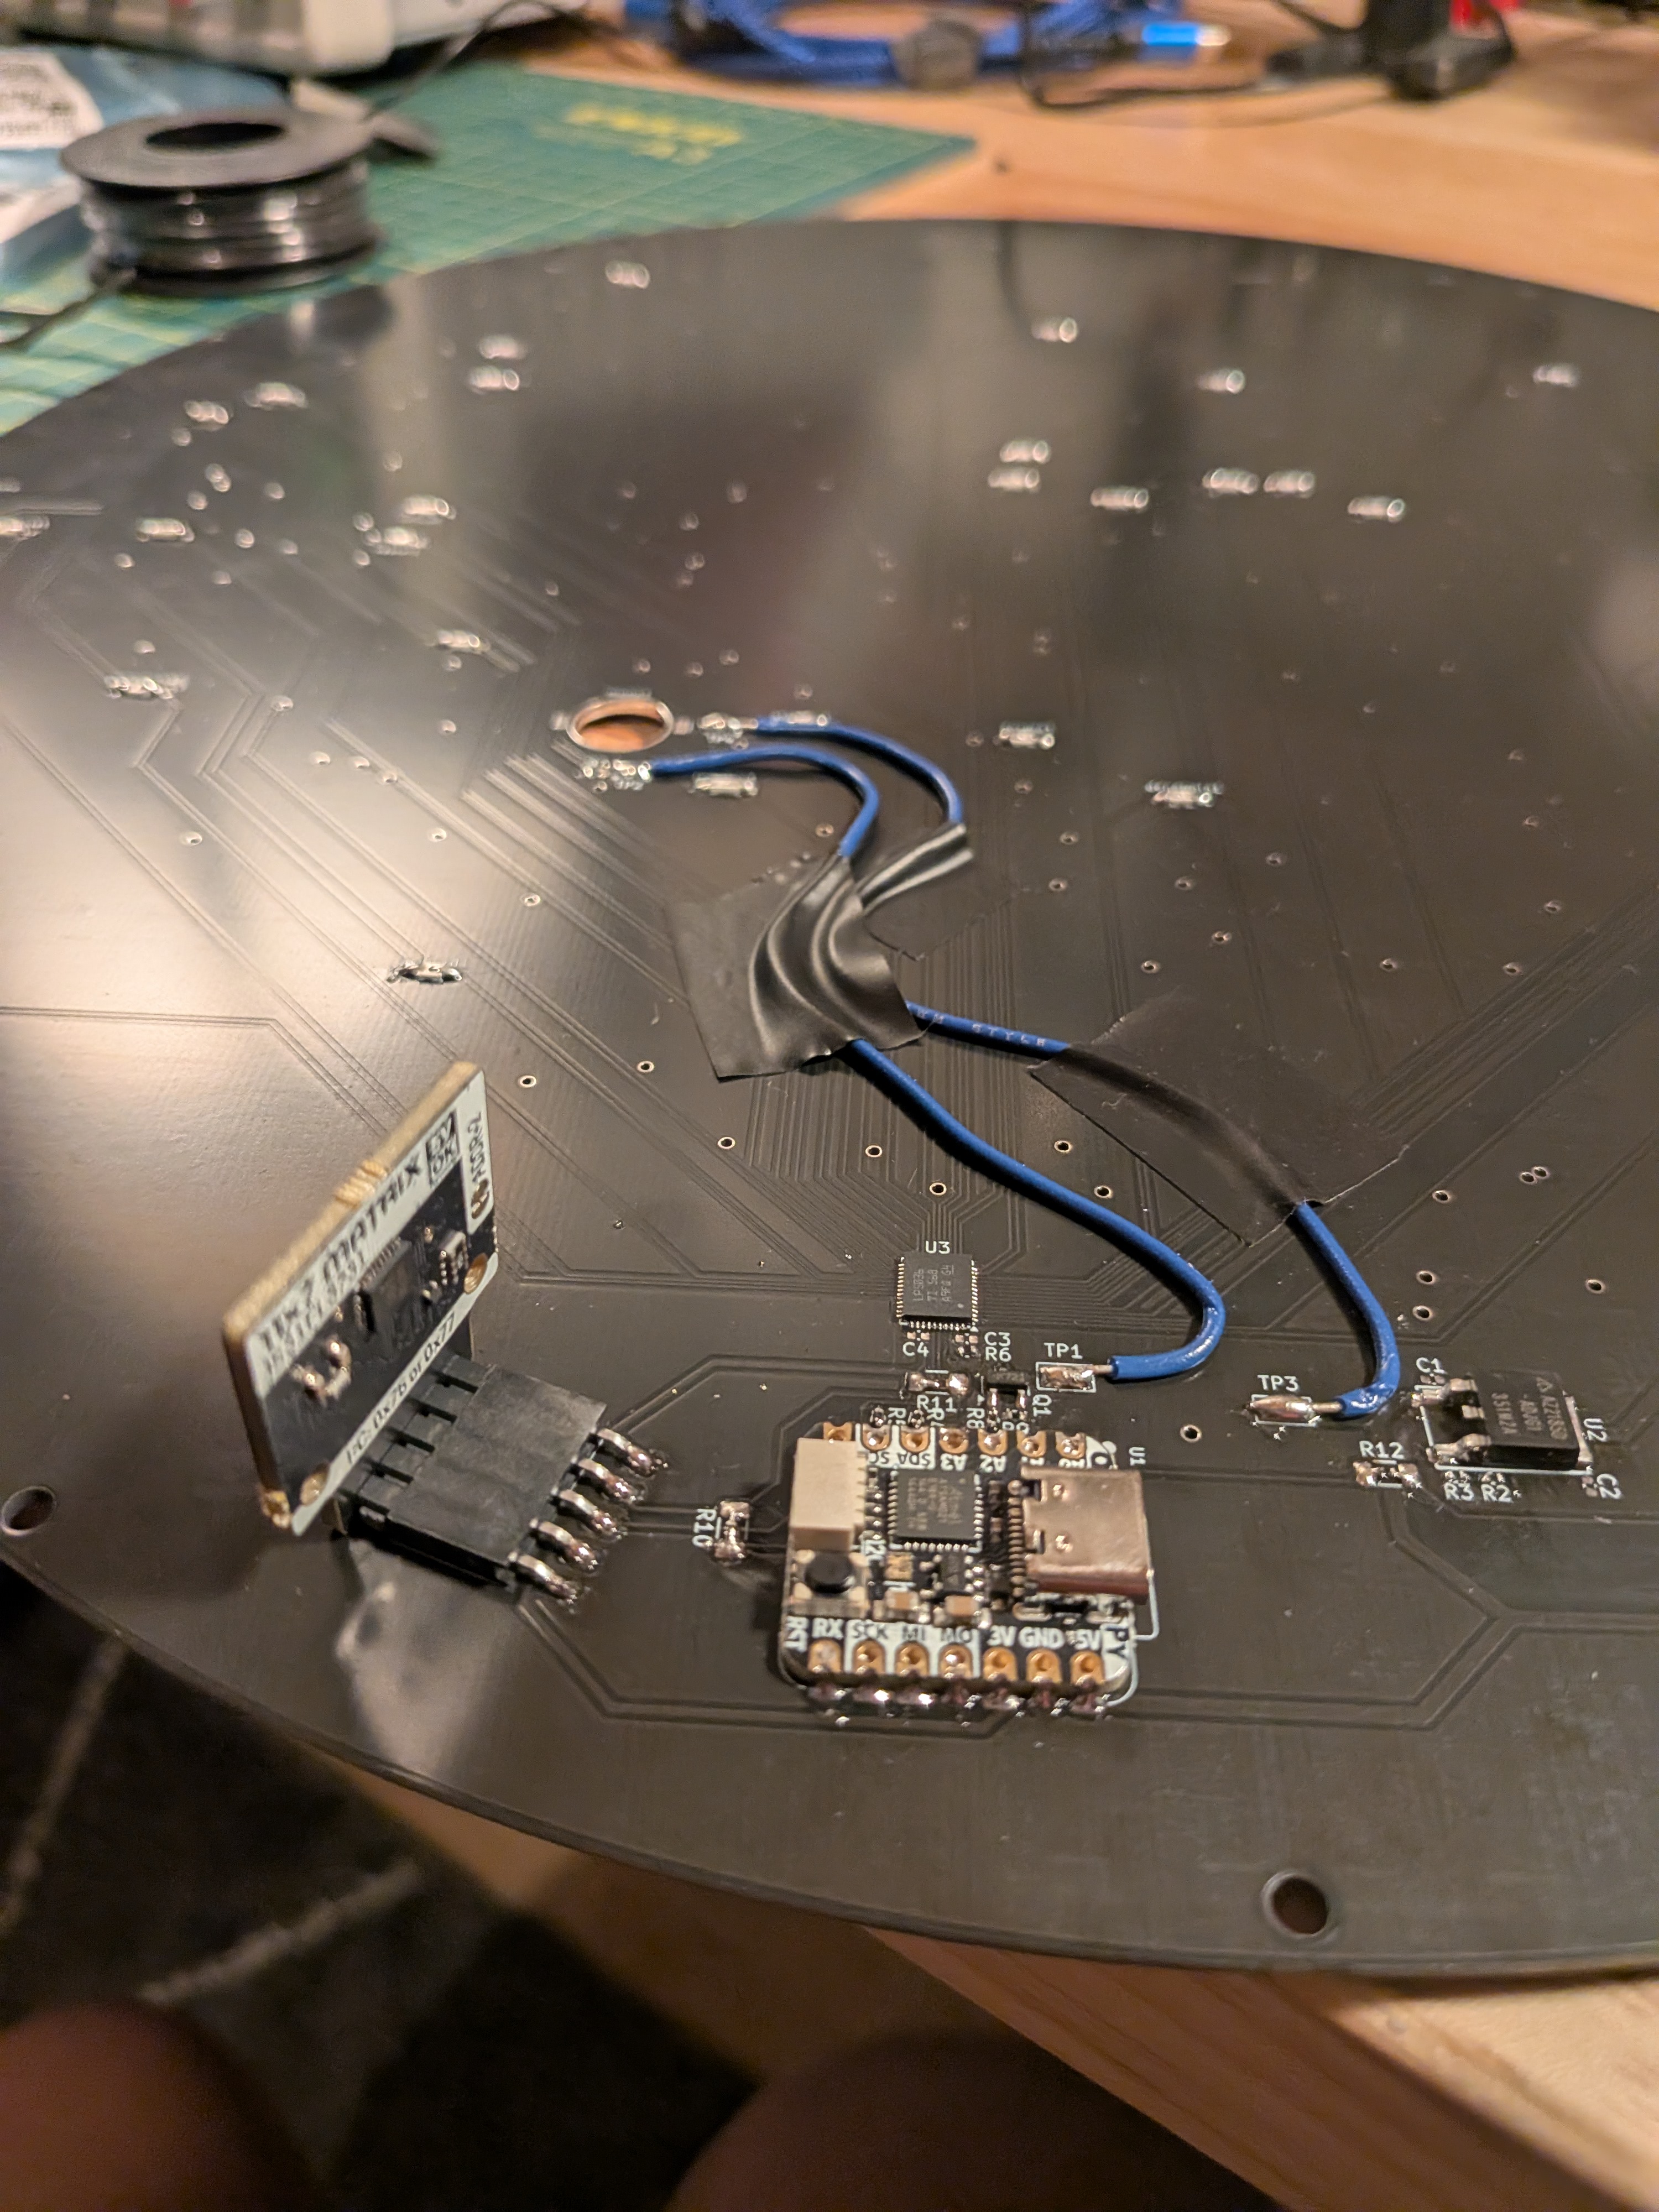
The MOSFET, LED matrix, LP5036 driver, and moon were controlled using an Adafruit QT Py microcontroller board, which I soldered directly to the PCB using its castellated pads. I wrote code to provide a twinkling effect to all the stars, also ensuring that the moon, Mars and Jupiter did not twinkle. I also took input from a simple potentiometer knob in order to allow the overall brightness of the whole scene to be set.
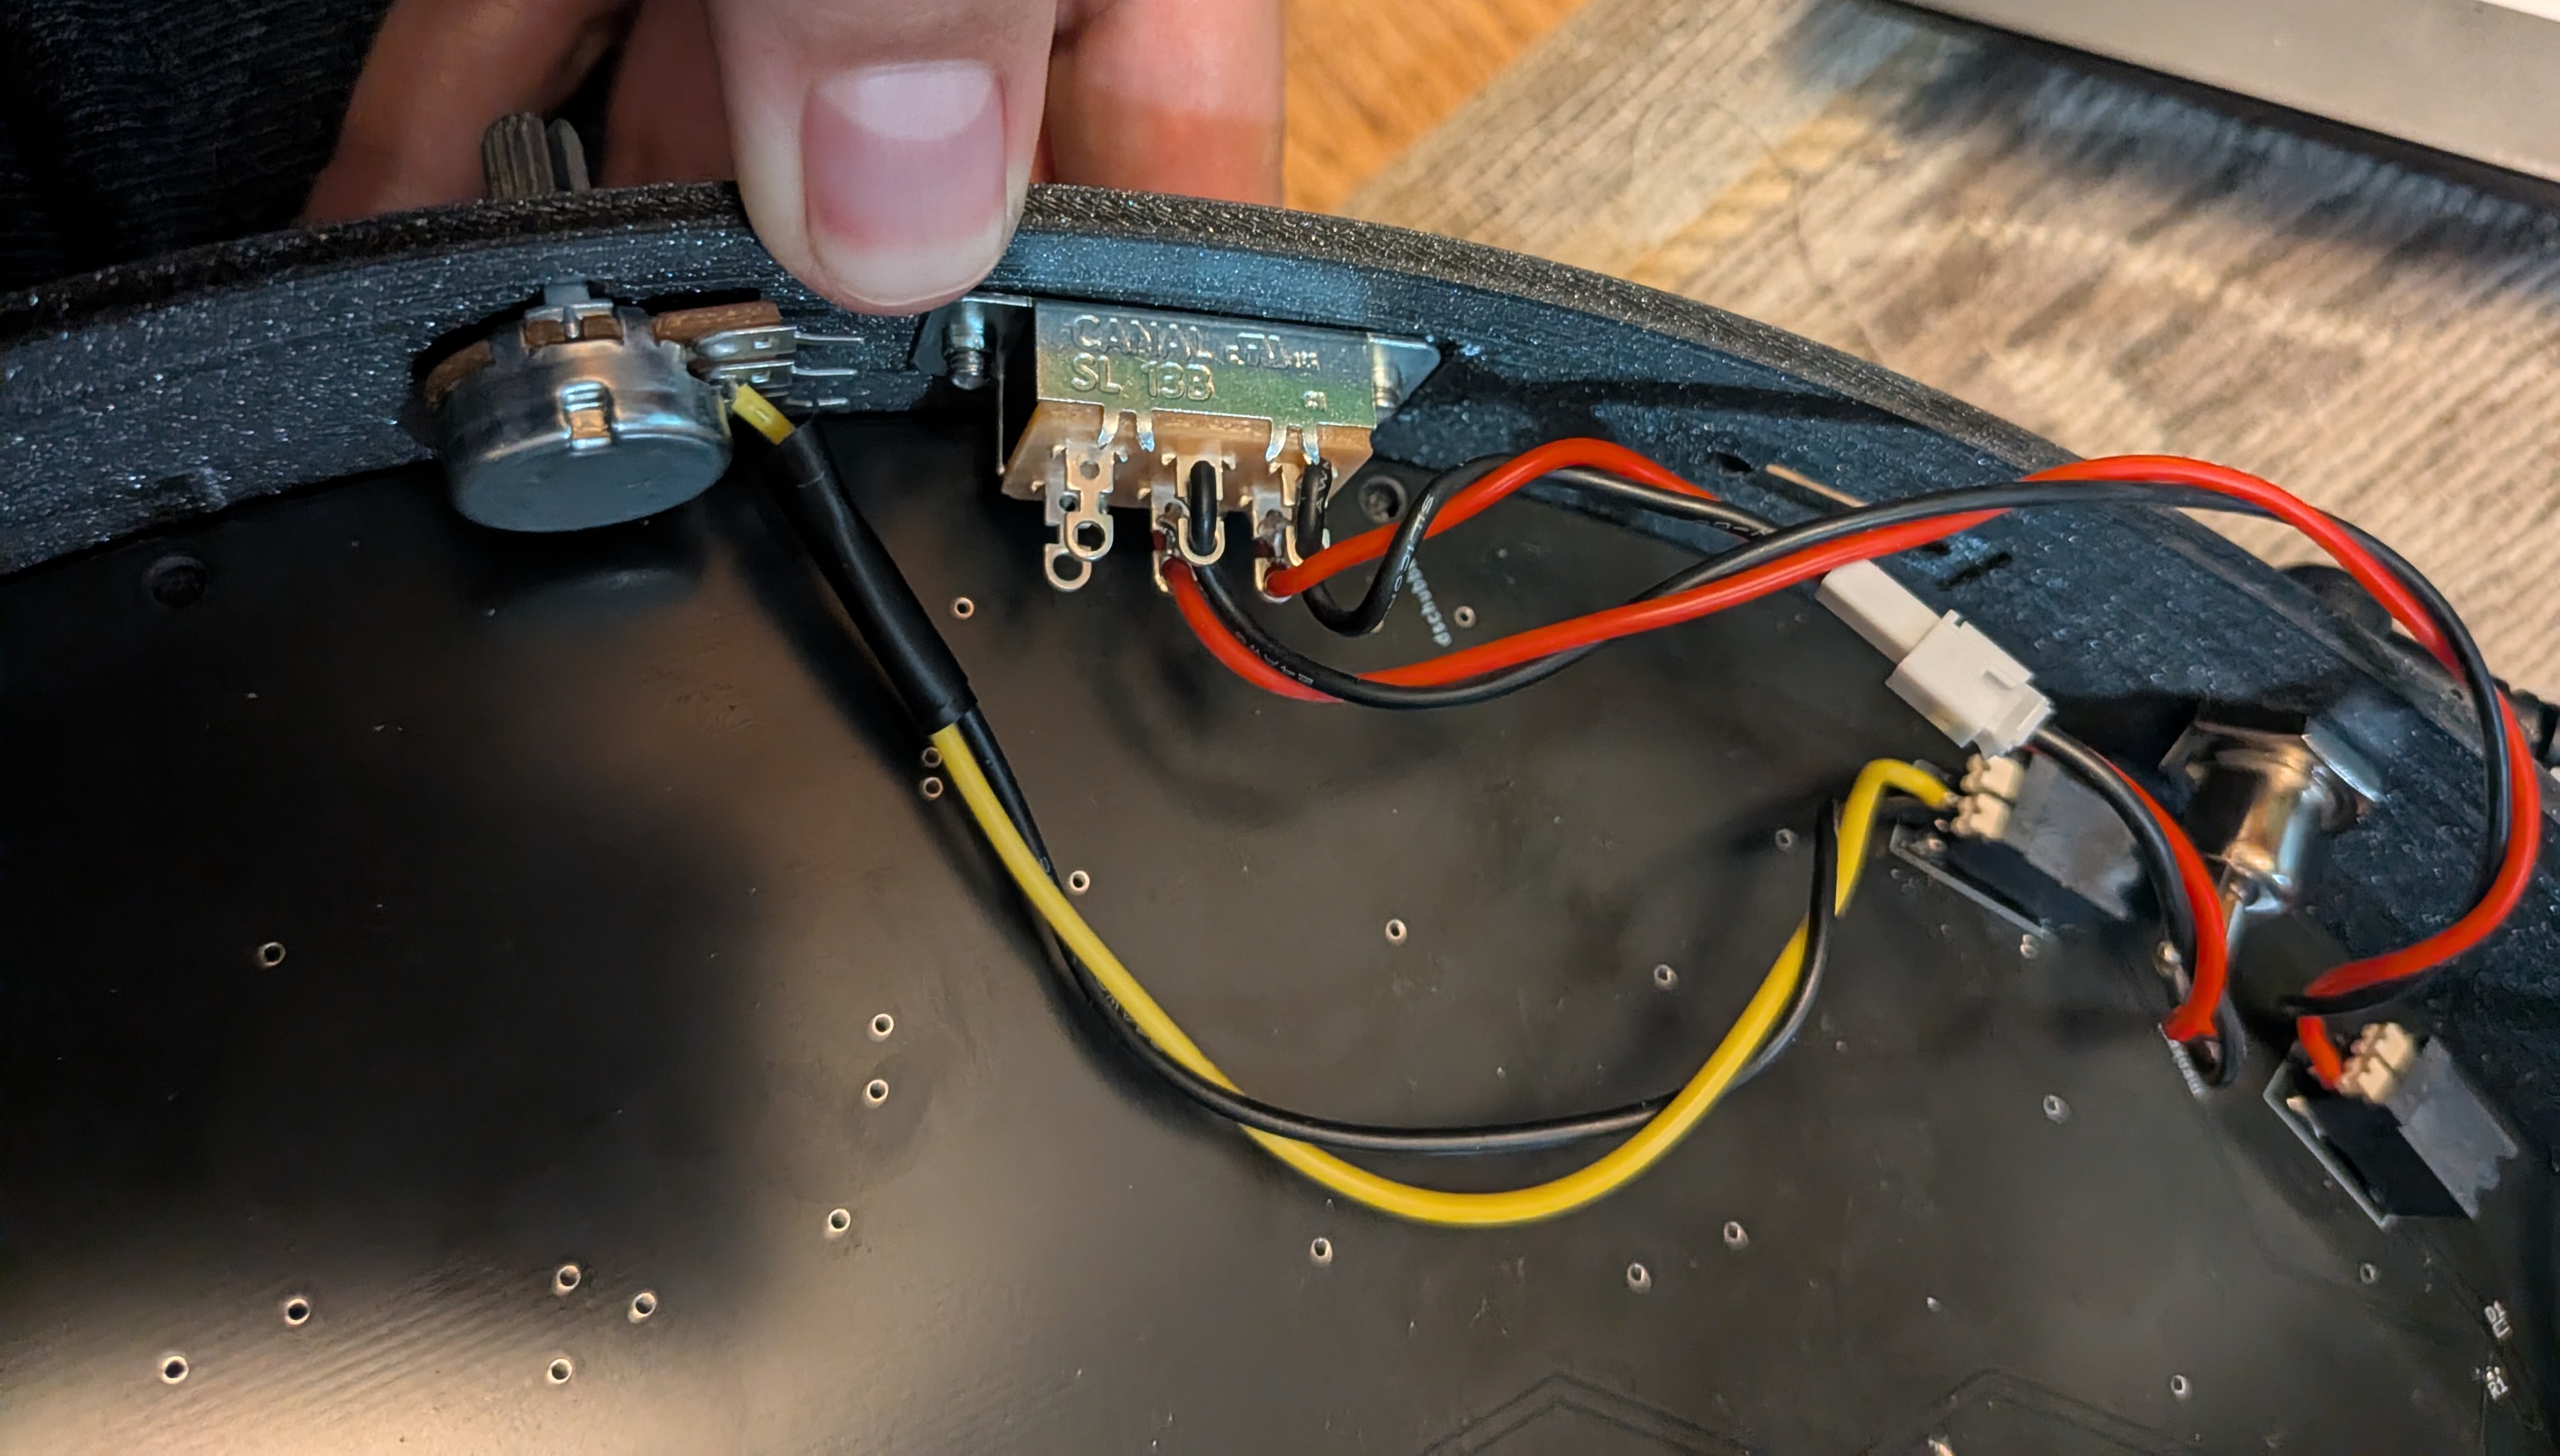
I 3D printed a case for the circuit board, which included a barrel jack connector to provide 5V from a wall wart, an on-off switch, the potentiometer, and a USB-C extension for programmer access with the case closed up. This case includes some of the Star Wars flair, such as a “greeble” texture on the side wall that evokes the Death Star, an R2D2 cap for the potentiometer knob, and cardinal direction markers on the front face in the Star Jedi font.
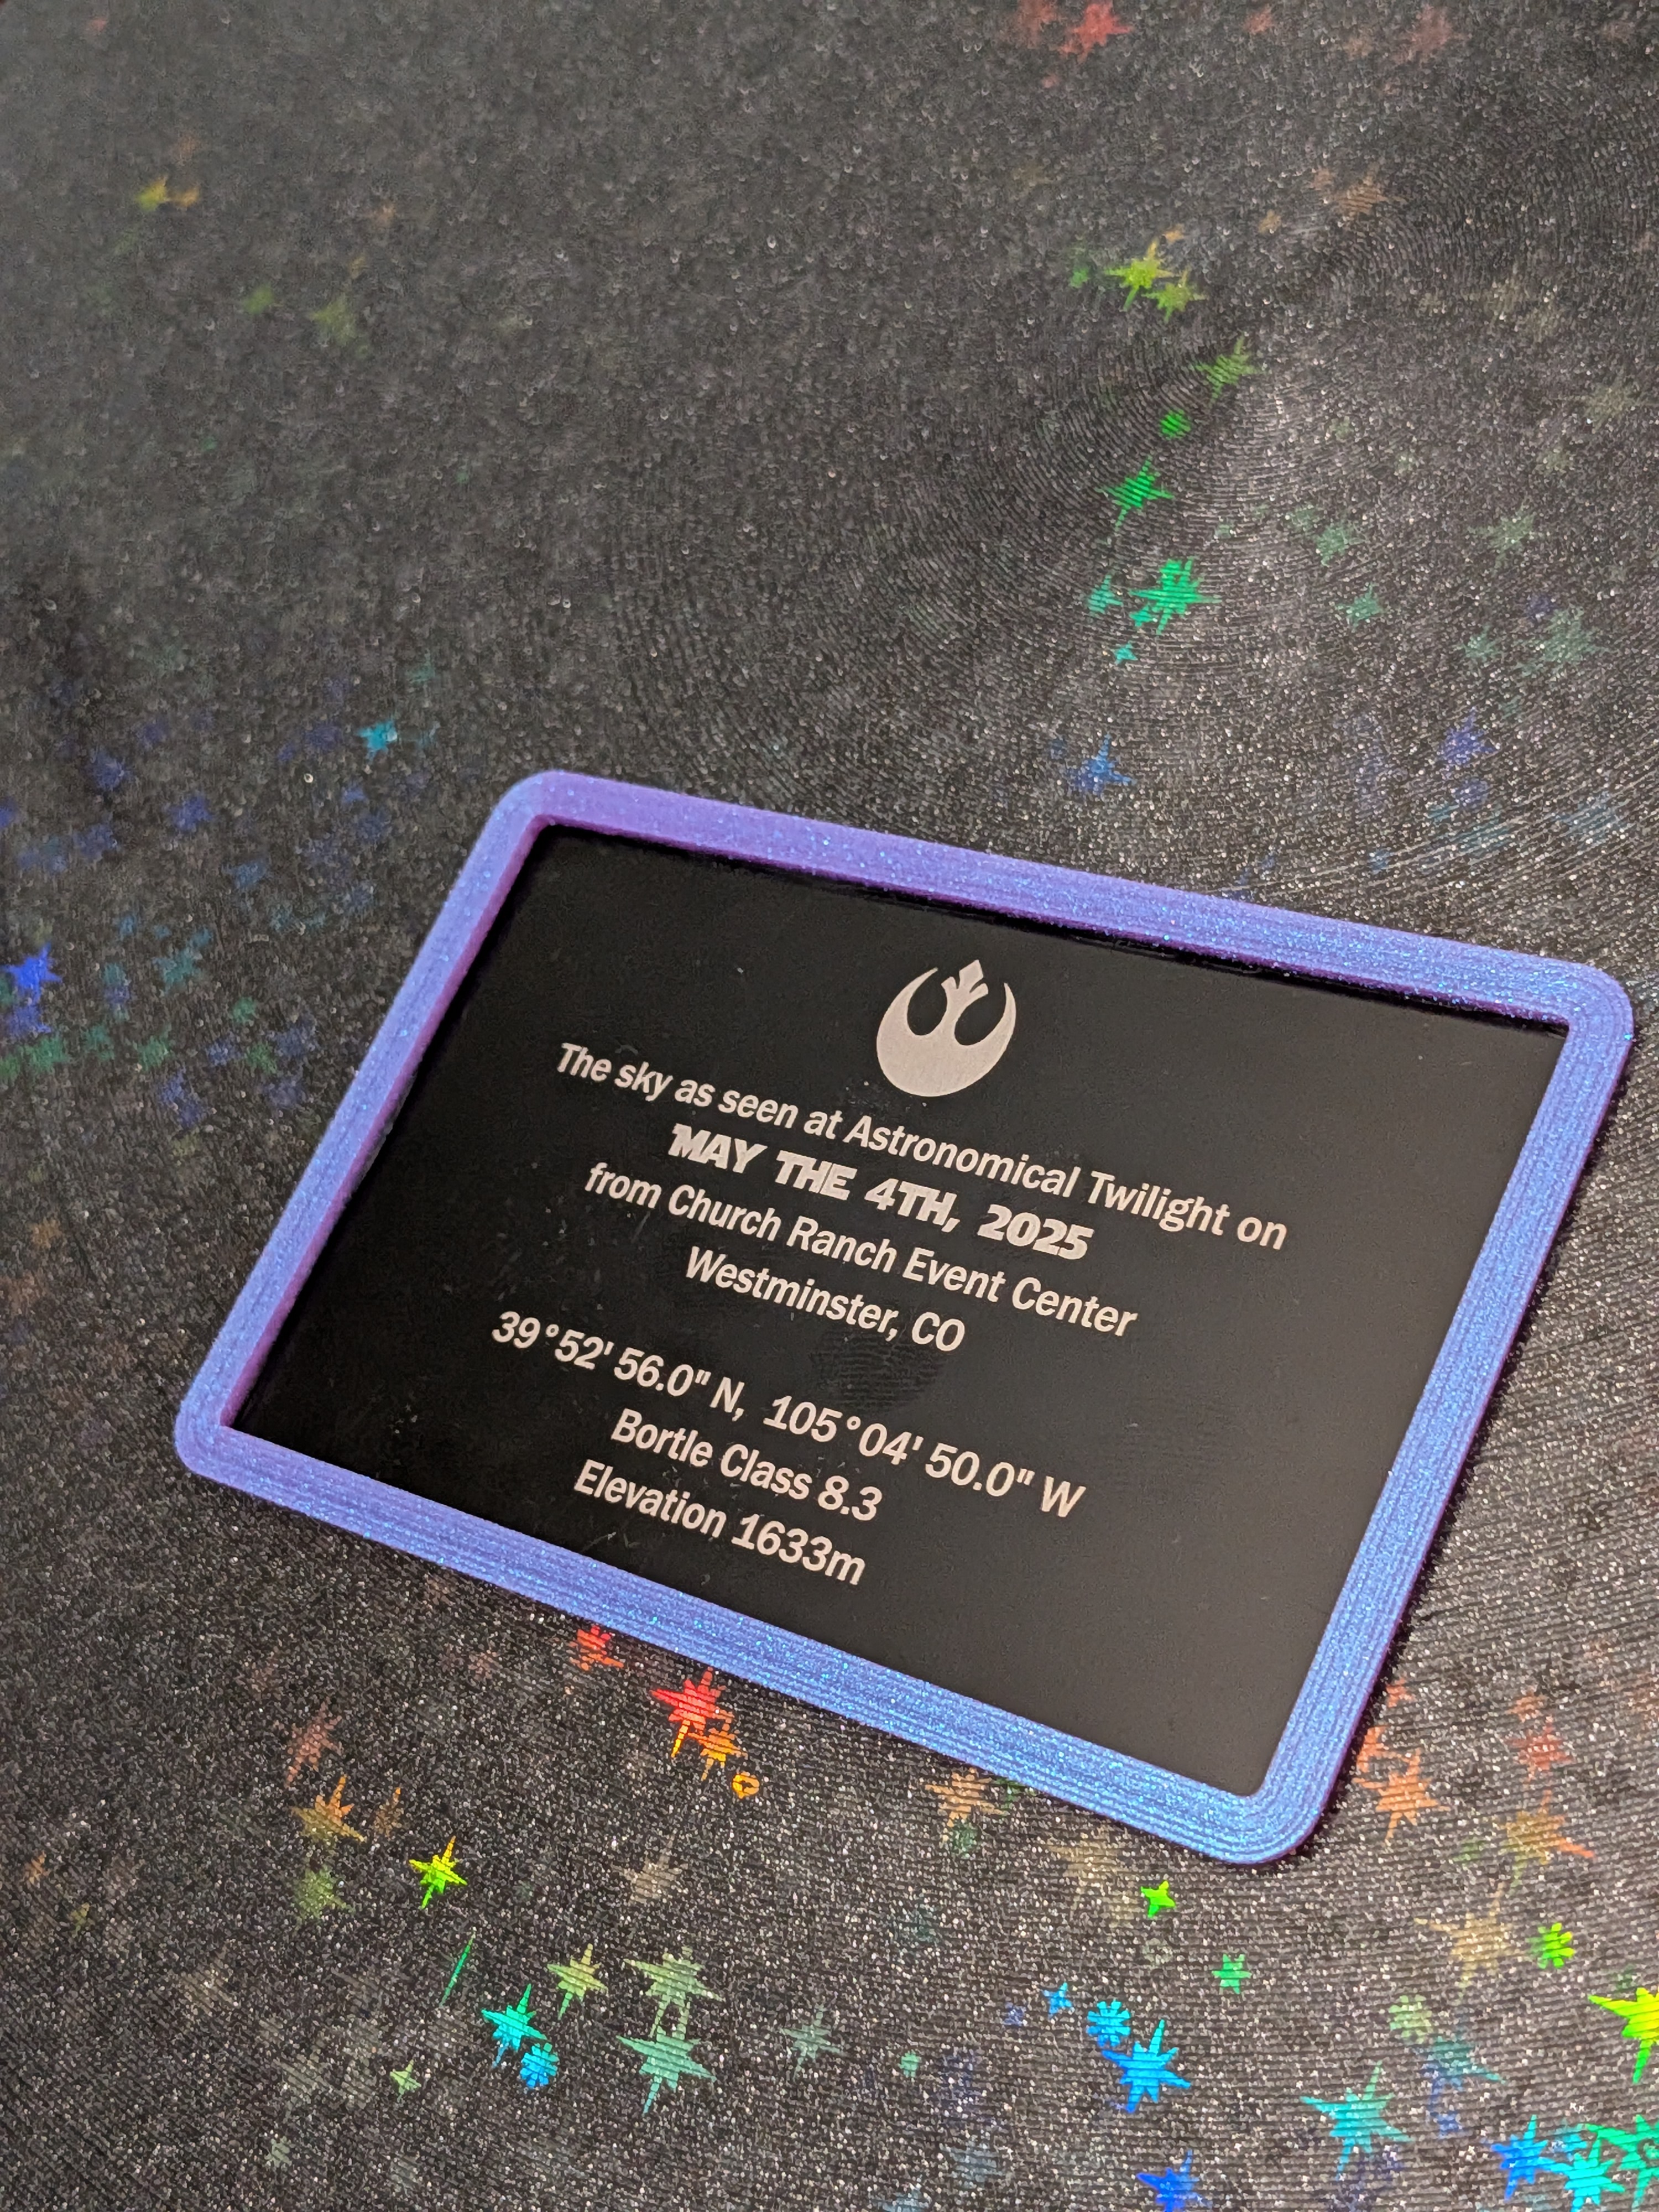
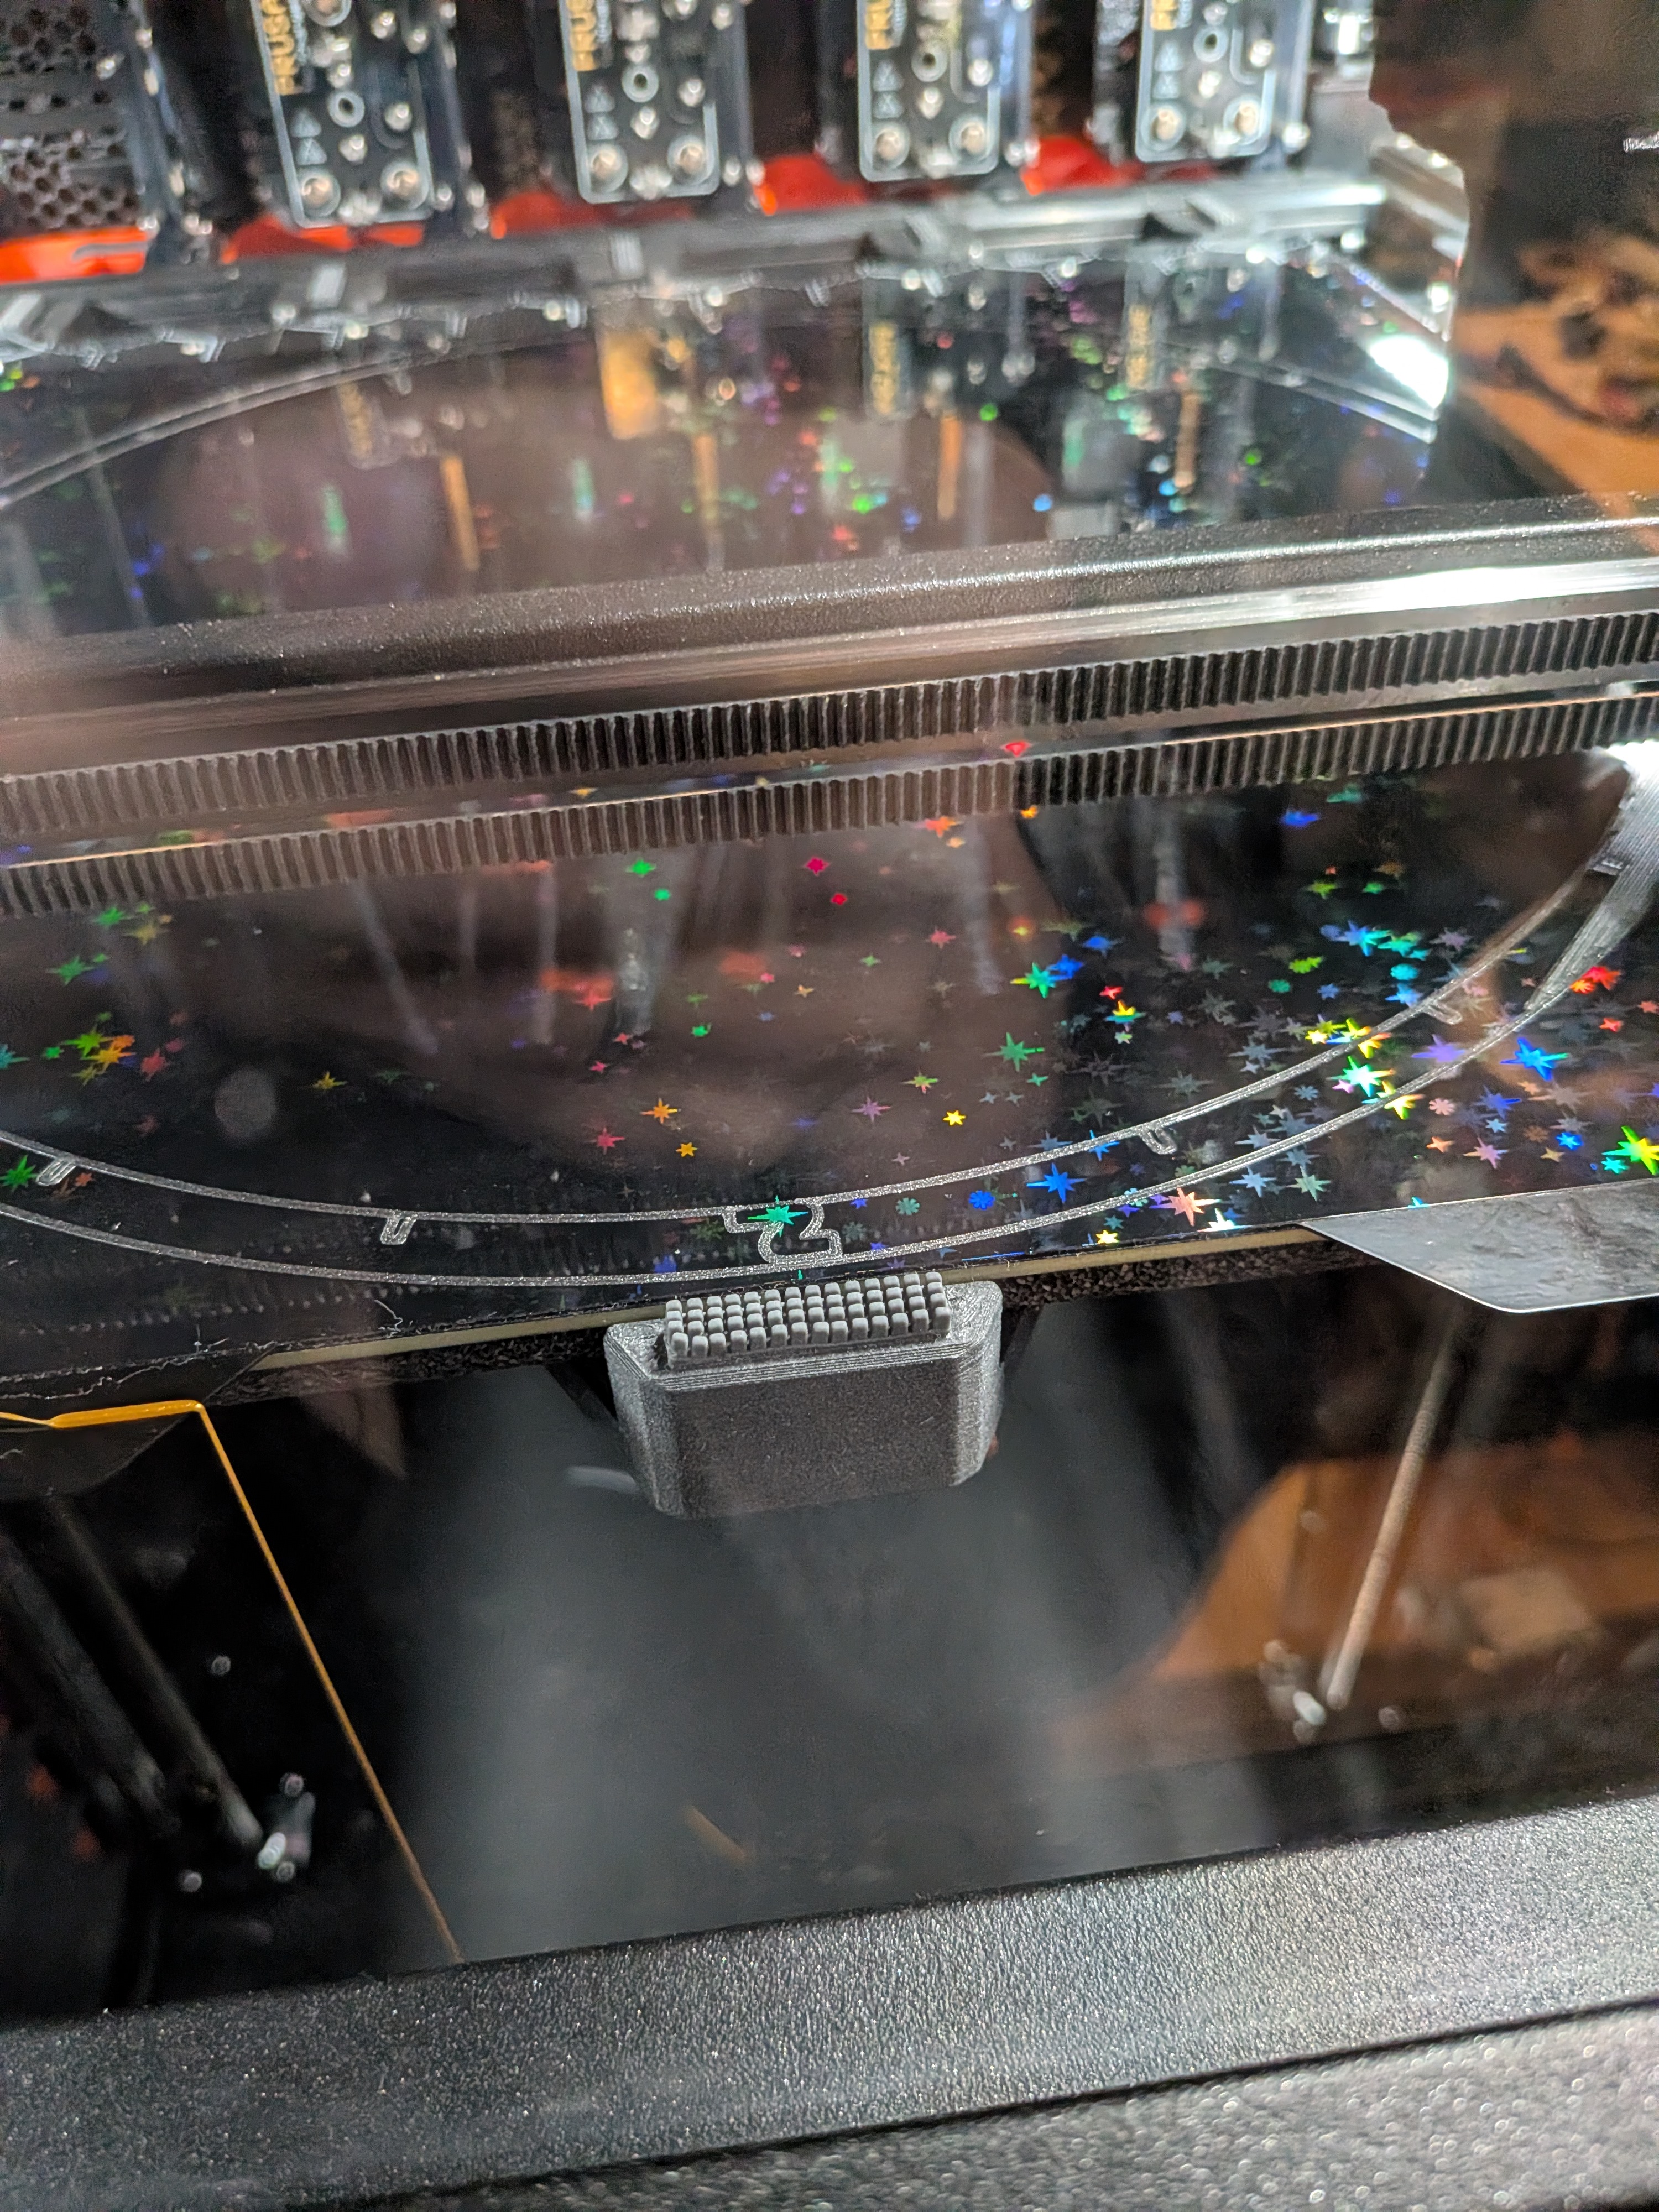
Nathan helped me design the back, reusing extra mounting holes I put in the PCB and case to attach to the front. There is an inset laser-etched metal plaque with some text details about the star map with a frame printed in a contrasting color. There’s also a point to hang the star map on a wall. He also hacked the gcode to be able to print both the case and back on a holographic build plate that was designed for use on a smaller printer. I really wanted this specific design of star sparkles, which I felt were on theme.
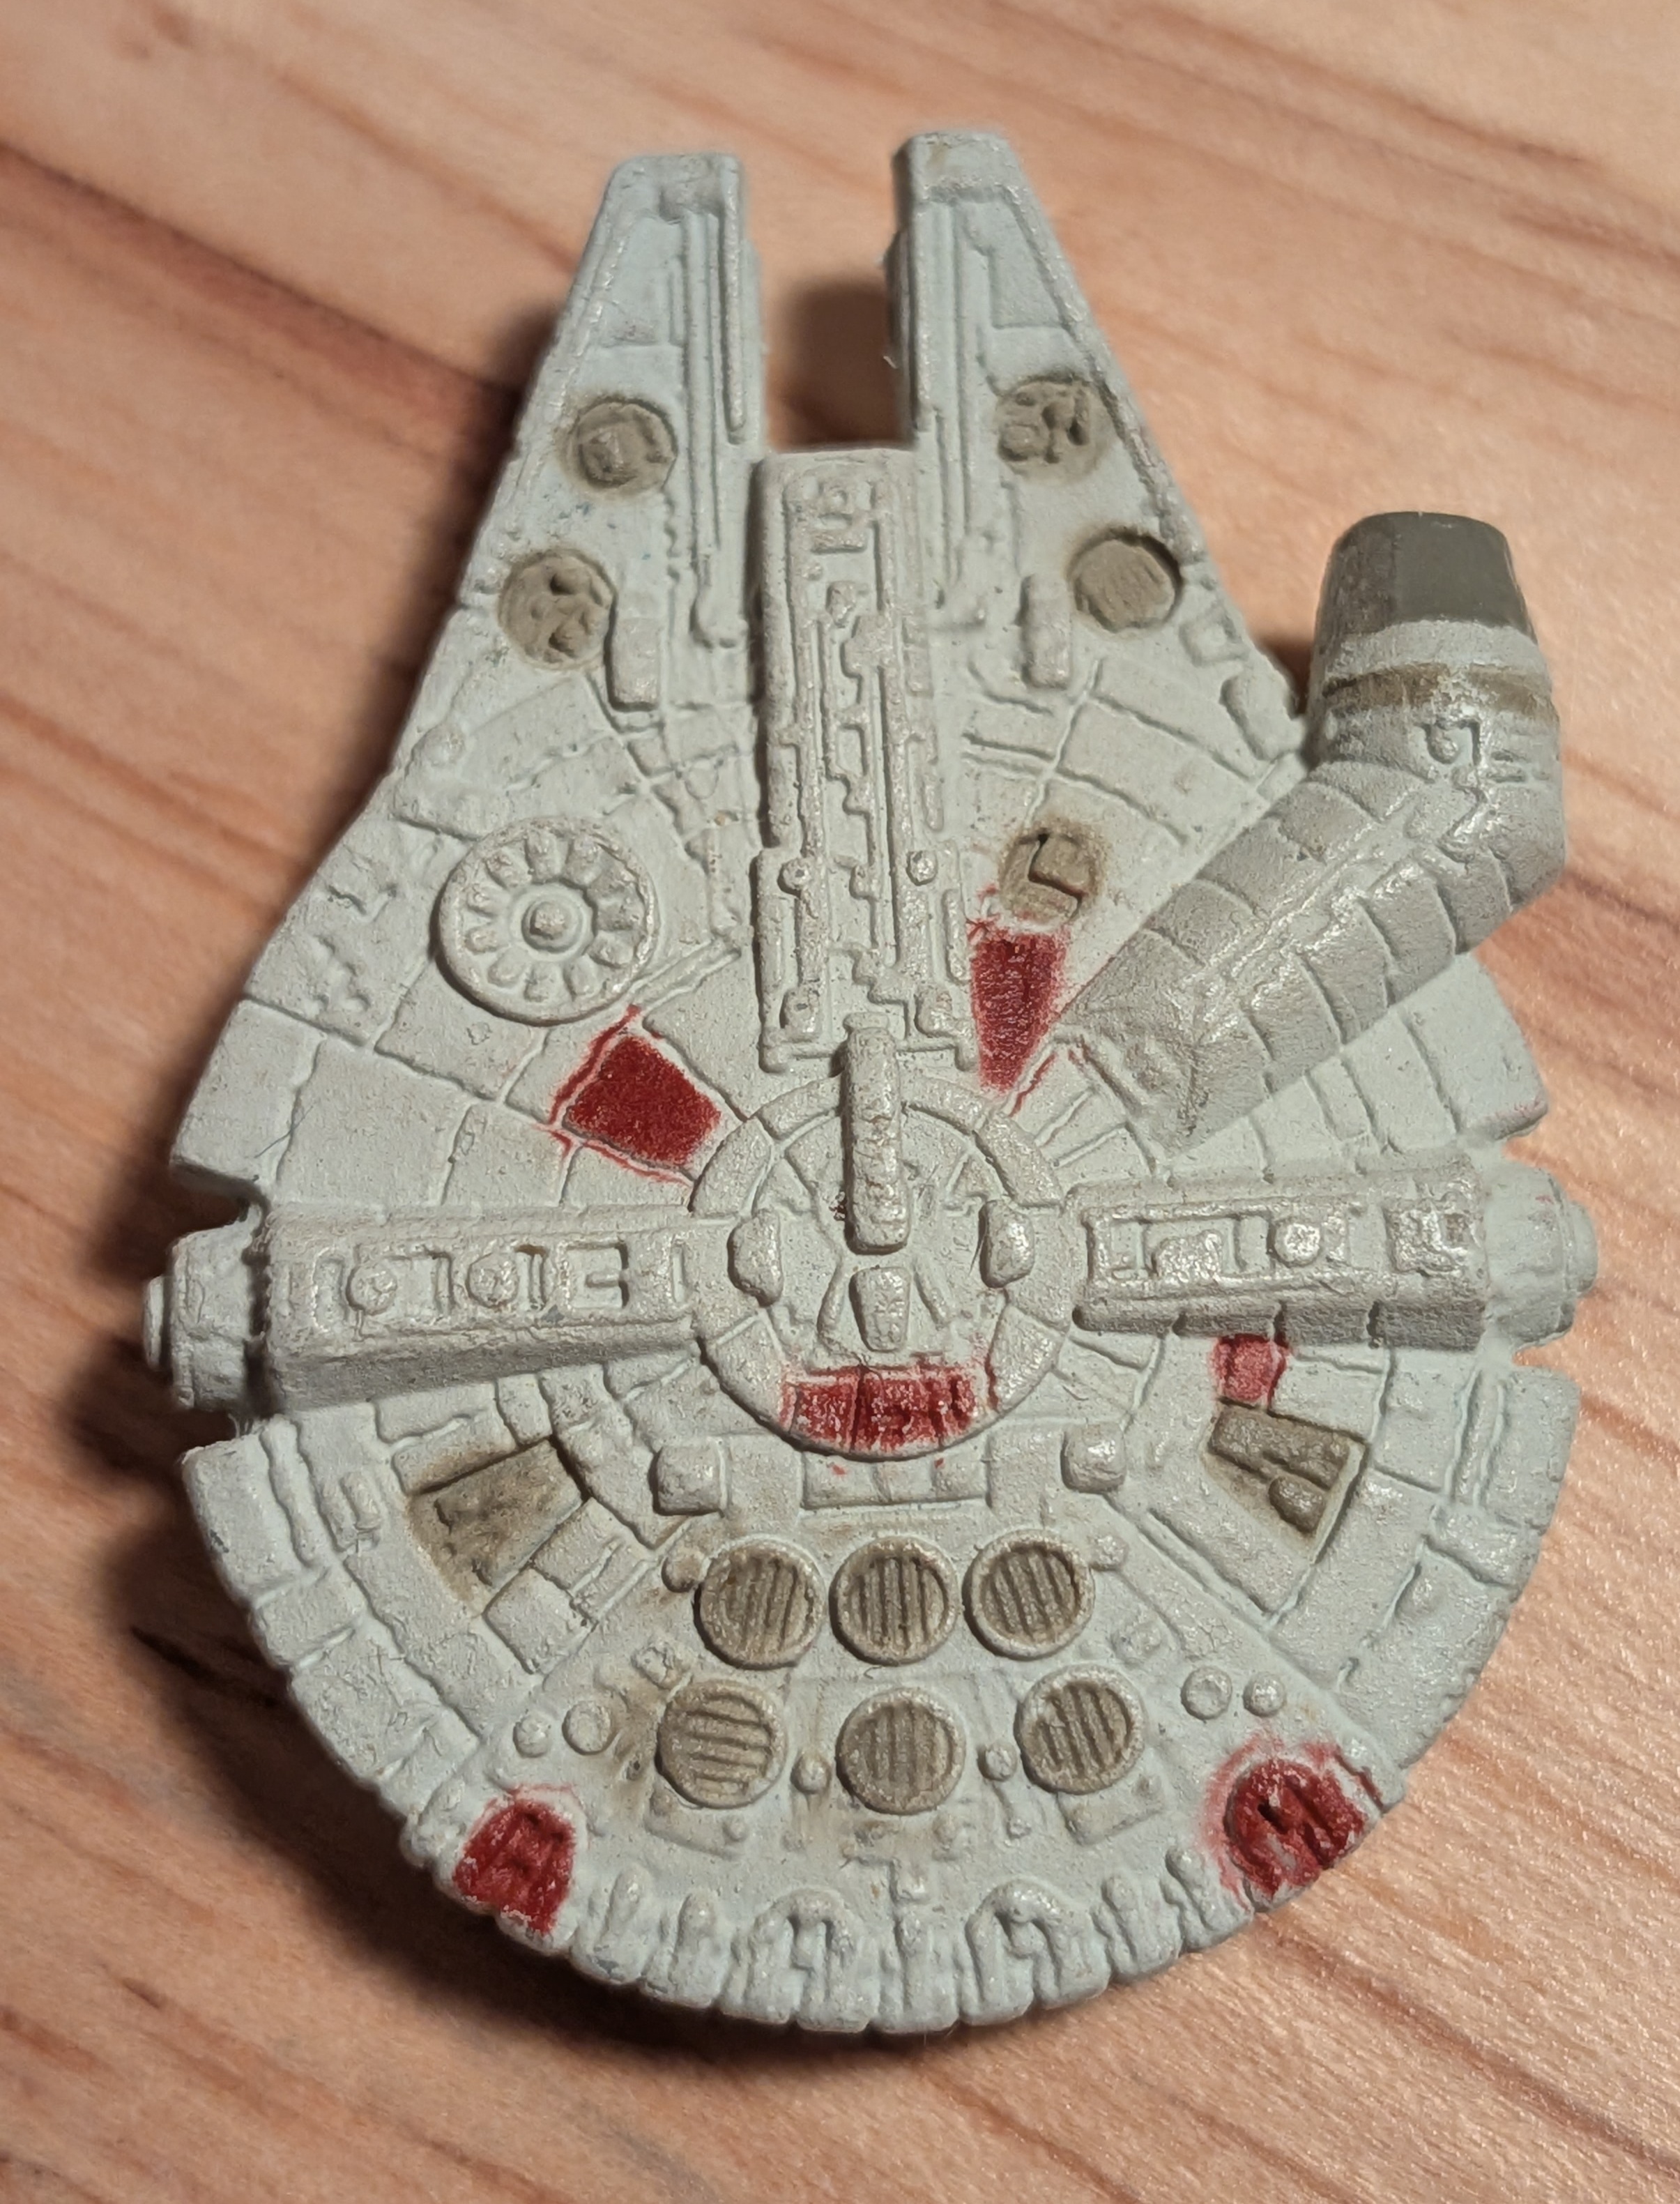
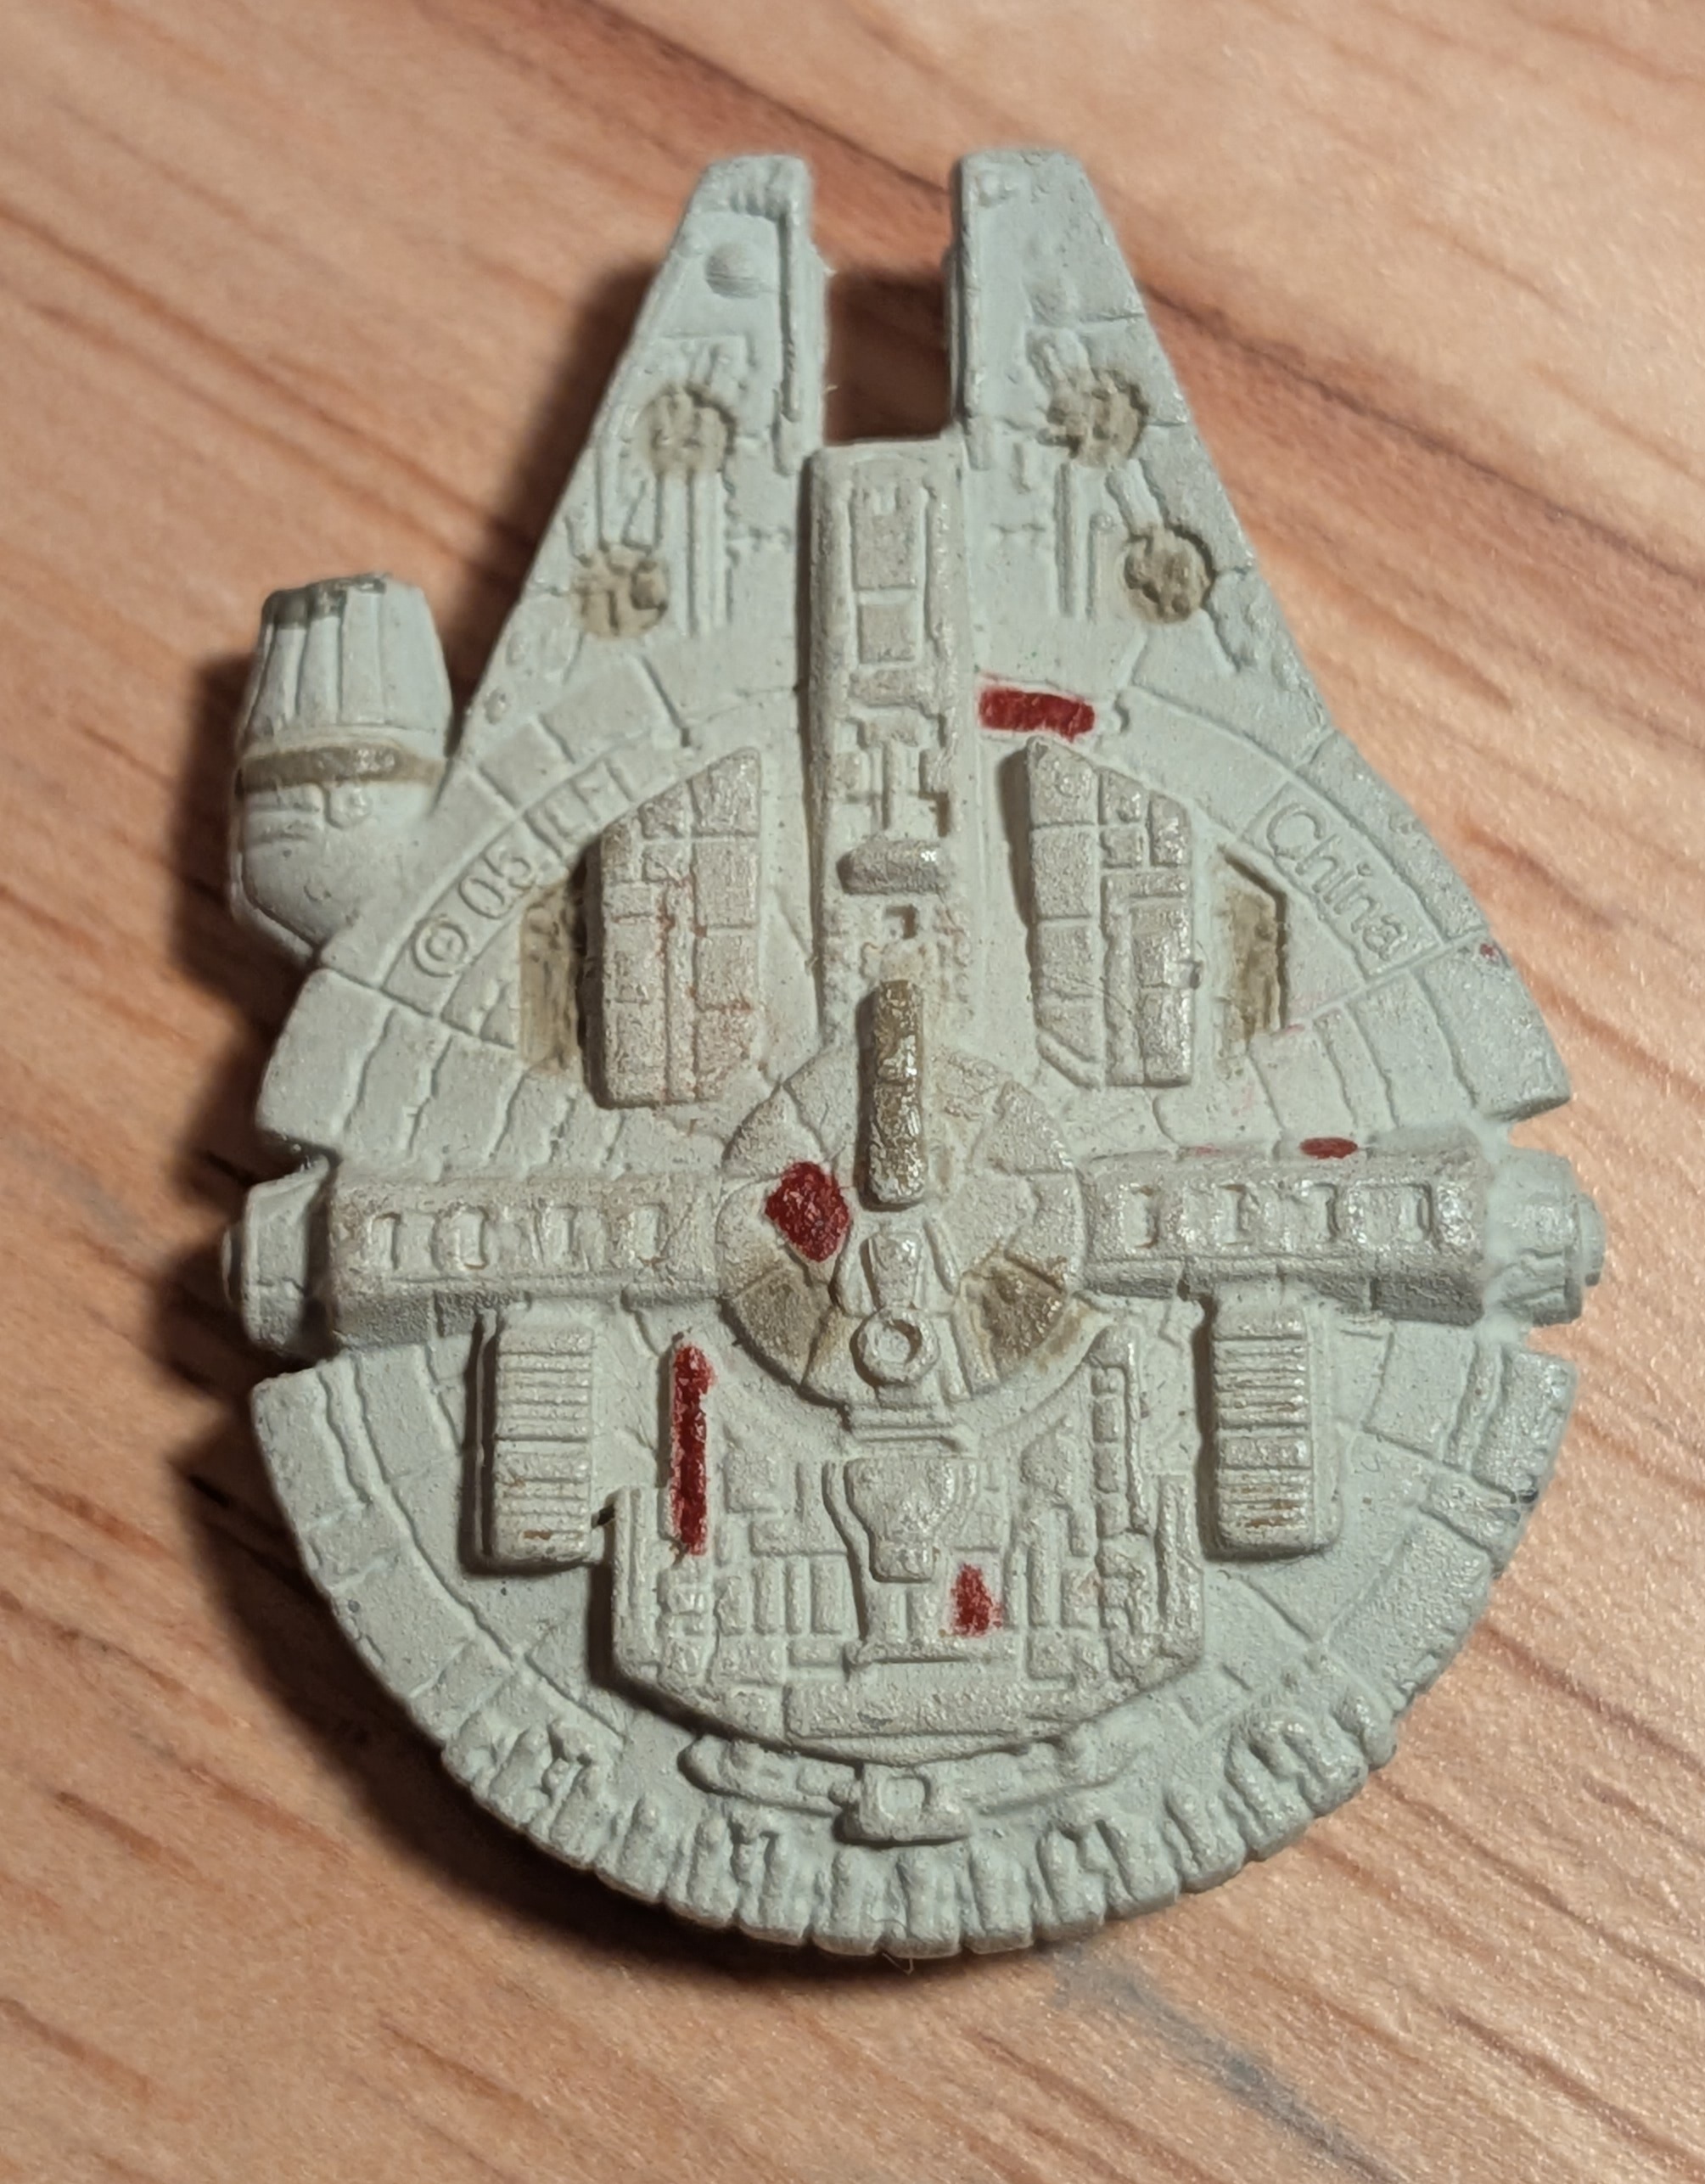
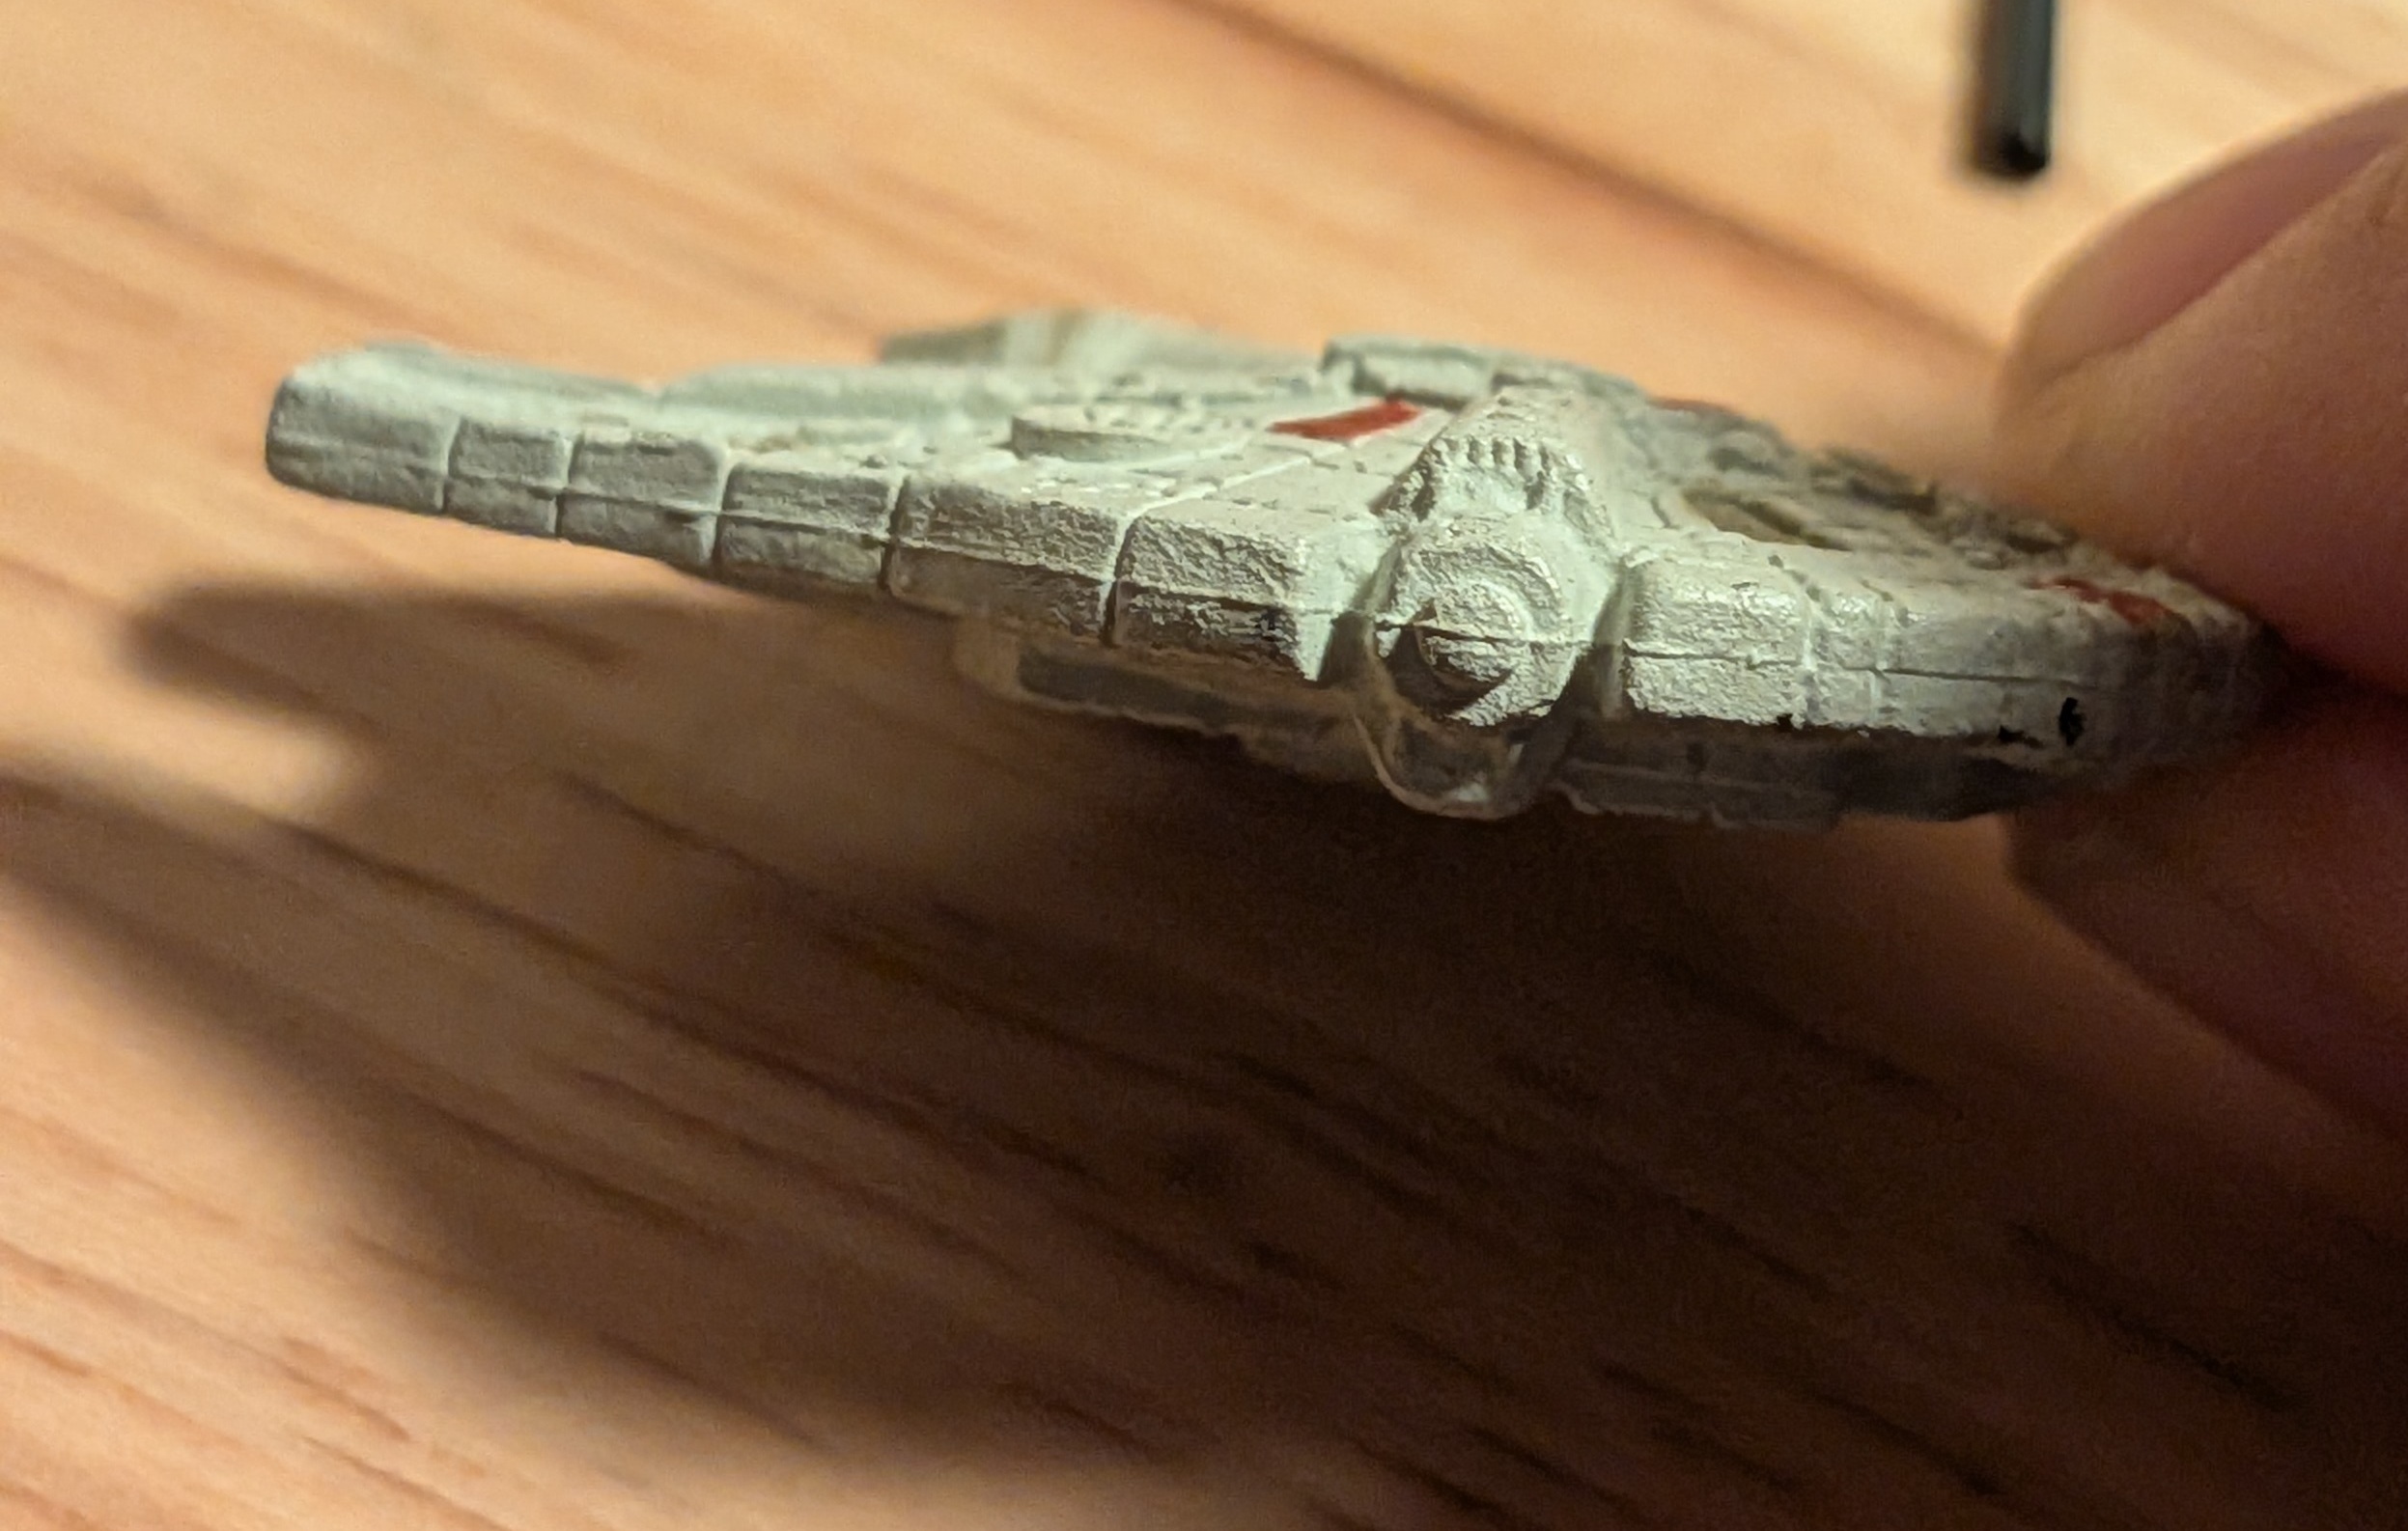
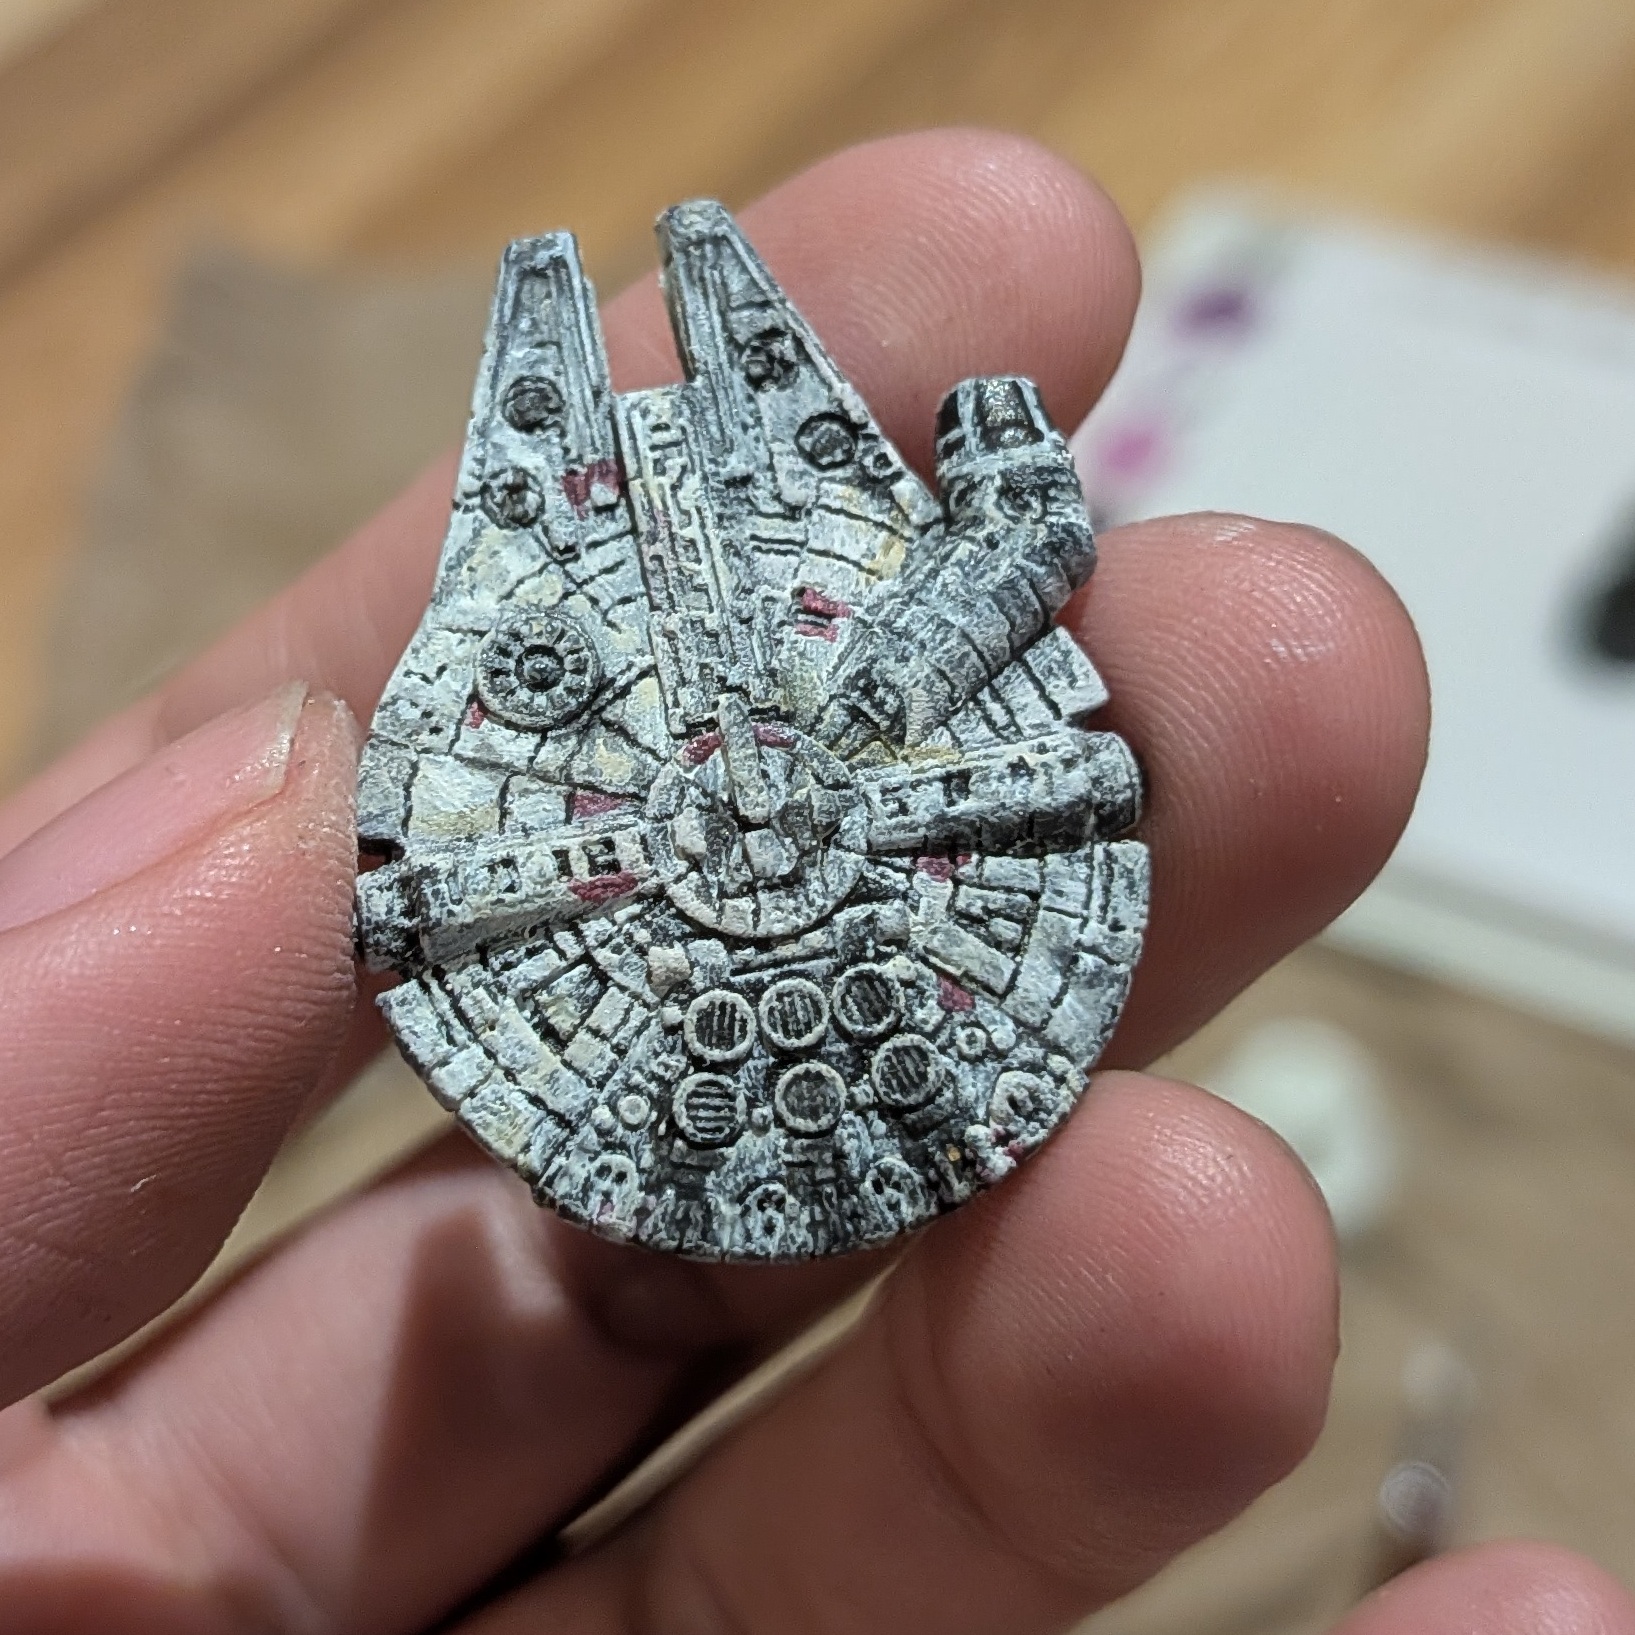
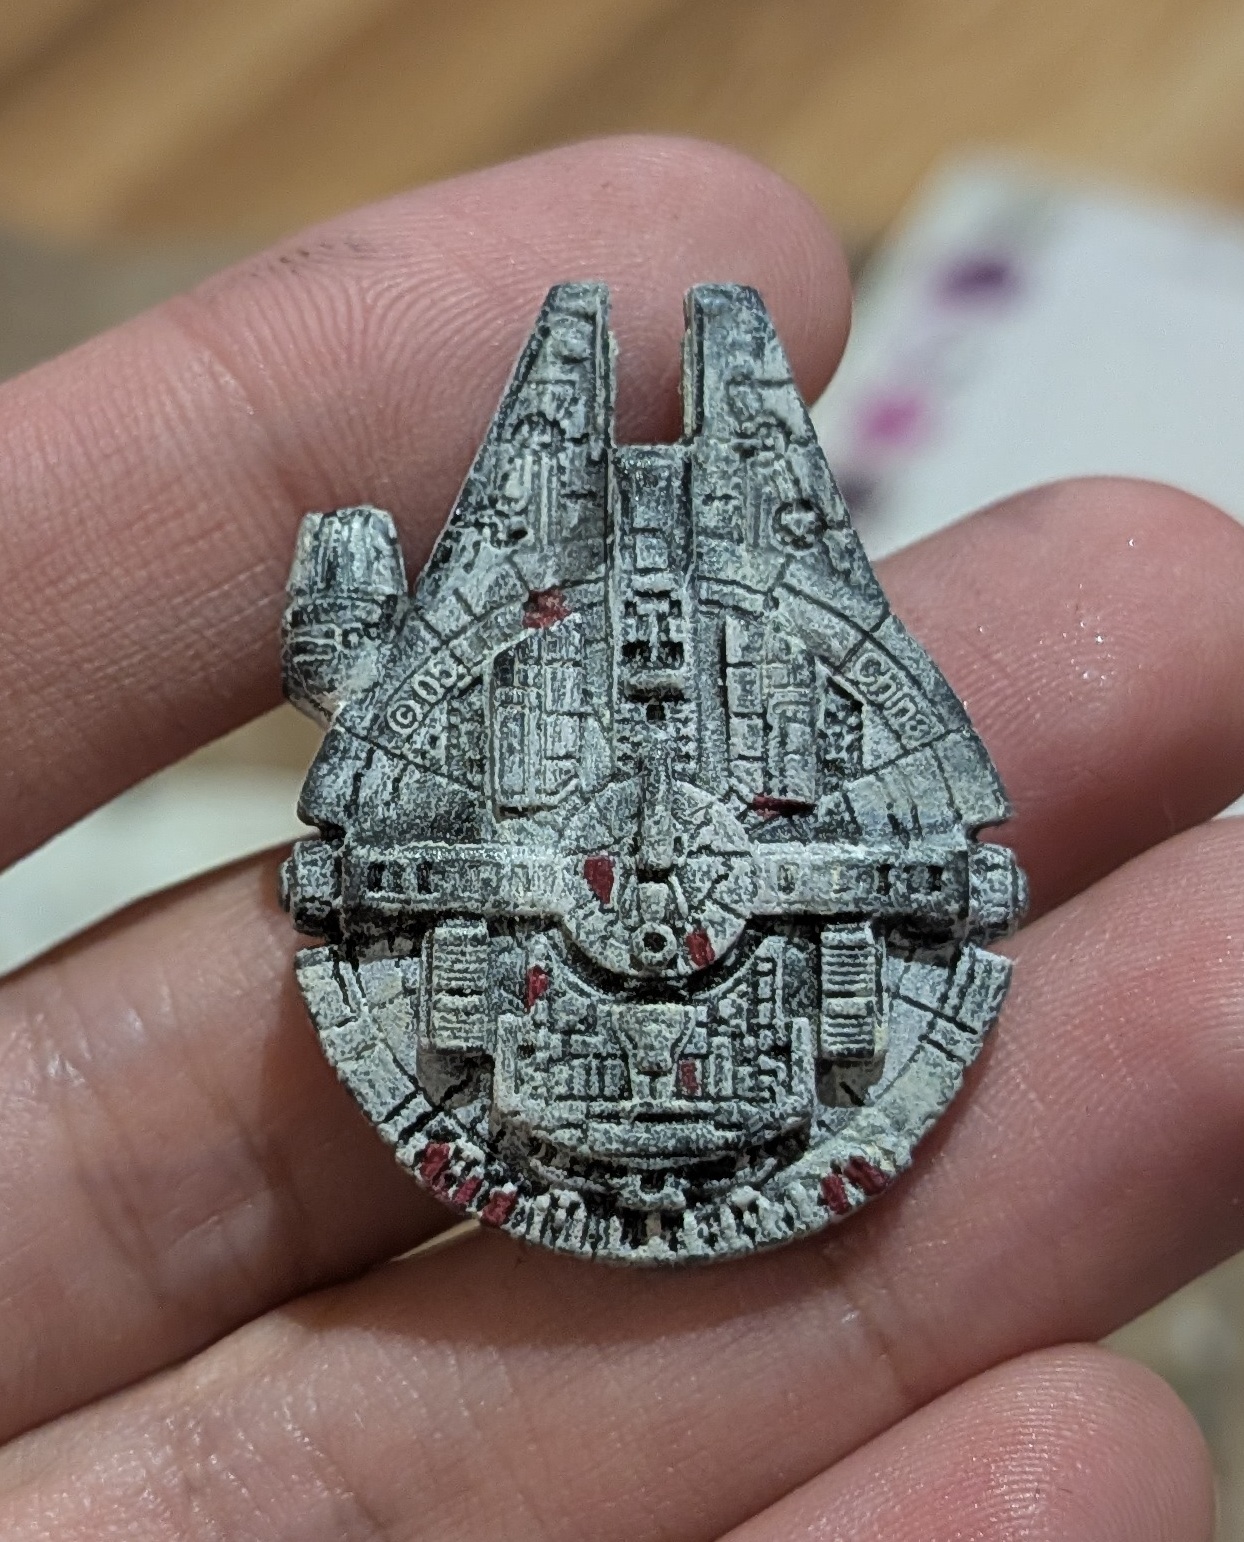
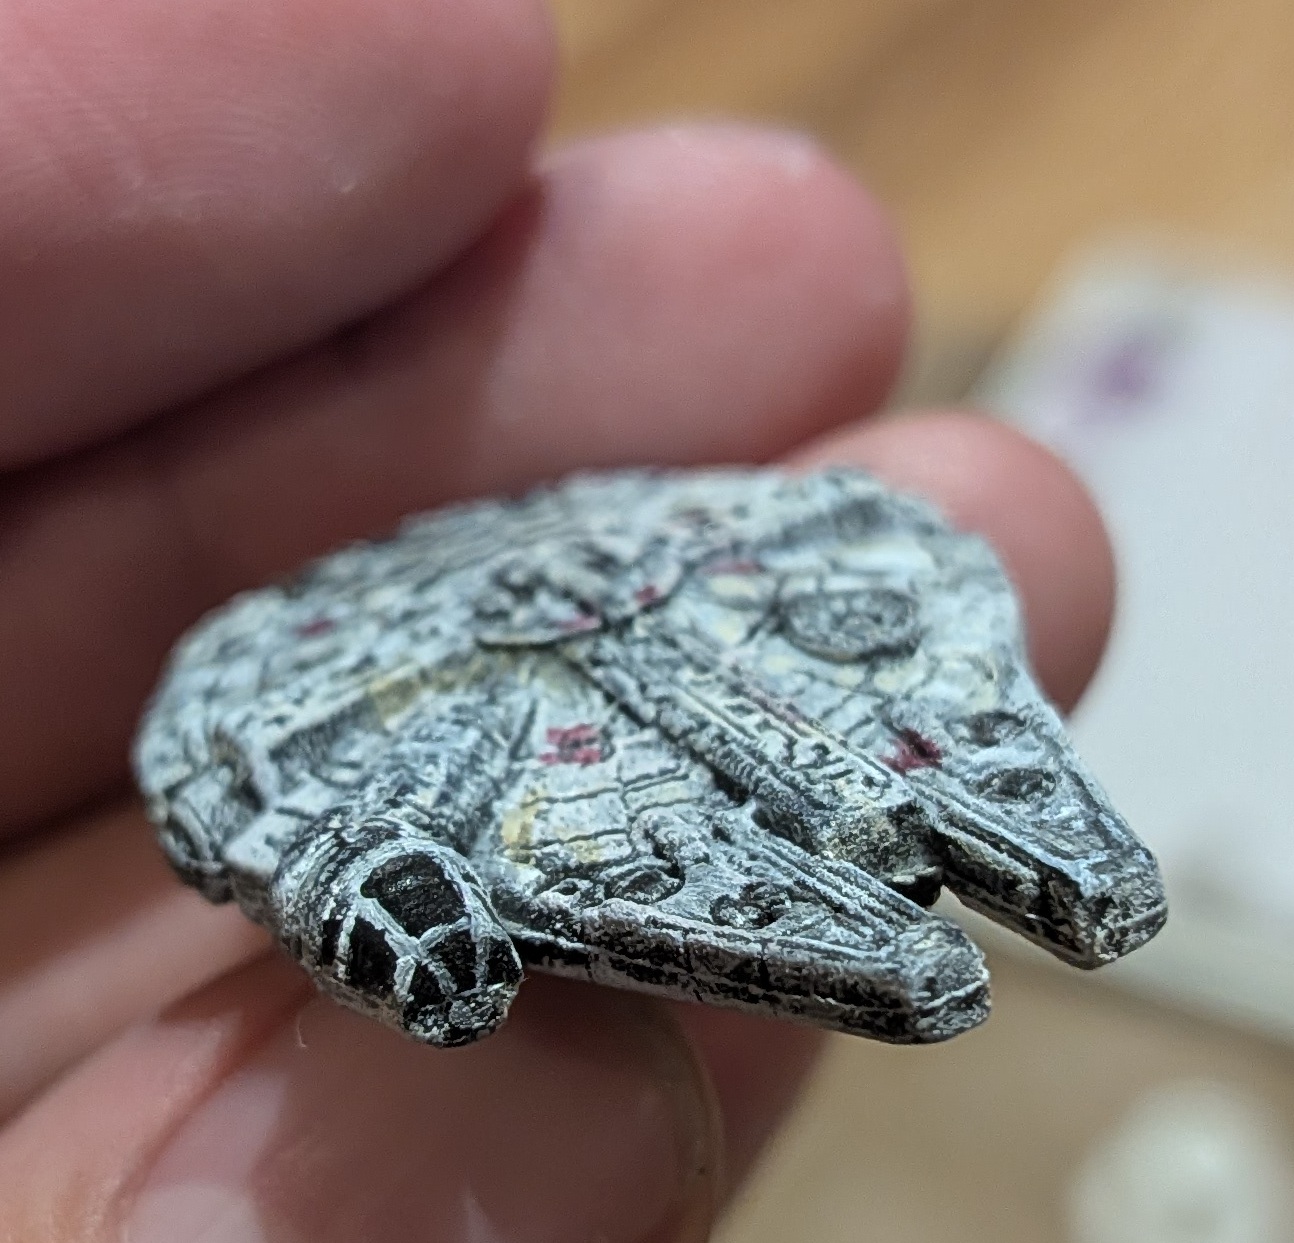
A final Star Wars detail - I bought a small plastic figure of the Millenium Falcon on eBay, repainted it, and epoxied it to the sky map, flying across the sky.
Resources
Media
Image Gallery
click to enlarge
-
 1-PCB-front
-
 10-control-panel-test-fit
-
 11-millenium-falcon-original-1
-
 12-millenium-falcon-original-2
-
 13-millenium-falcon-original-3
-
 14-millenium-falcon-after-1
-
 15-millenium-falcon-after-2
-
 16-millenium-falcon-after-3
-
 17-moon-diffuser
-
 18-starmap-brights
-
 19-fiber-optics
-
 2-PCB-back
-
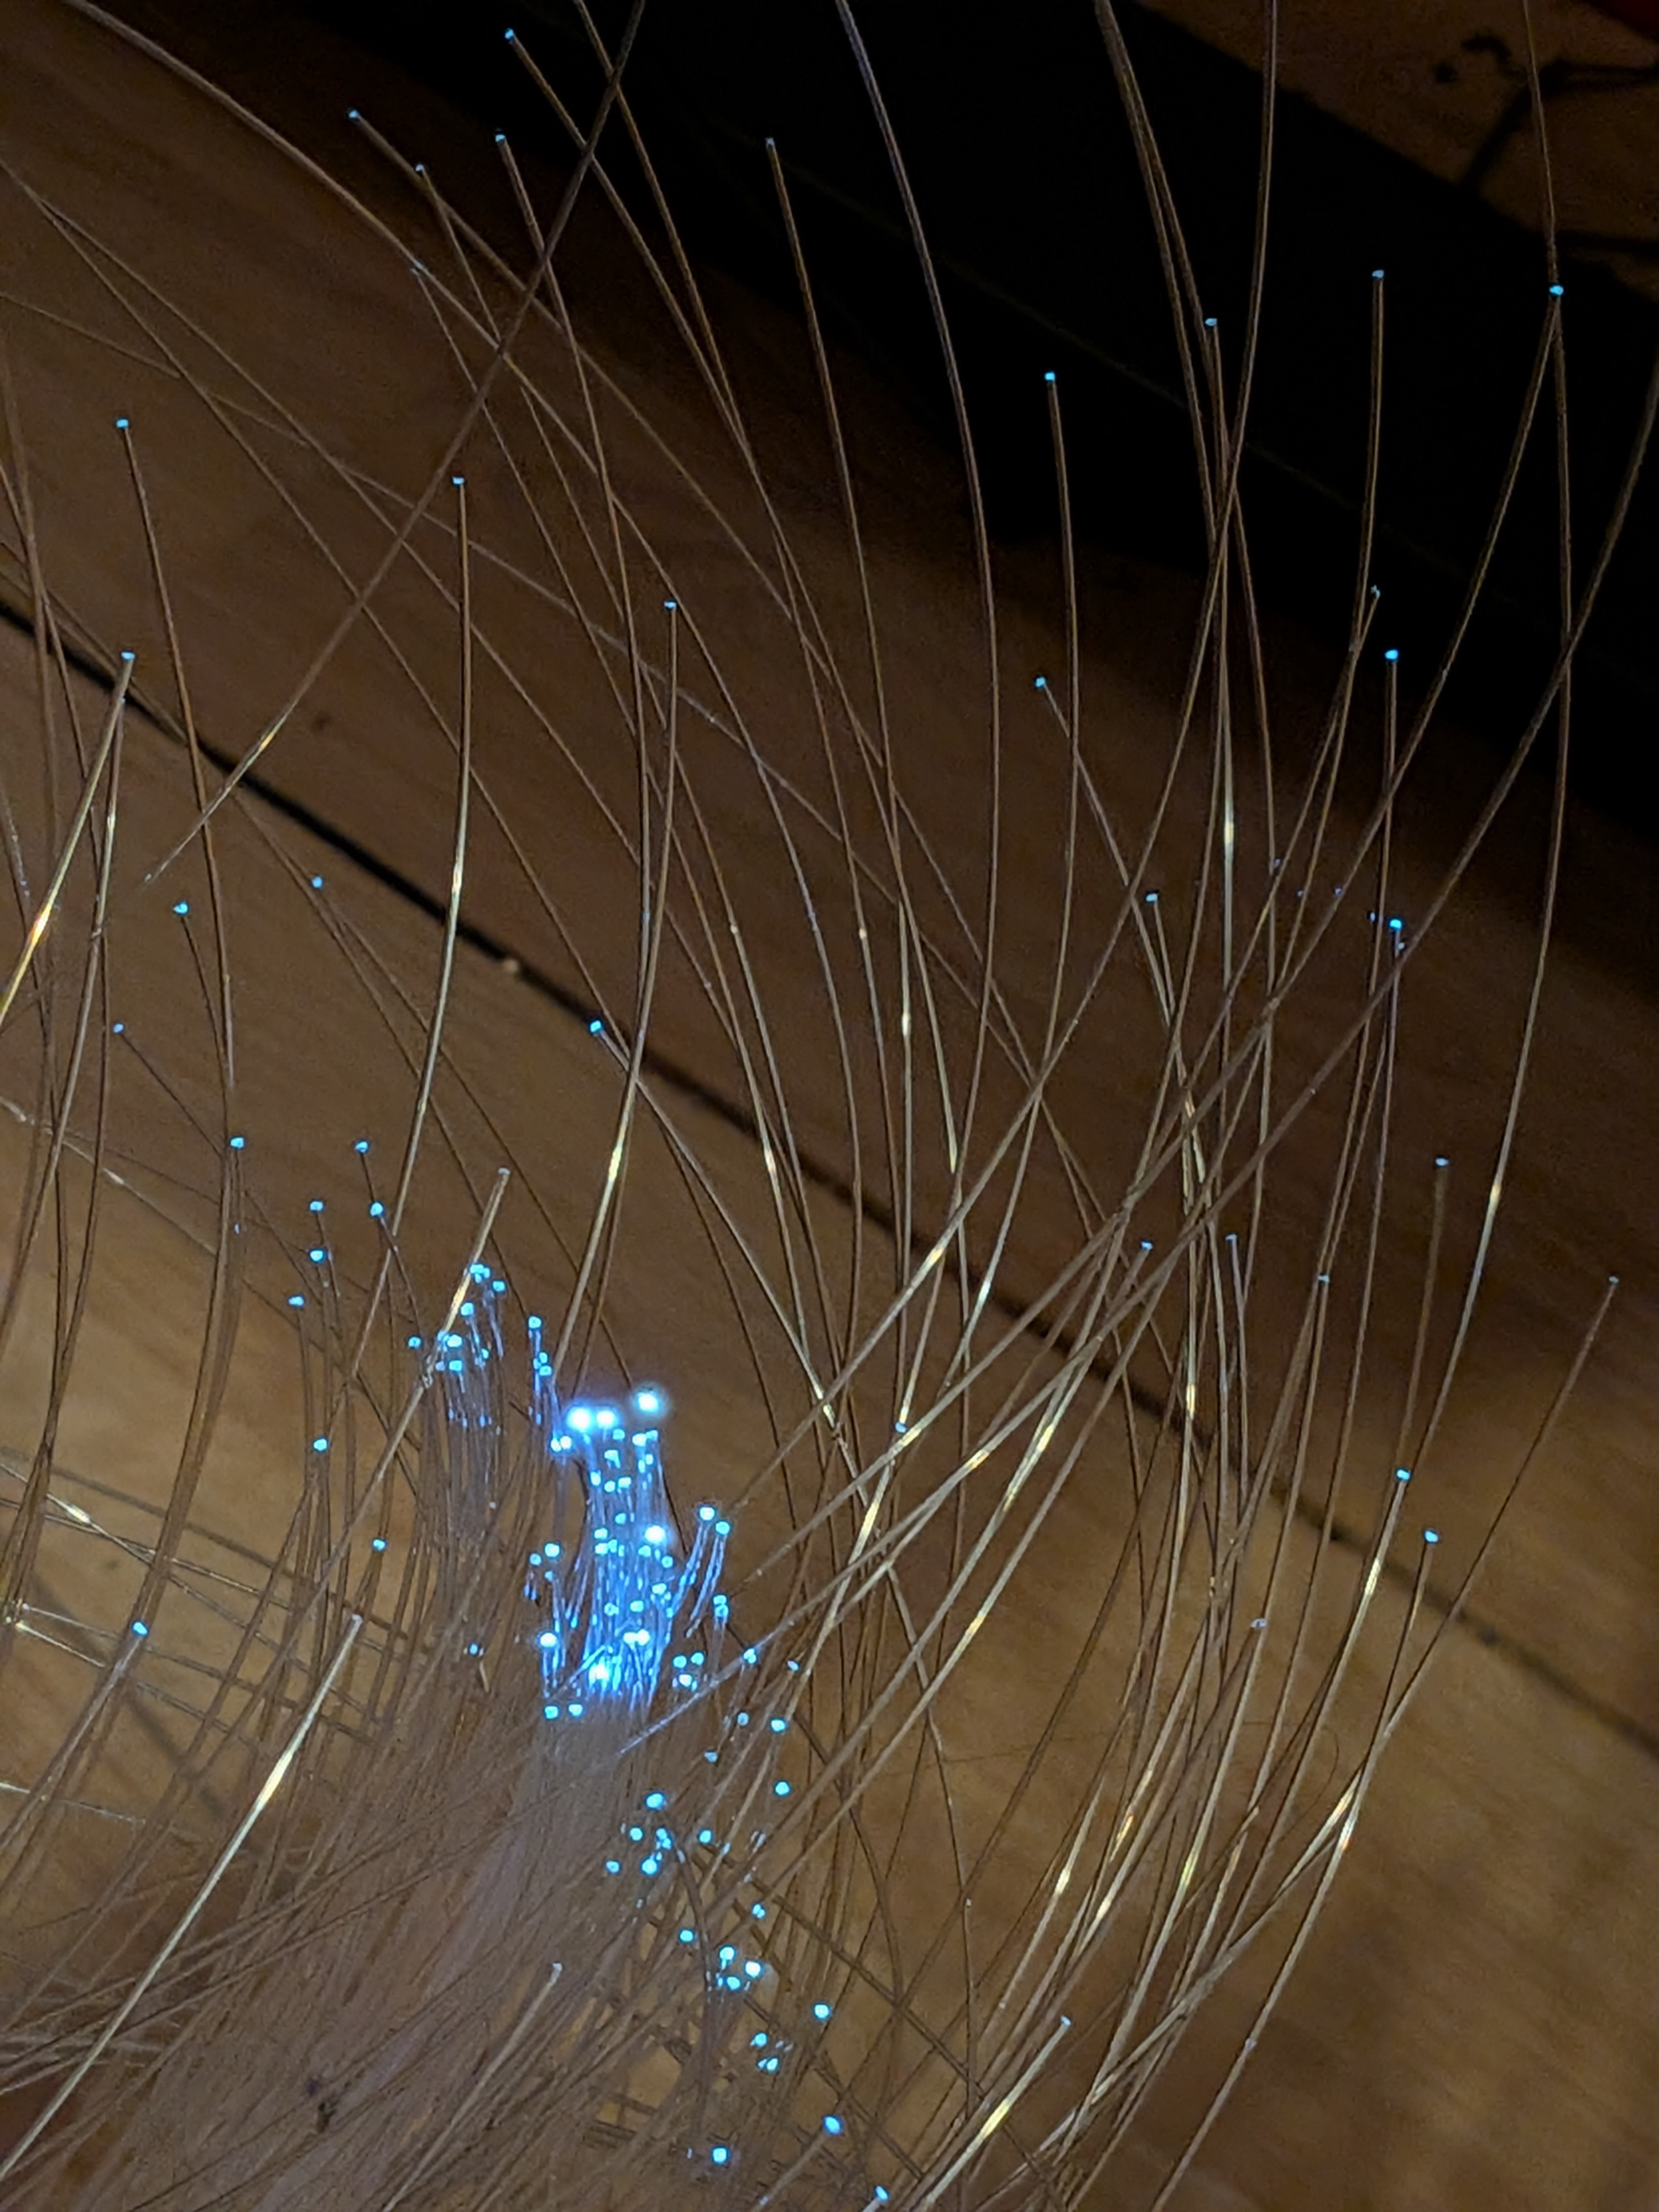 20-fiber-optics-untrimmed
-
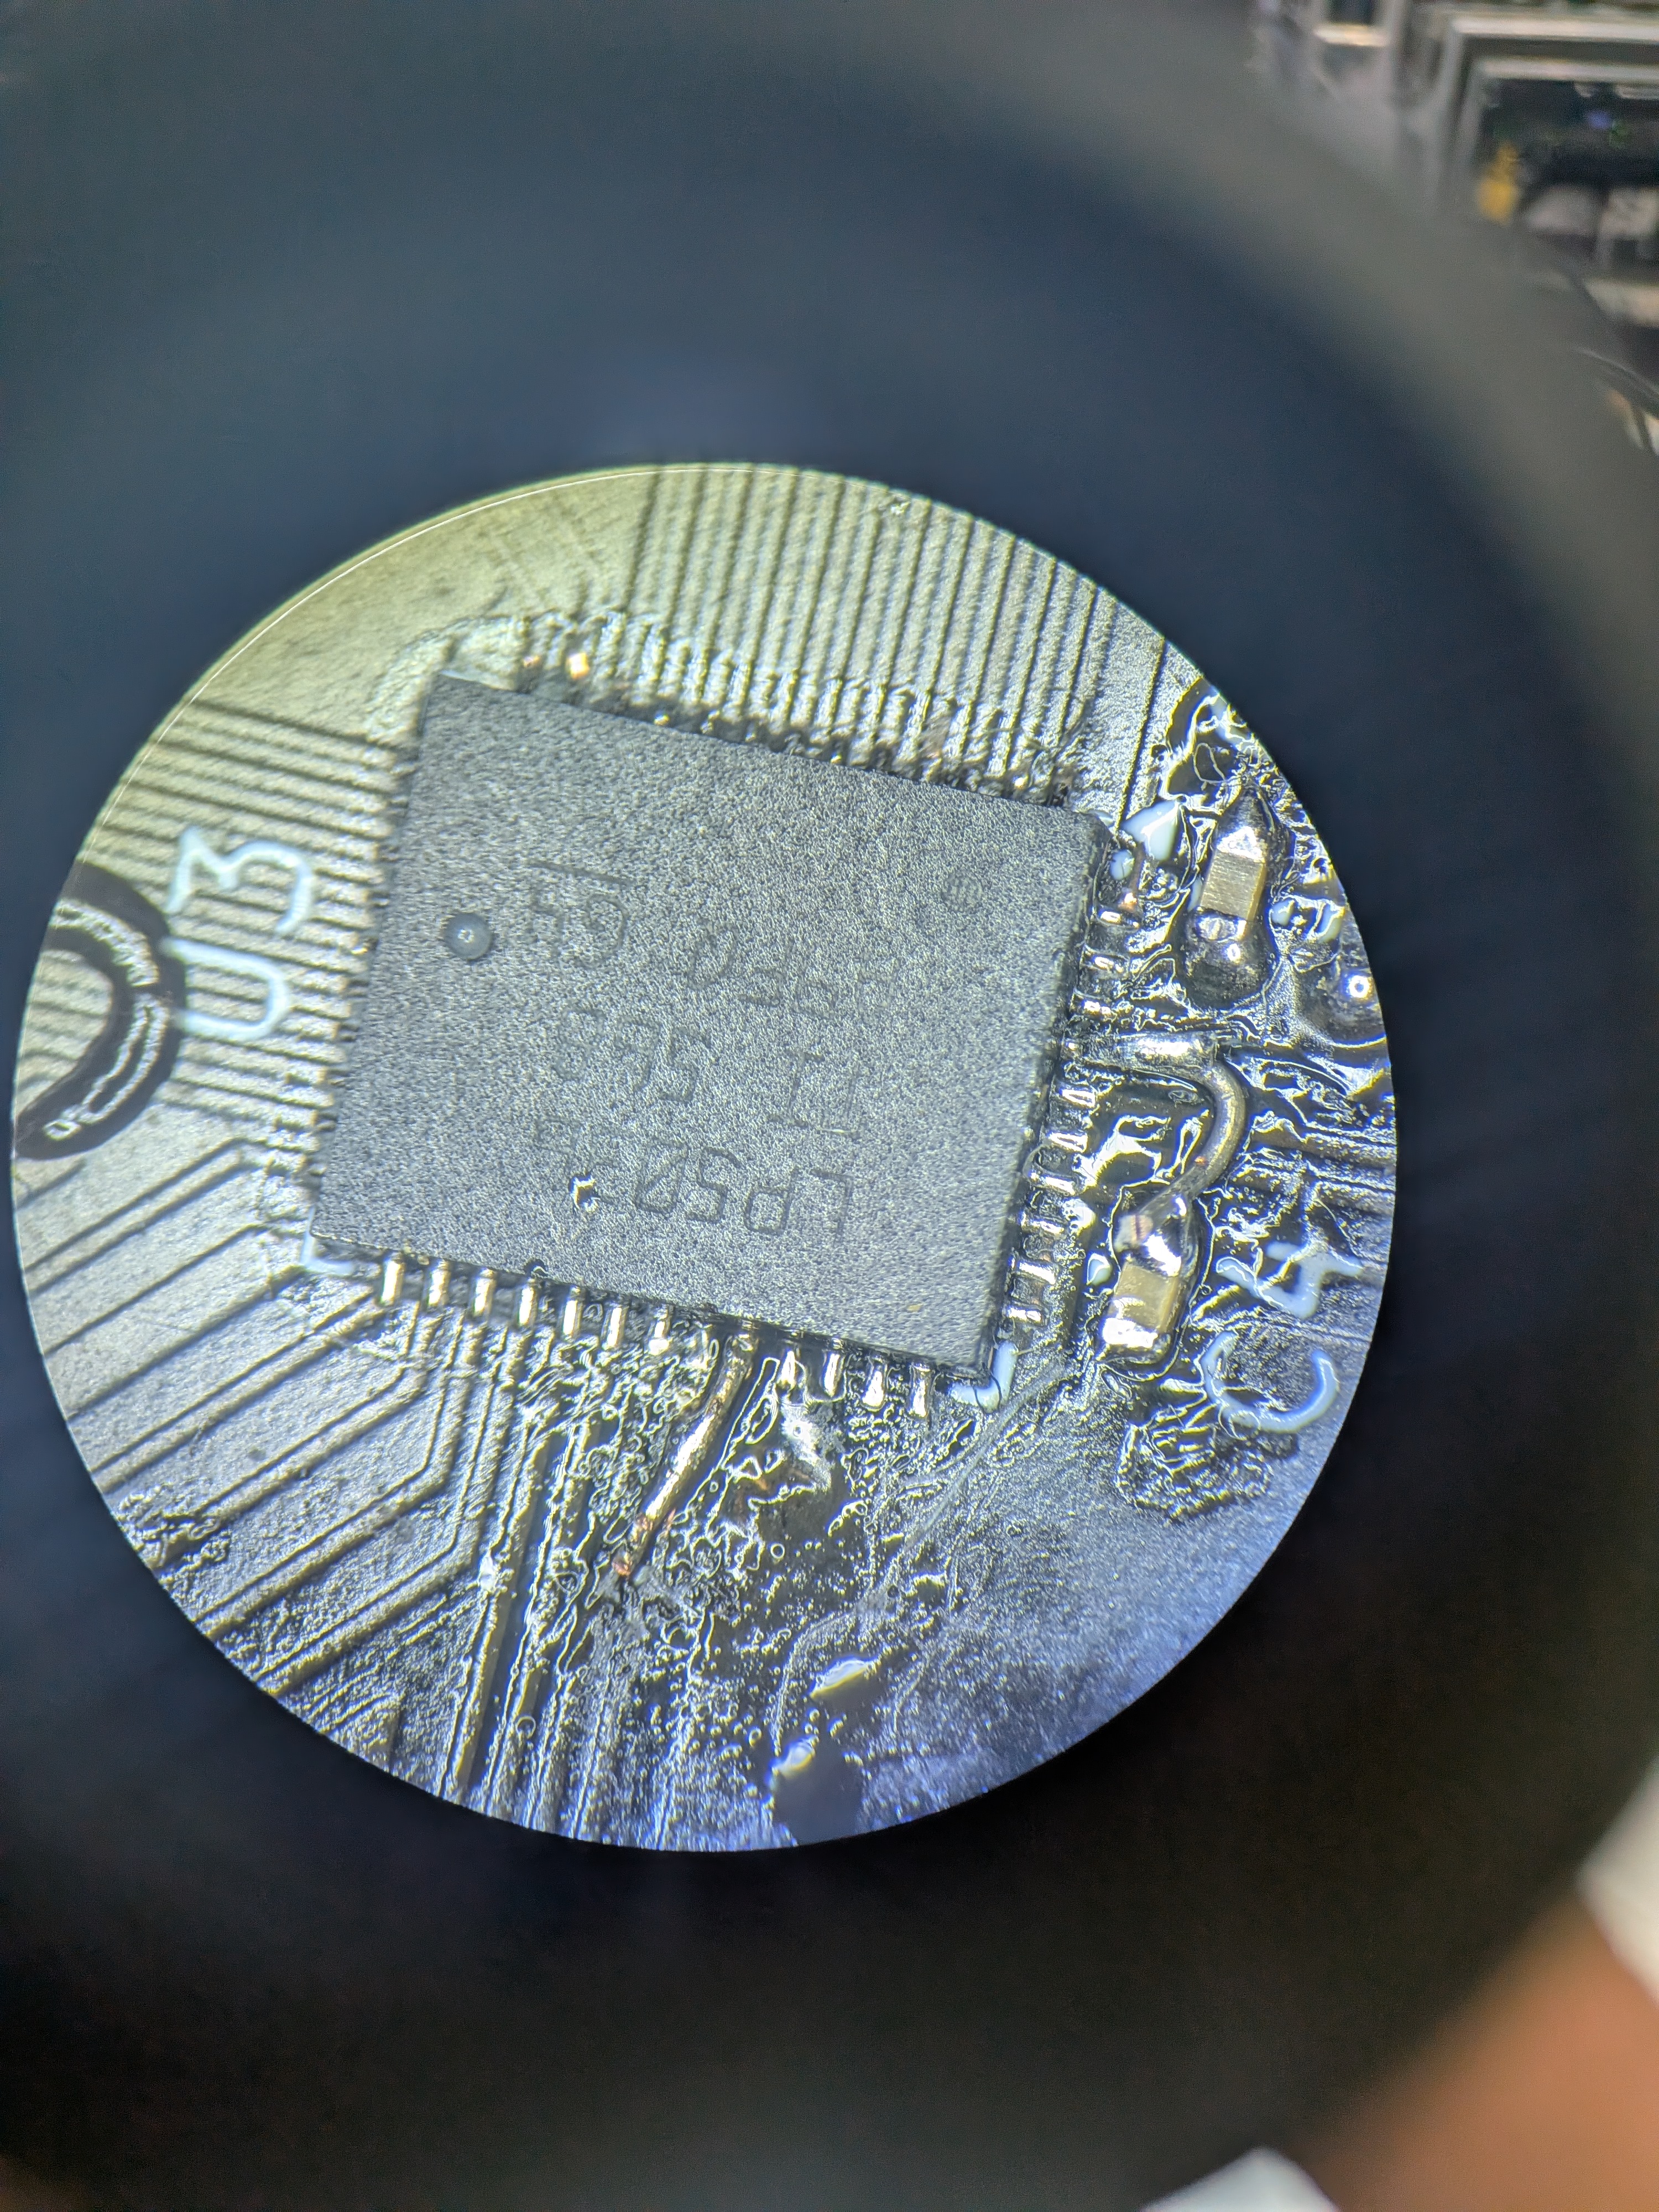 21-broken-channel
-
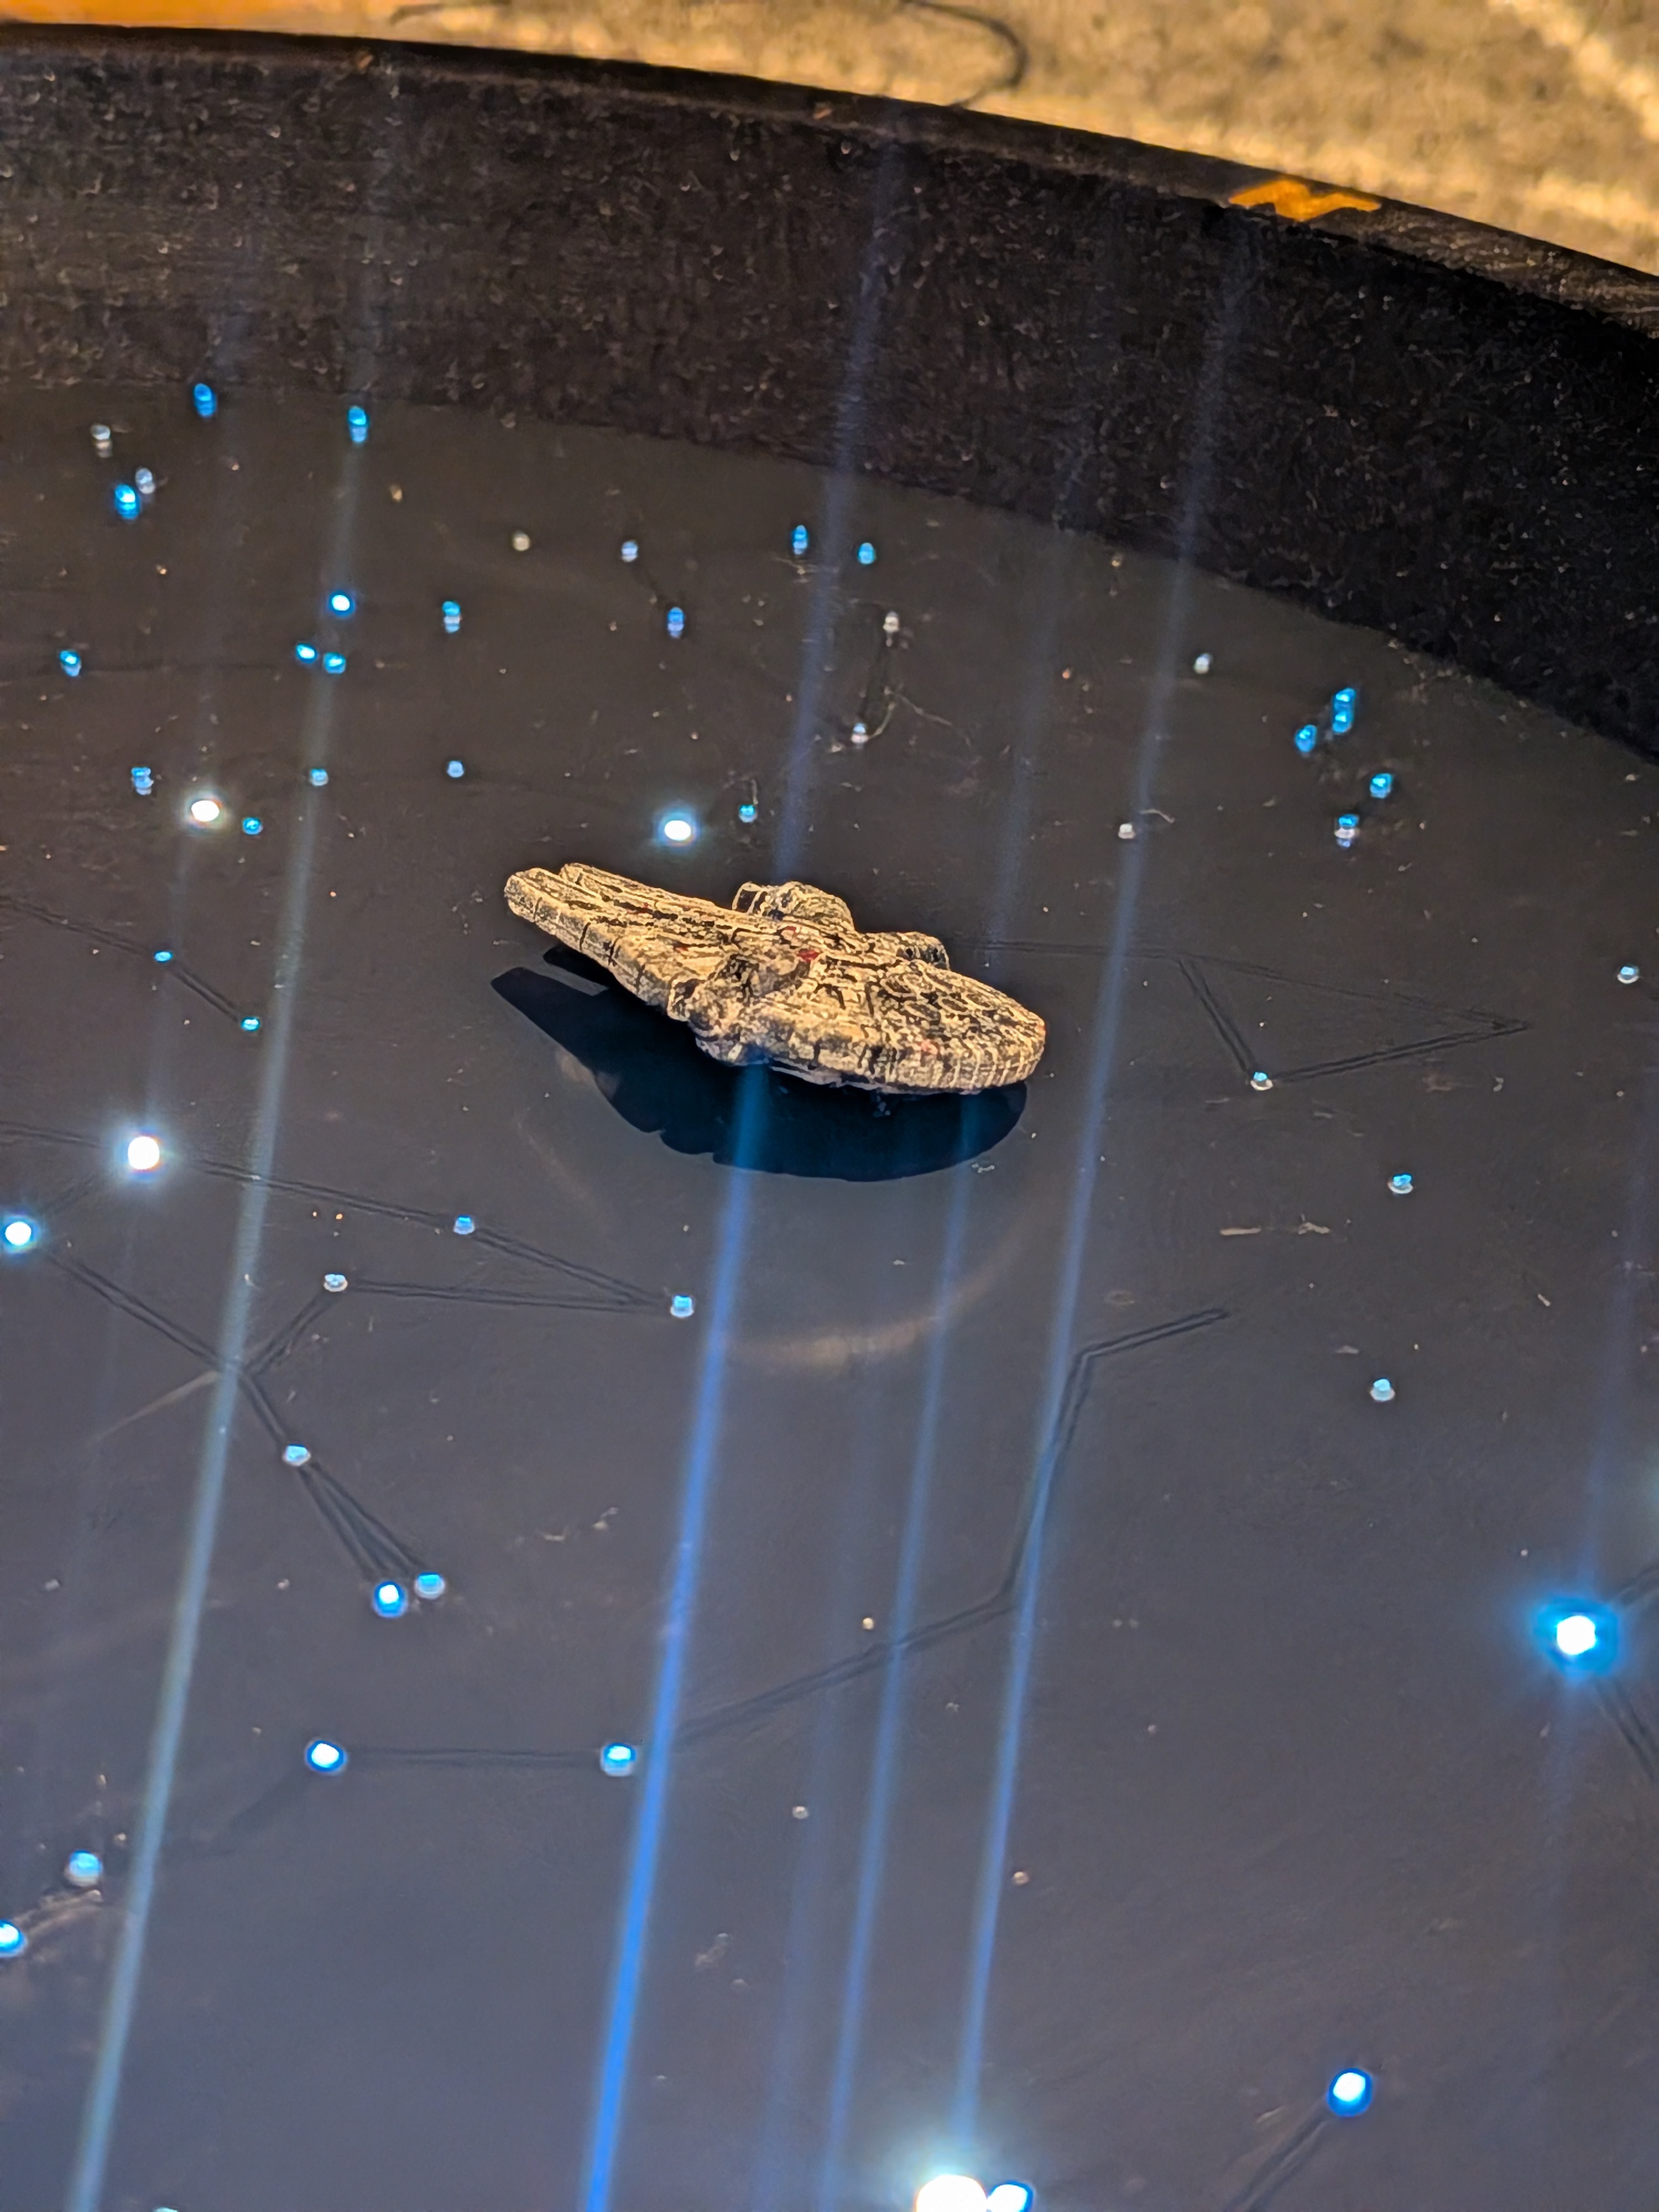 22-millenium-falcon-mounted
-
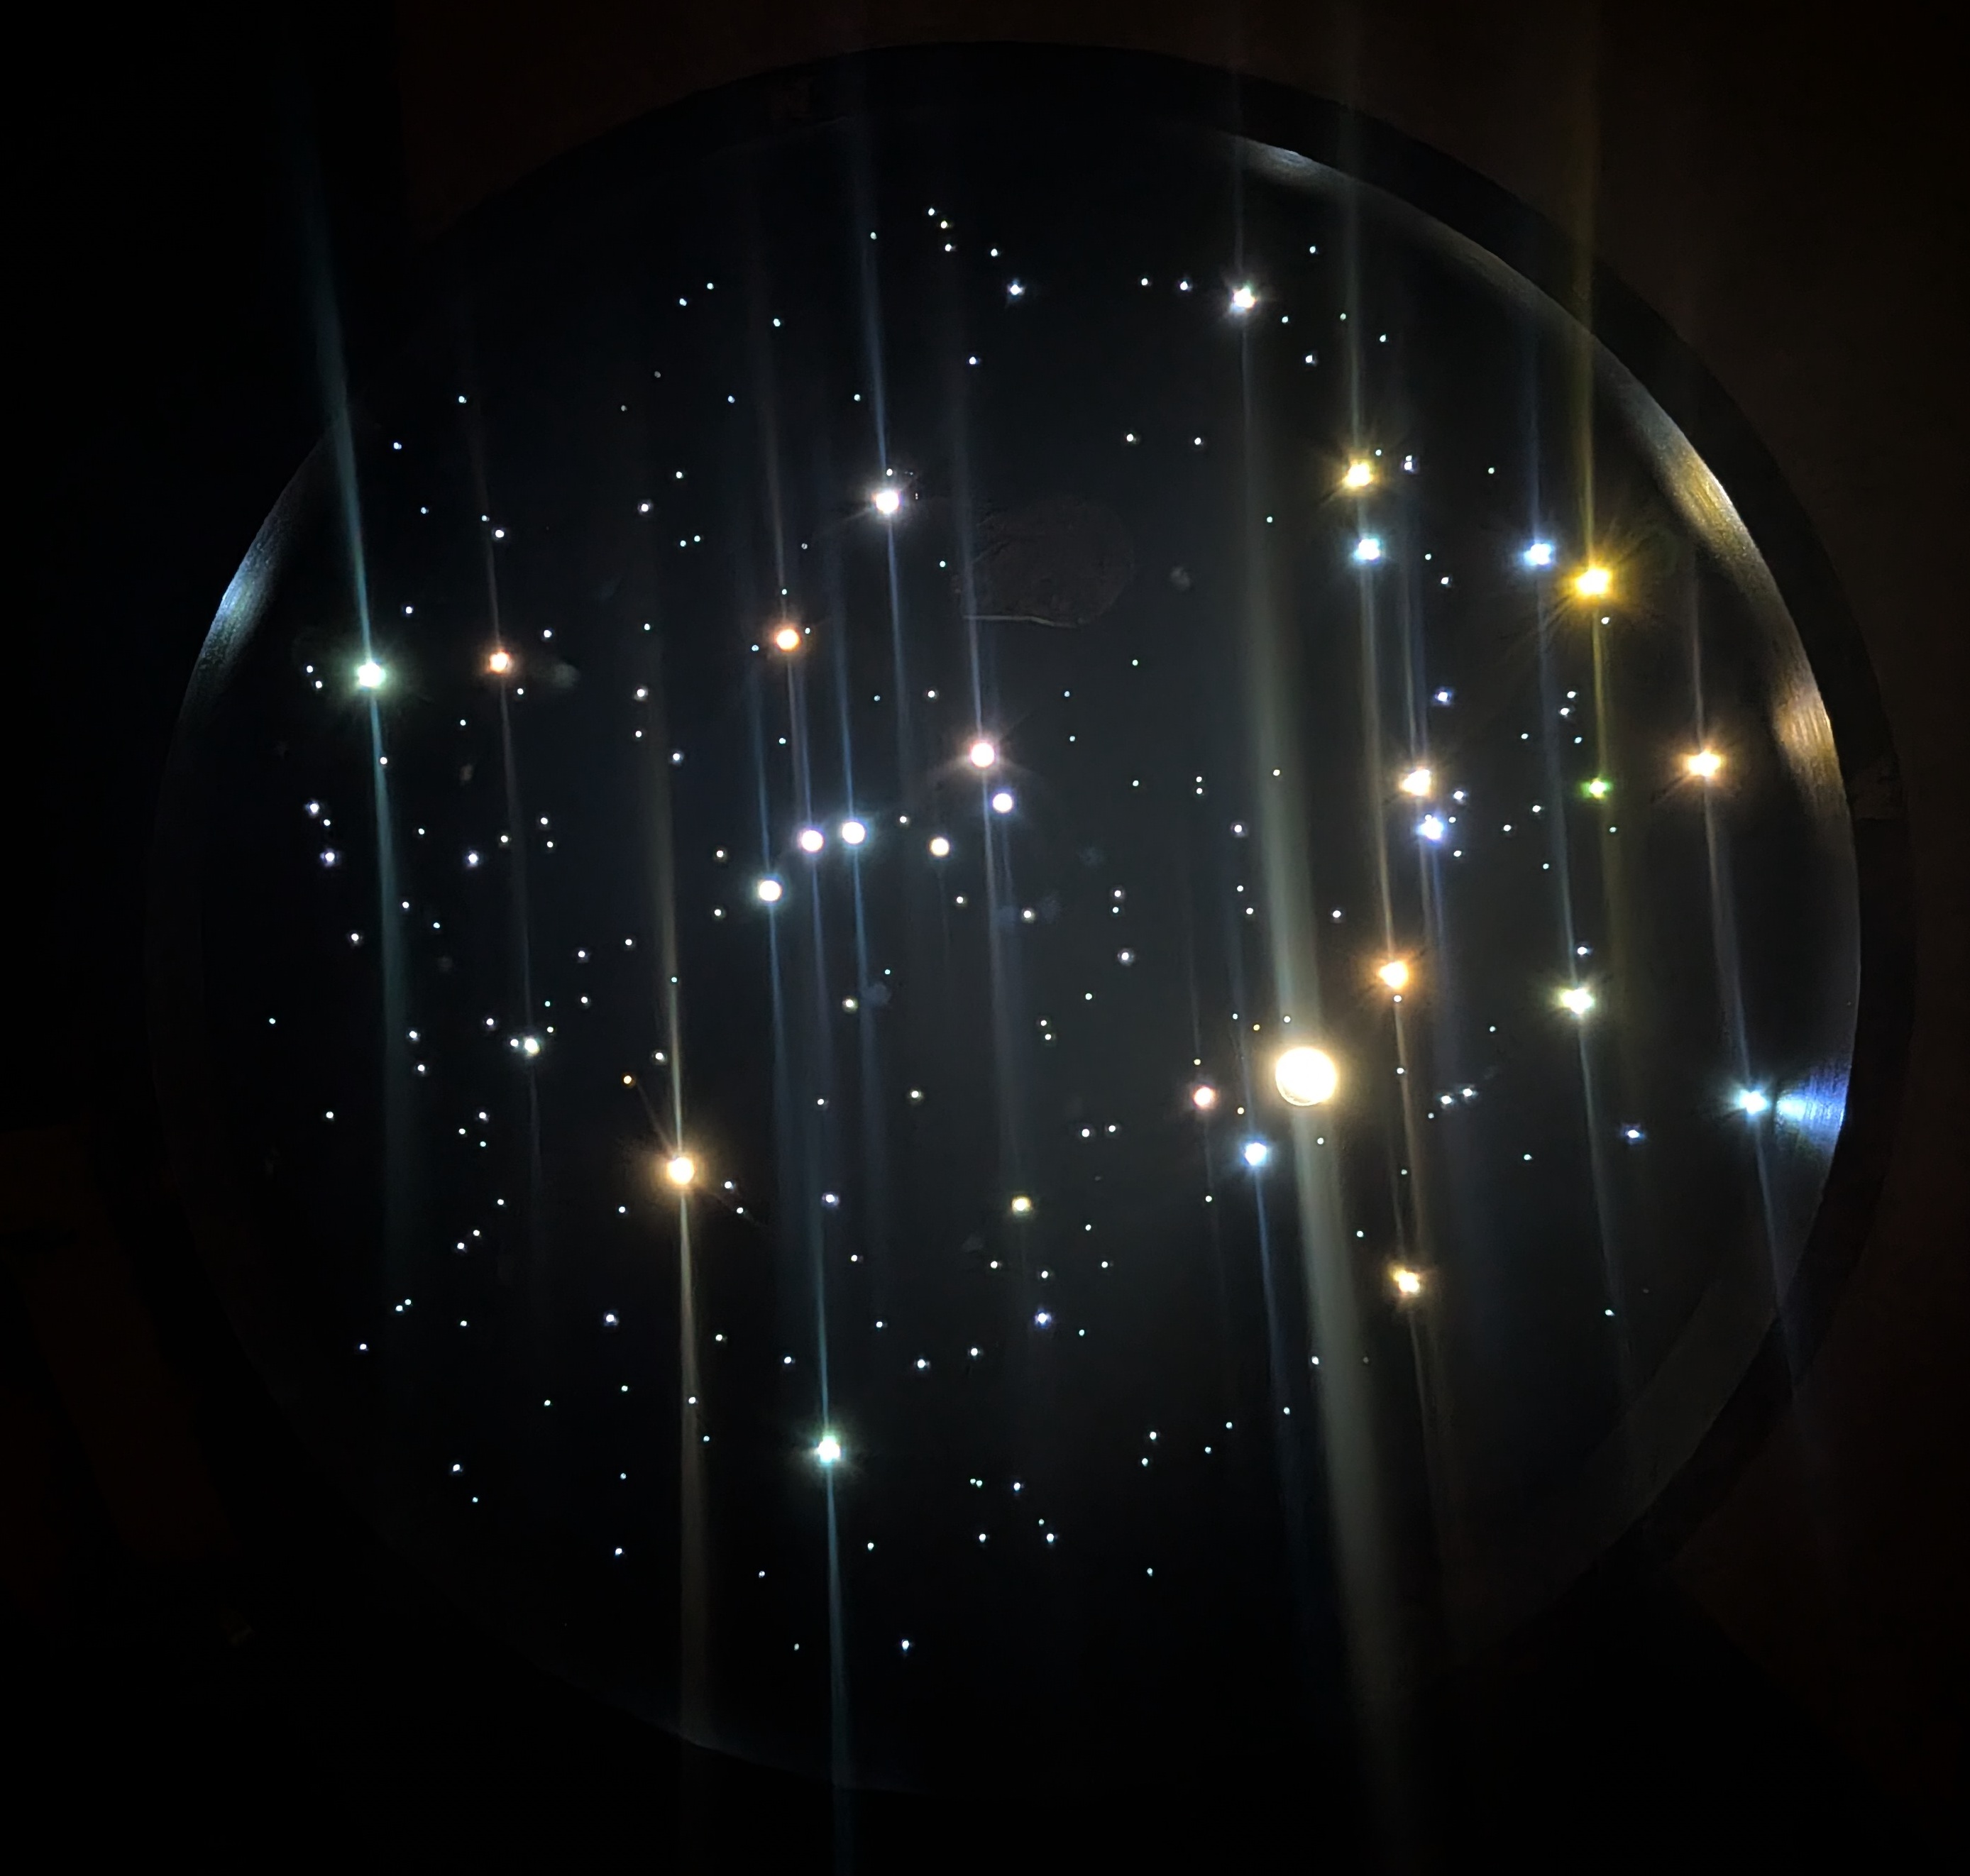 23-starmap-dark
-
 24-starmap-1
-
 25-starmap-2
-
 26-plaque
-
 3-gemini
-
 4-reverse-mount-LEDs
-
 5-PCB-back-asm
-
 6-moon-LED
-
 7-front-test-print
-
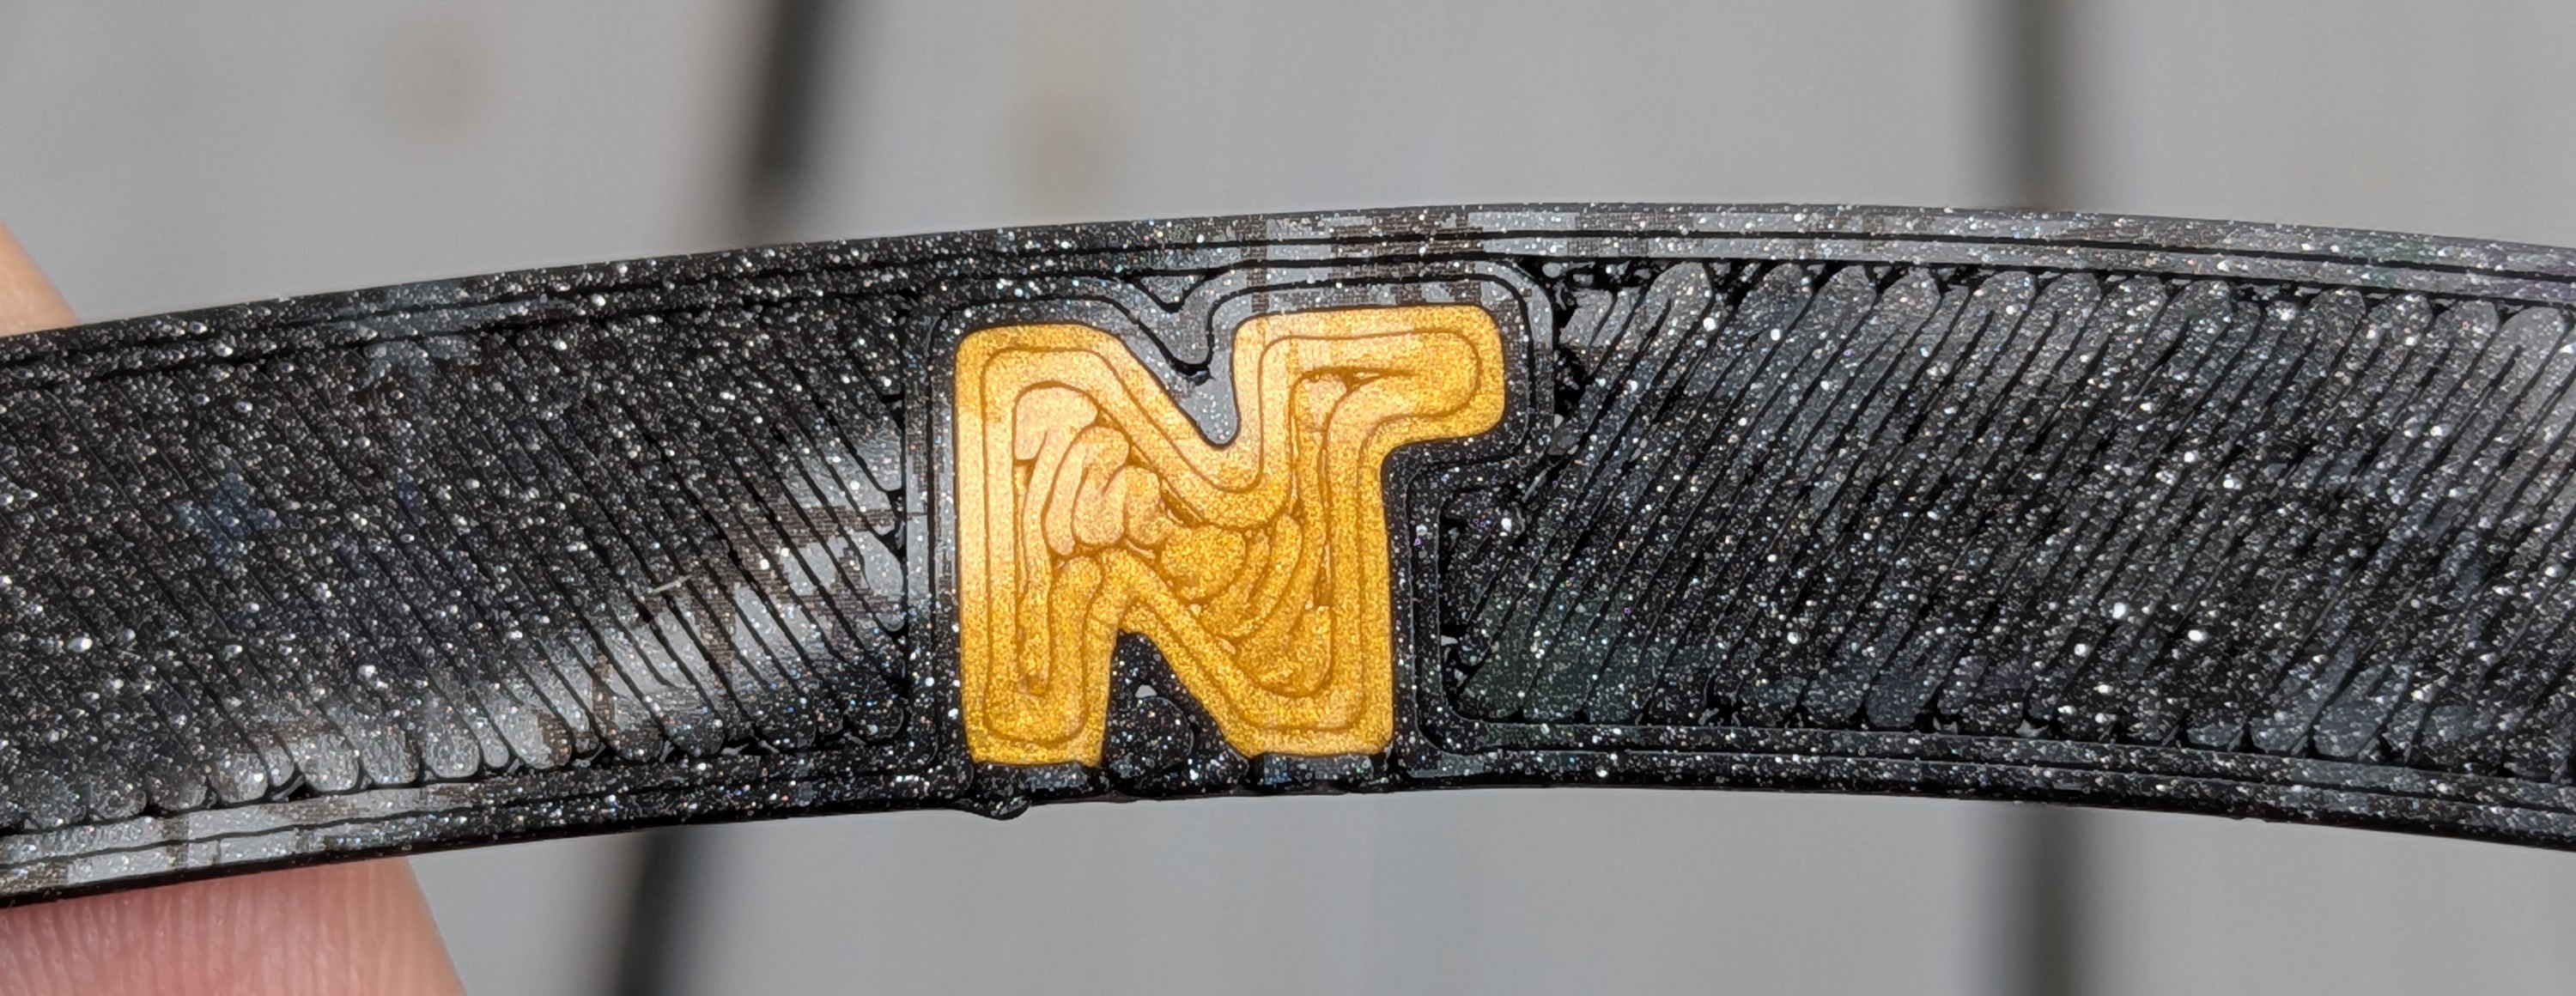 8-north-marker
-
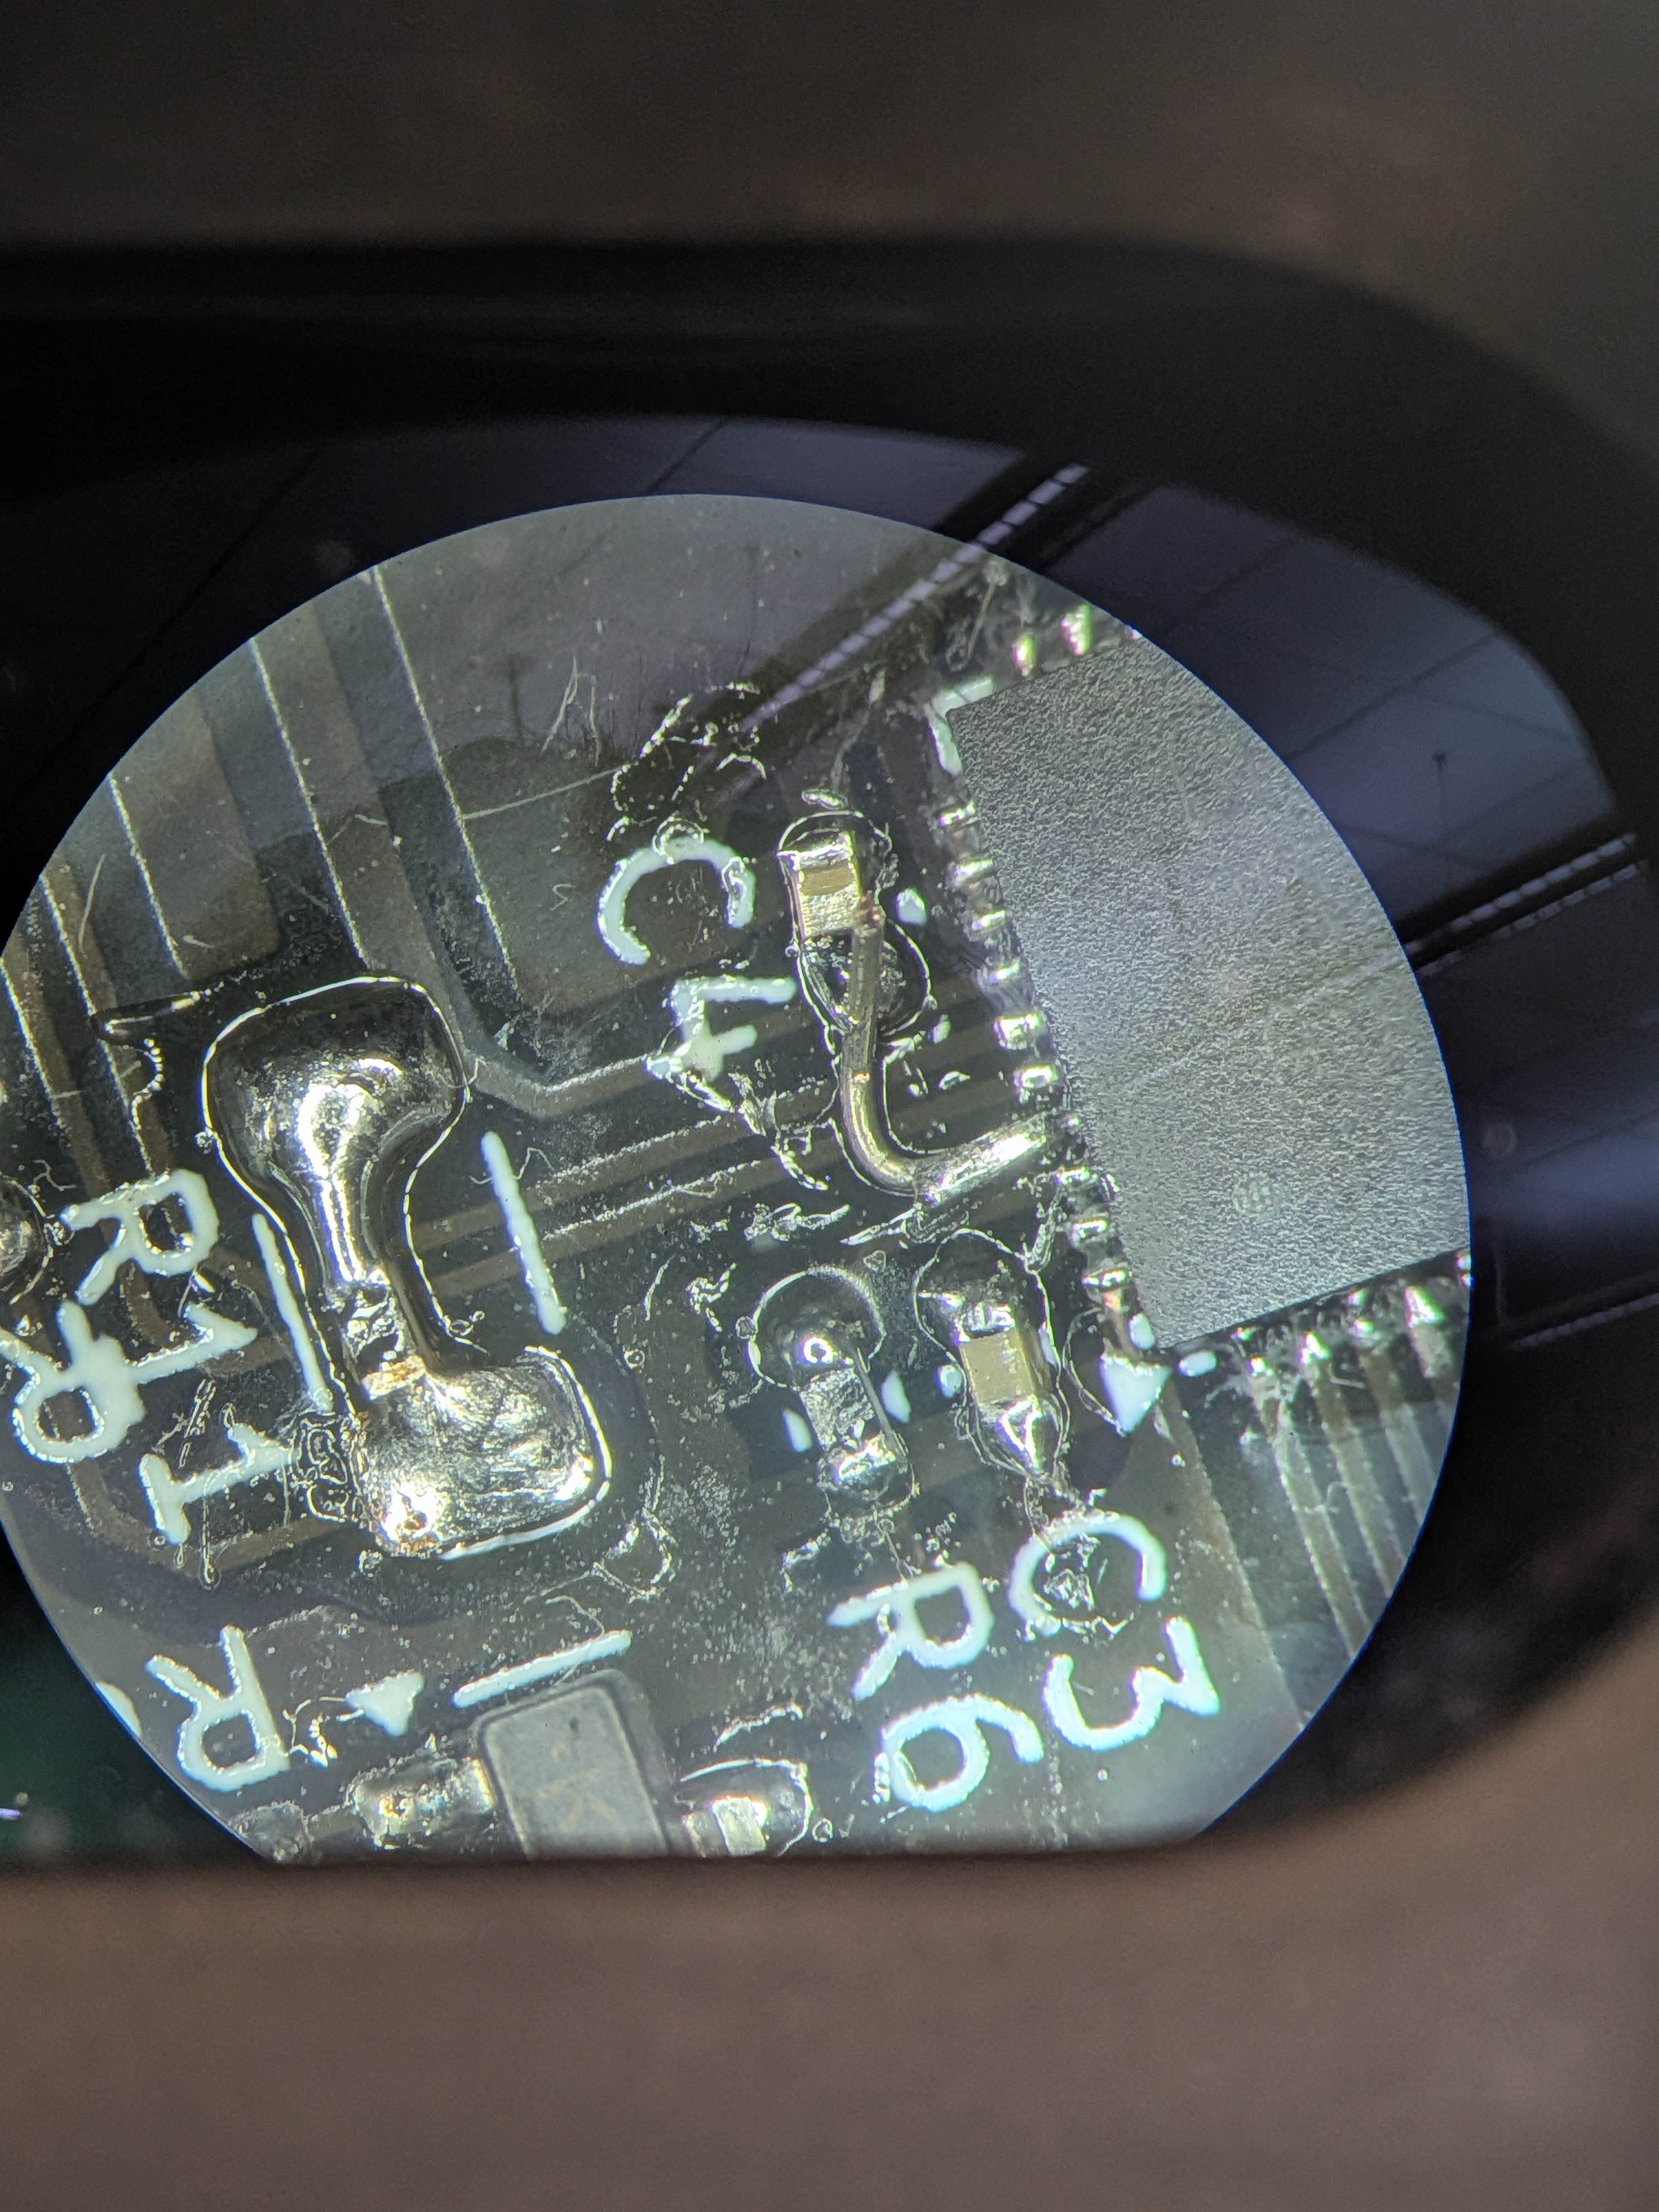 9-enable-line-bodge